Making simple sauerkraut at home

For anyone who thinks that sauerkraut is not delicious, I would urge you to try making it yourself at least once. Like most things, homemade is quite different from store bought. For the rest of us who love the stuff, it's fun and rewarding to make. And it couldn't be simpler. My fermentation guru is Sandor Katz, who has extensively researched and written about fermentation traditions around the world in his two indispensable books, Wild Fermentation and The Art of Fermentation. I highly recommend both.
The most important factor for the best sauerkraut is the quality of the cabbage. Fresh, organic cabbage from the farmer's market is best (unless you grow it yourself - the kraut made from my garden's cabbage was the best I've ever had). Because we're relying on the natural bacteria (lactobacillus) already on the cabbage, organic makes a lot of sense, and the same is true for freshness. Another detail is the salt ratio. I use a scale to weigh the salt at 2.5% of the weight of the cabbage because I have one and it's the best method for batch-to-batch consistency. Of course you can salt to taste and it will probably be just fine, but weighing allows you to make salt adjustments to suit your preference. I use unrefined sea salt (Korean sea salt in this batch) because it tastes better and the minerals (calcium) help keep the cabbage texture crunchy. The final element is fermentation time, which depends on bacteria vitality, salt level, fermentation temperature, and personal taste preference. This batch was fermented for 5 days where the room temperature was in the low to mid 60s F. The acidity is medium low and it has a slightly fruity aroma and notes of horseradish on the palate. The airlock is not necessary at all but I use it because it's fun and I have a lot of them lying around. The lid is Tattler and I drilled a hole to fit the rubber stopper that holds the airlock. The jar is the 1.9 liter Ball, the largest I can find that takes the standard wide-mouth lids. This jar would hold at least 300 grams more cabbage than what I used. I also have a little glass weight holding the cabbage under the liquid. Here I used a mix of green and red cabbage, but any cabbage is fine - savoy, napa, or any other greens like kale, mizuna, etc. A mandolin can make the cutting easy, but for me the task is just as fast with my very sharp knives. Playing with spice additions is fun too - juniper, caraway, lavender, coriander, and such. Don't forget to label! Painter's tape is great for that.
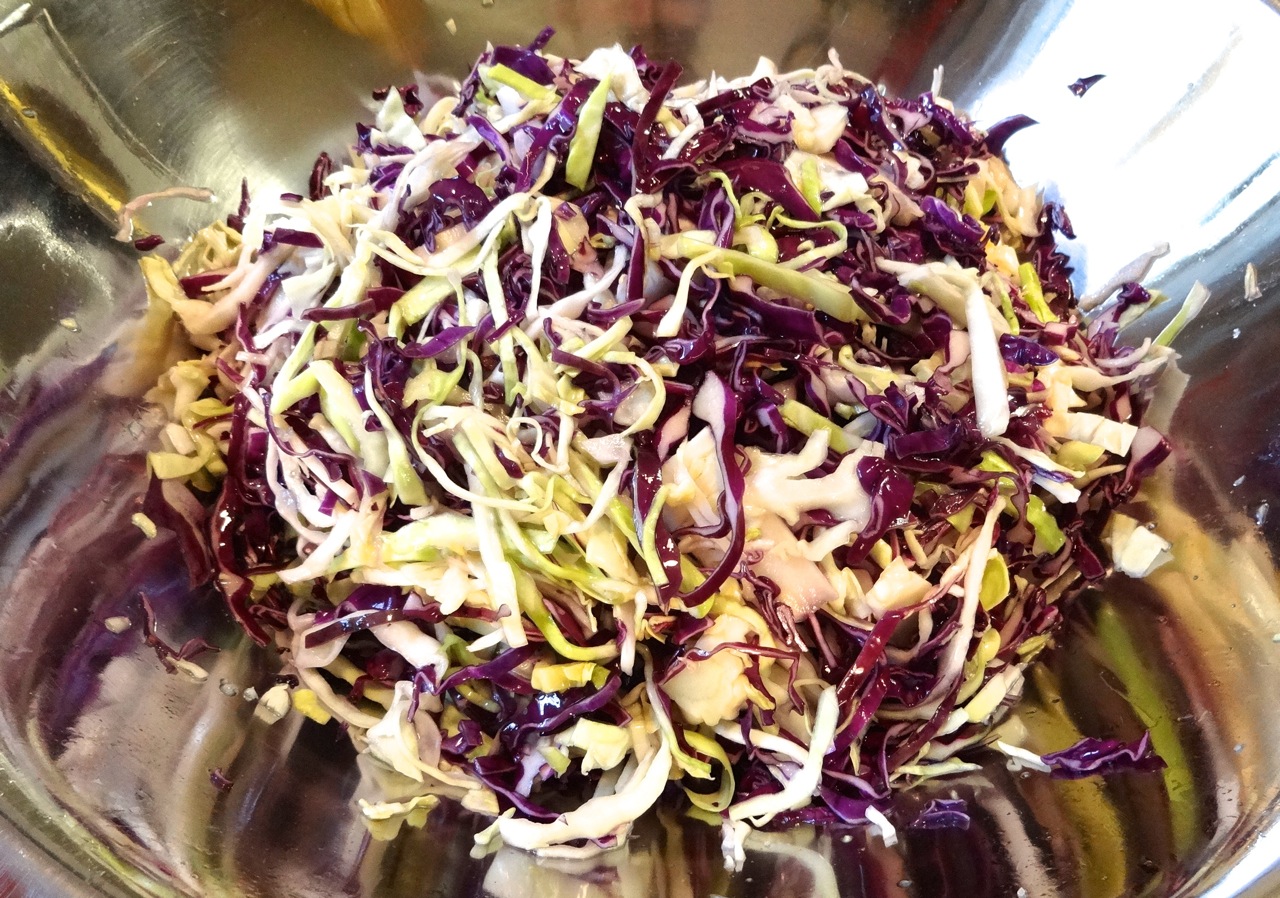
mix the cabbage and salt, let sit at least 1 hour for the juices to release
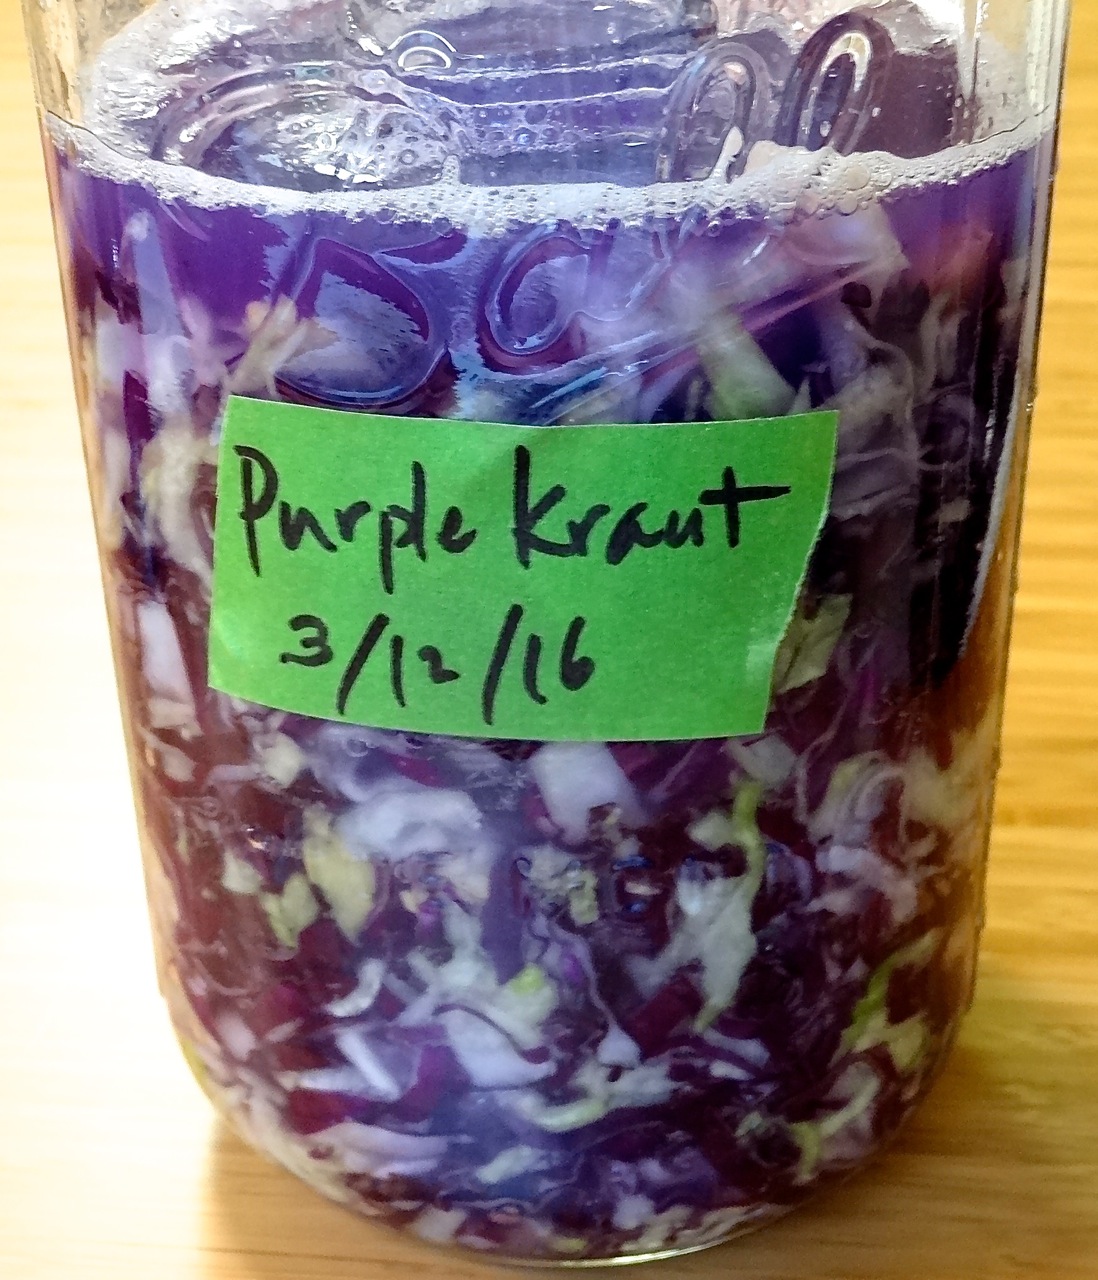
Purple Sauerkraut
1300g shredded cabbage (1 red, 1/2 green)
32.5g sea salt (2.5% of the weight of cabbage)
squeeze the cabbage to get enough liquid out to cover the cabbage

airlock is fun but not at all necessary
a glass weight helps keep the cabbage under the liquid

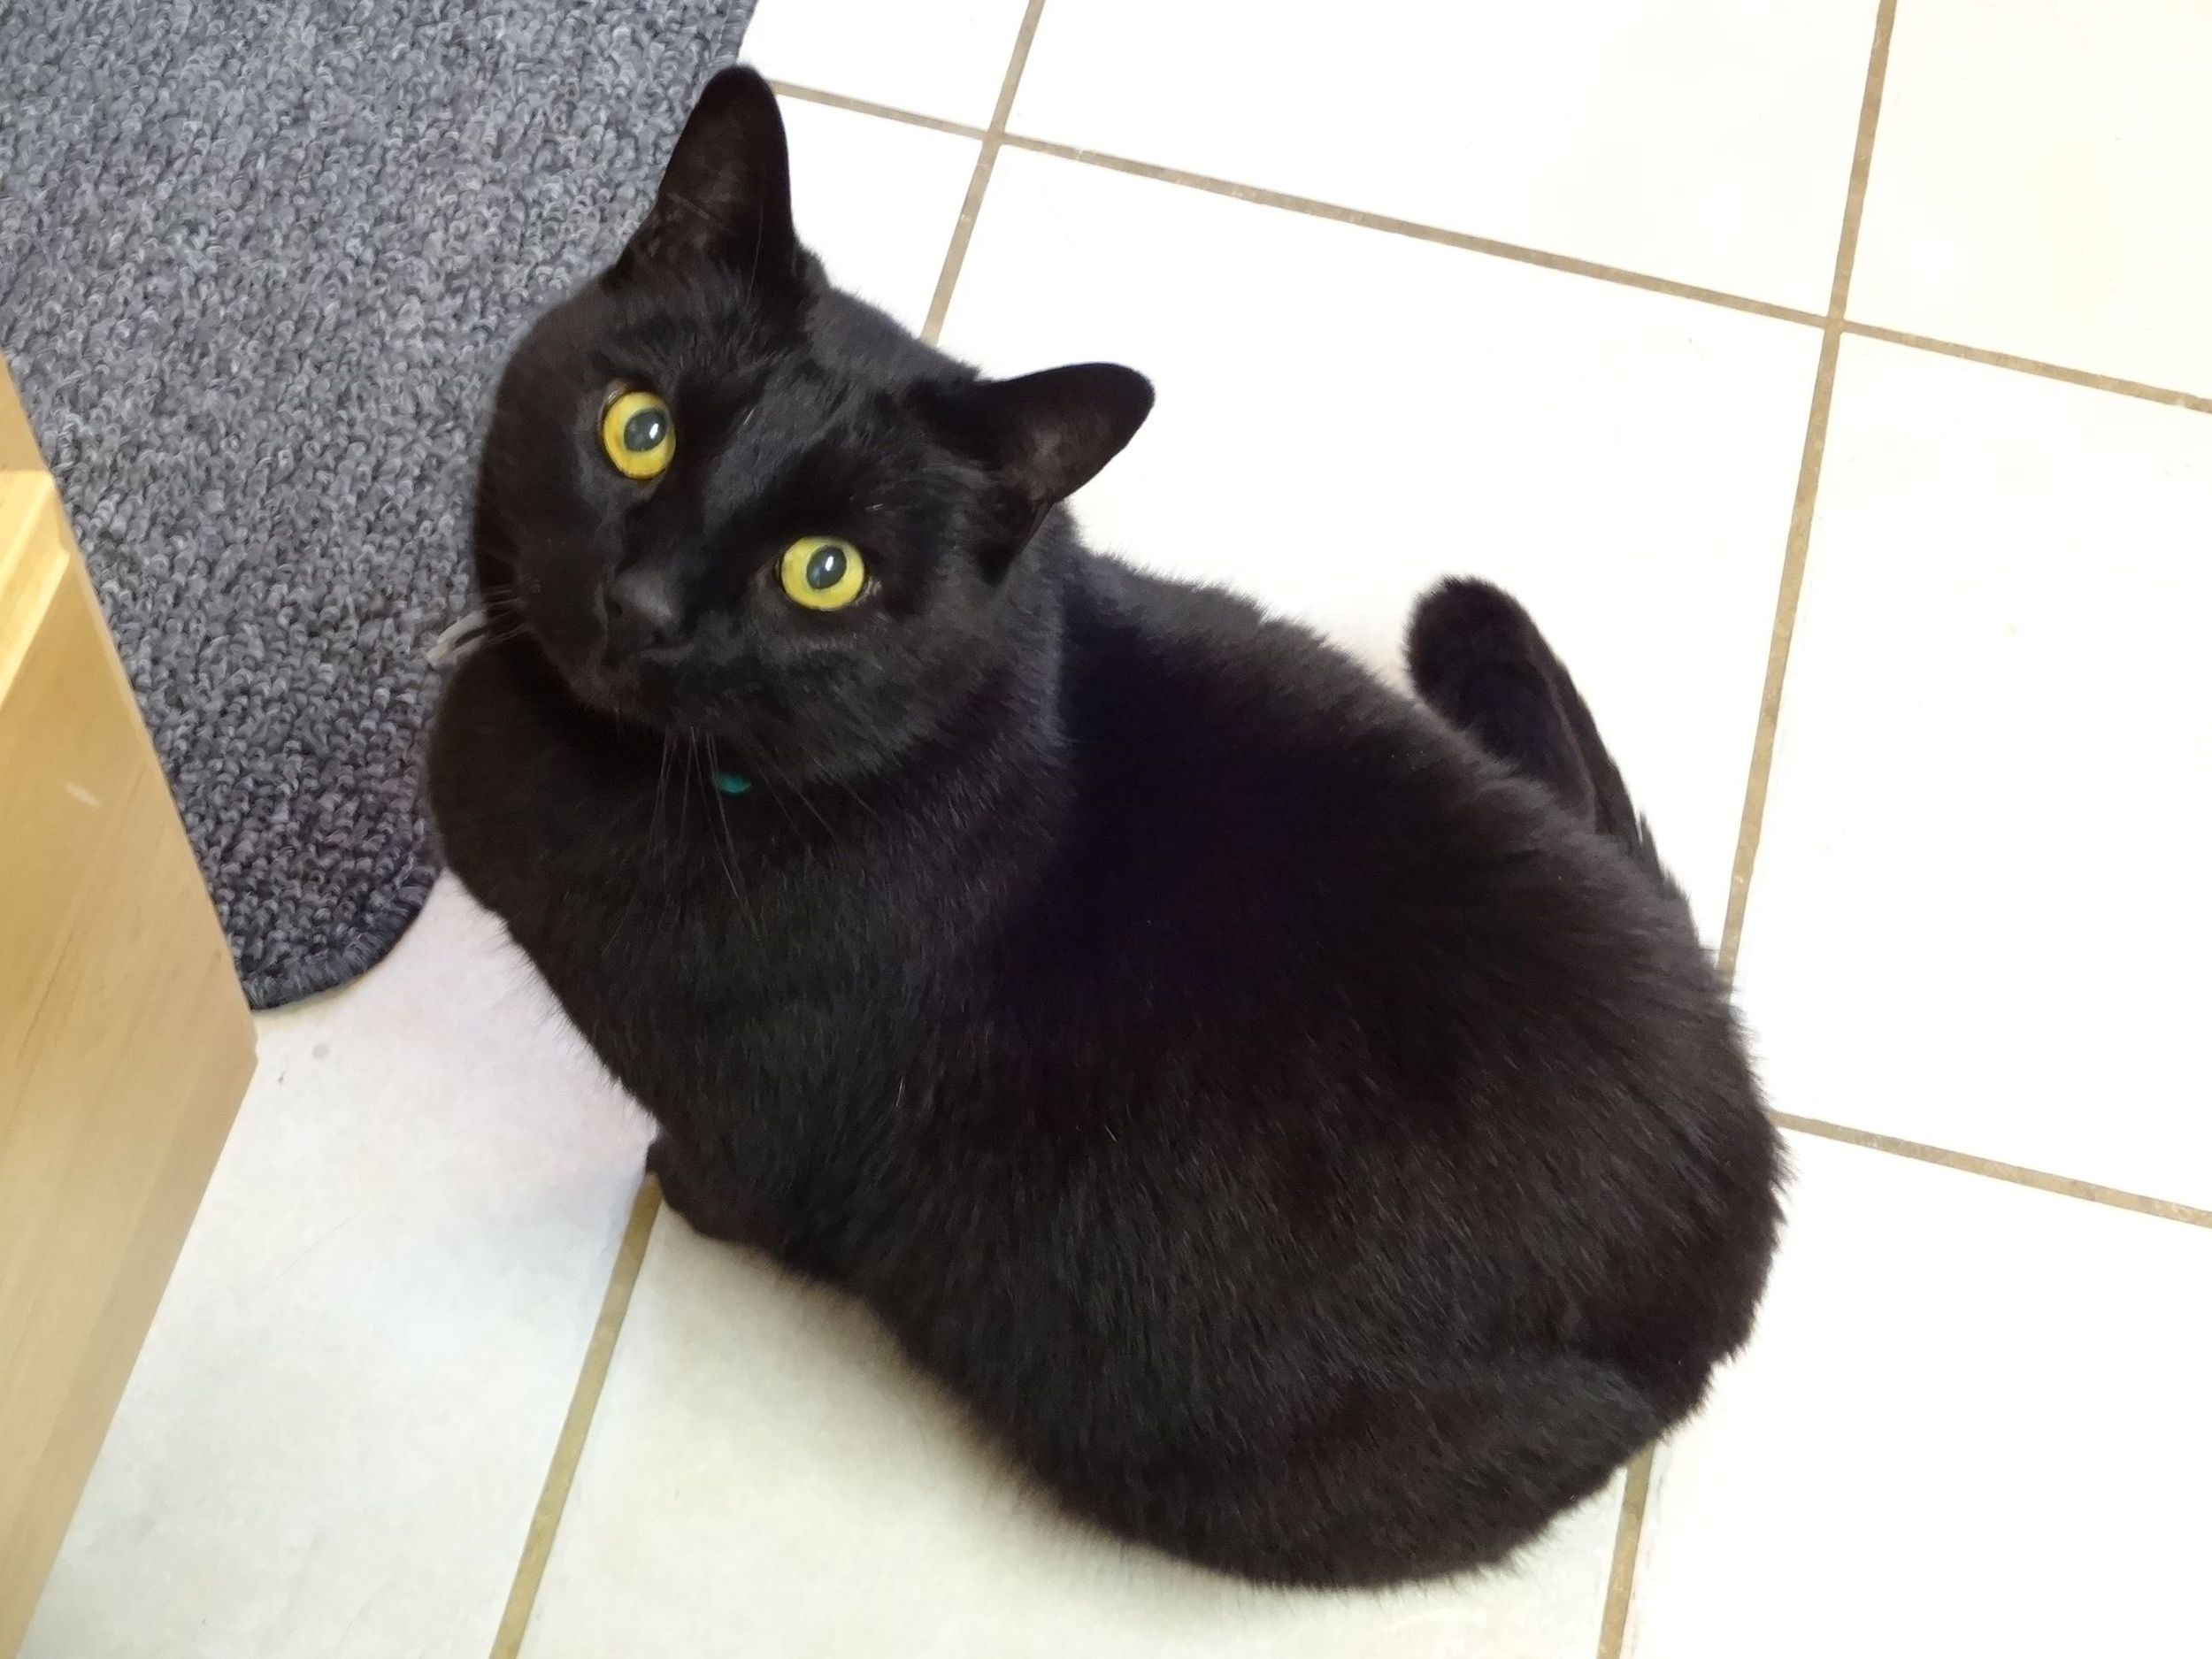
pet the kitty if he's in a friendly mood

it came out red (magenta) but it was purple when I labeled it
it tastes really good!