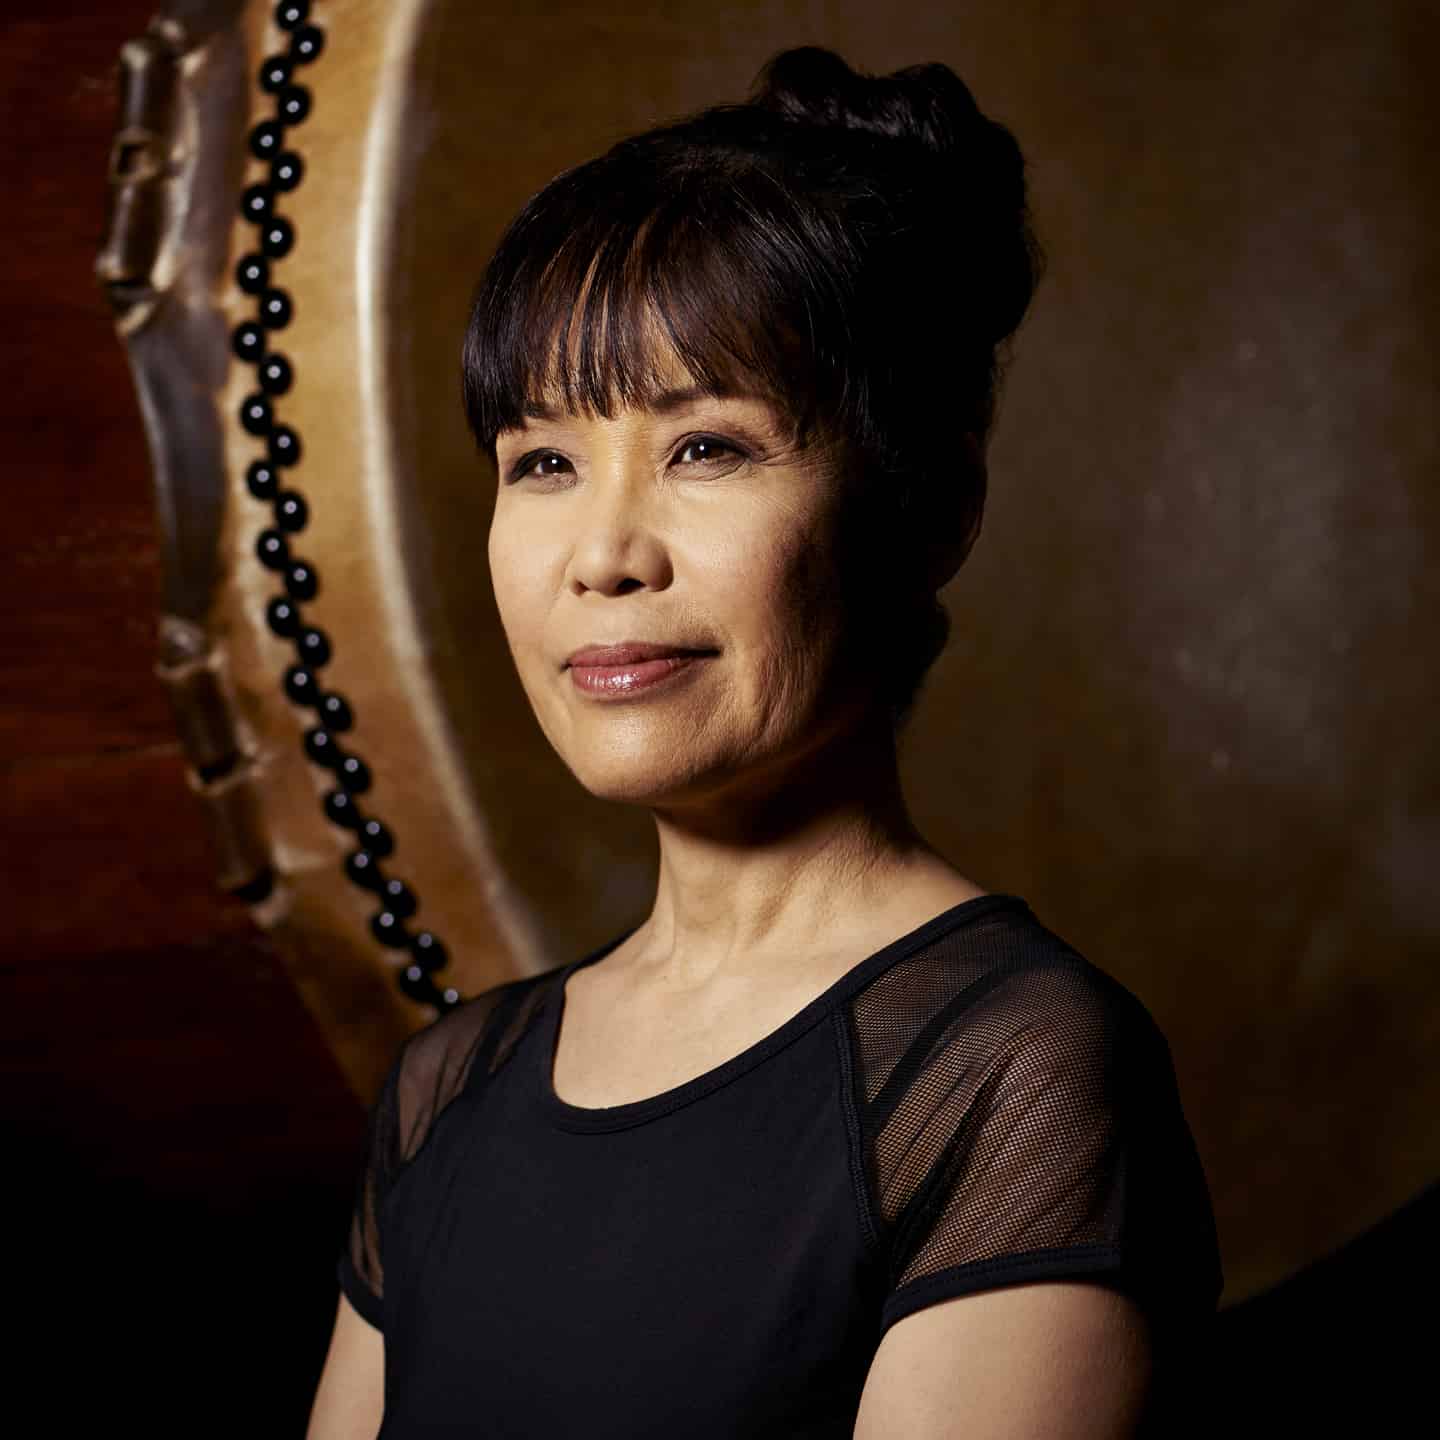
Interview: Sumie Kaneko talks music, ma, and her new album
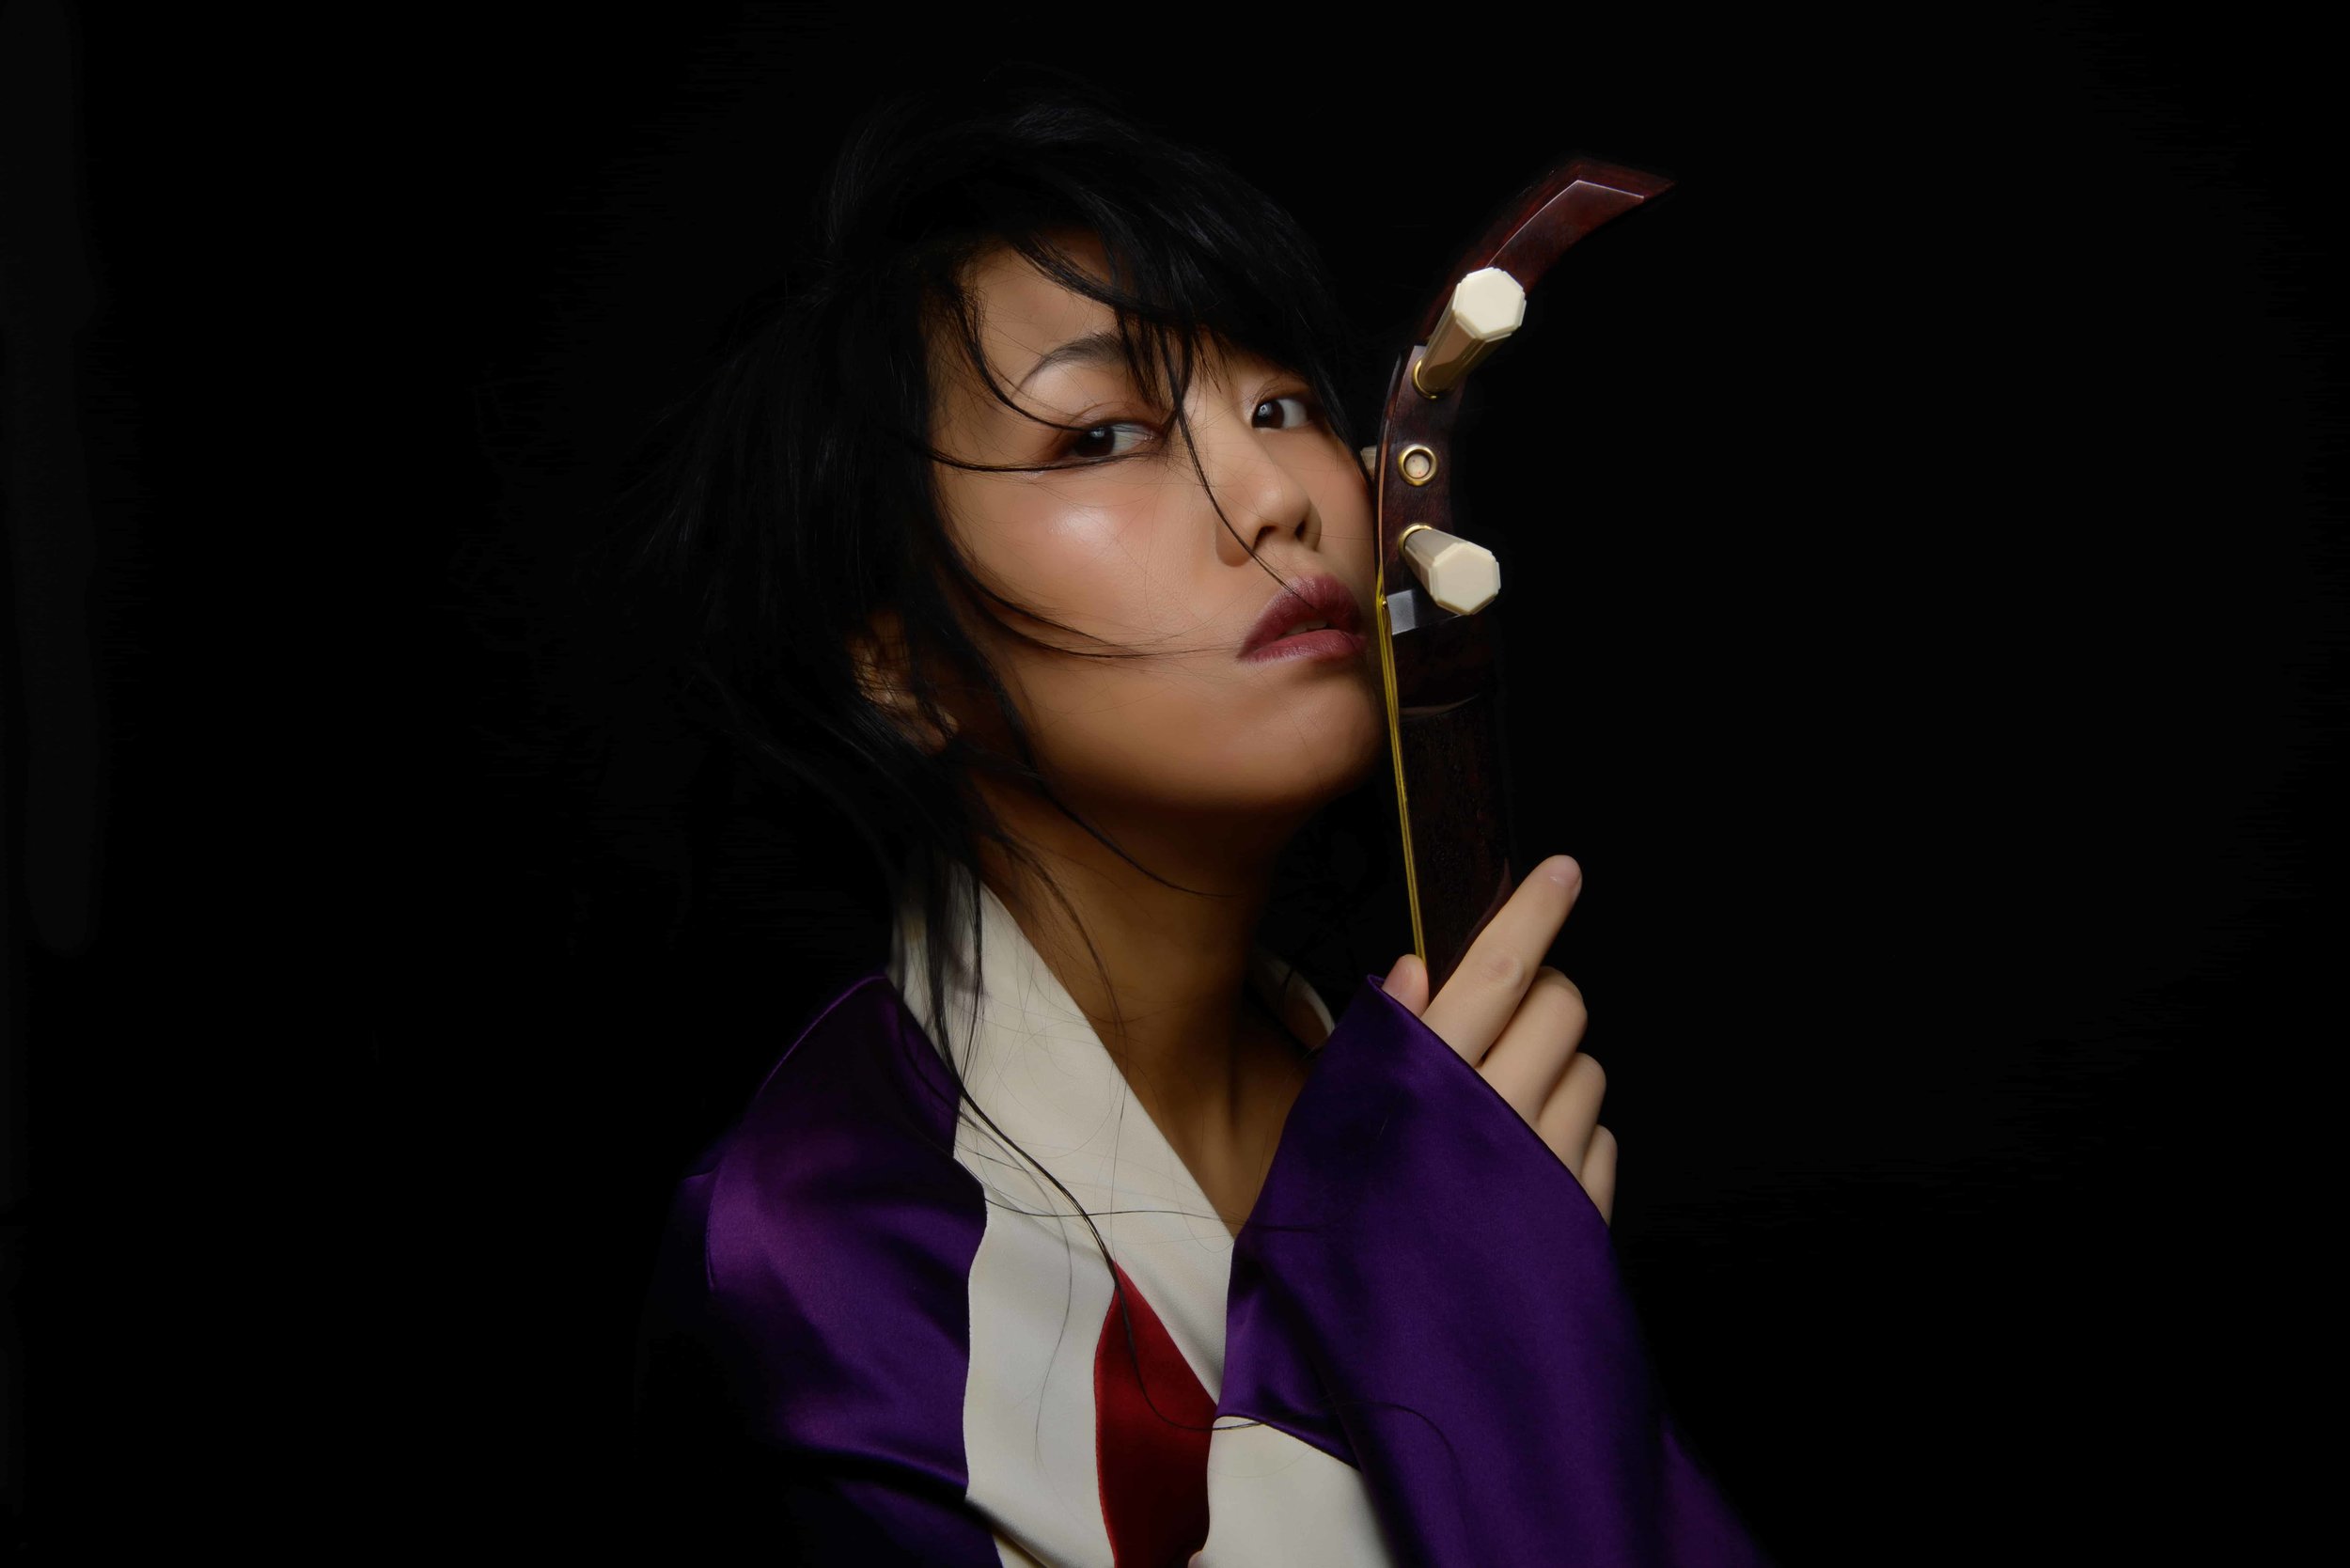
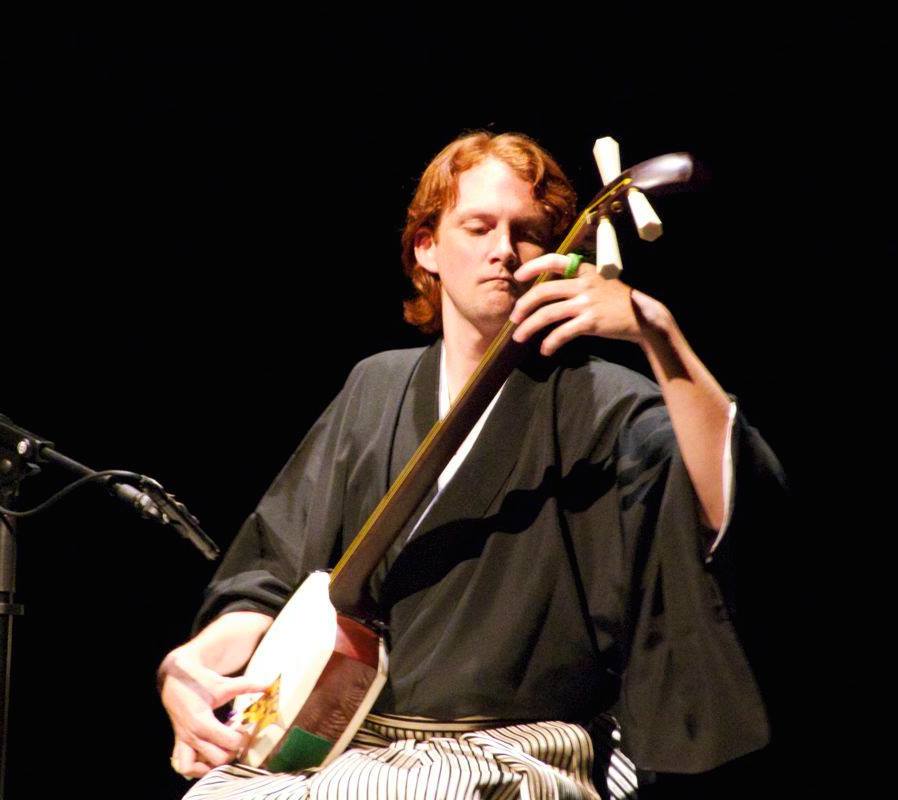
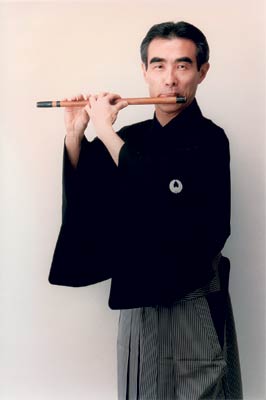
Sumie Kaneko - koto, shamisen, vocal artist
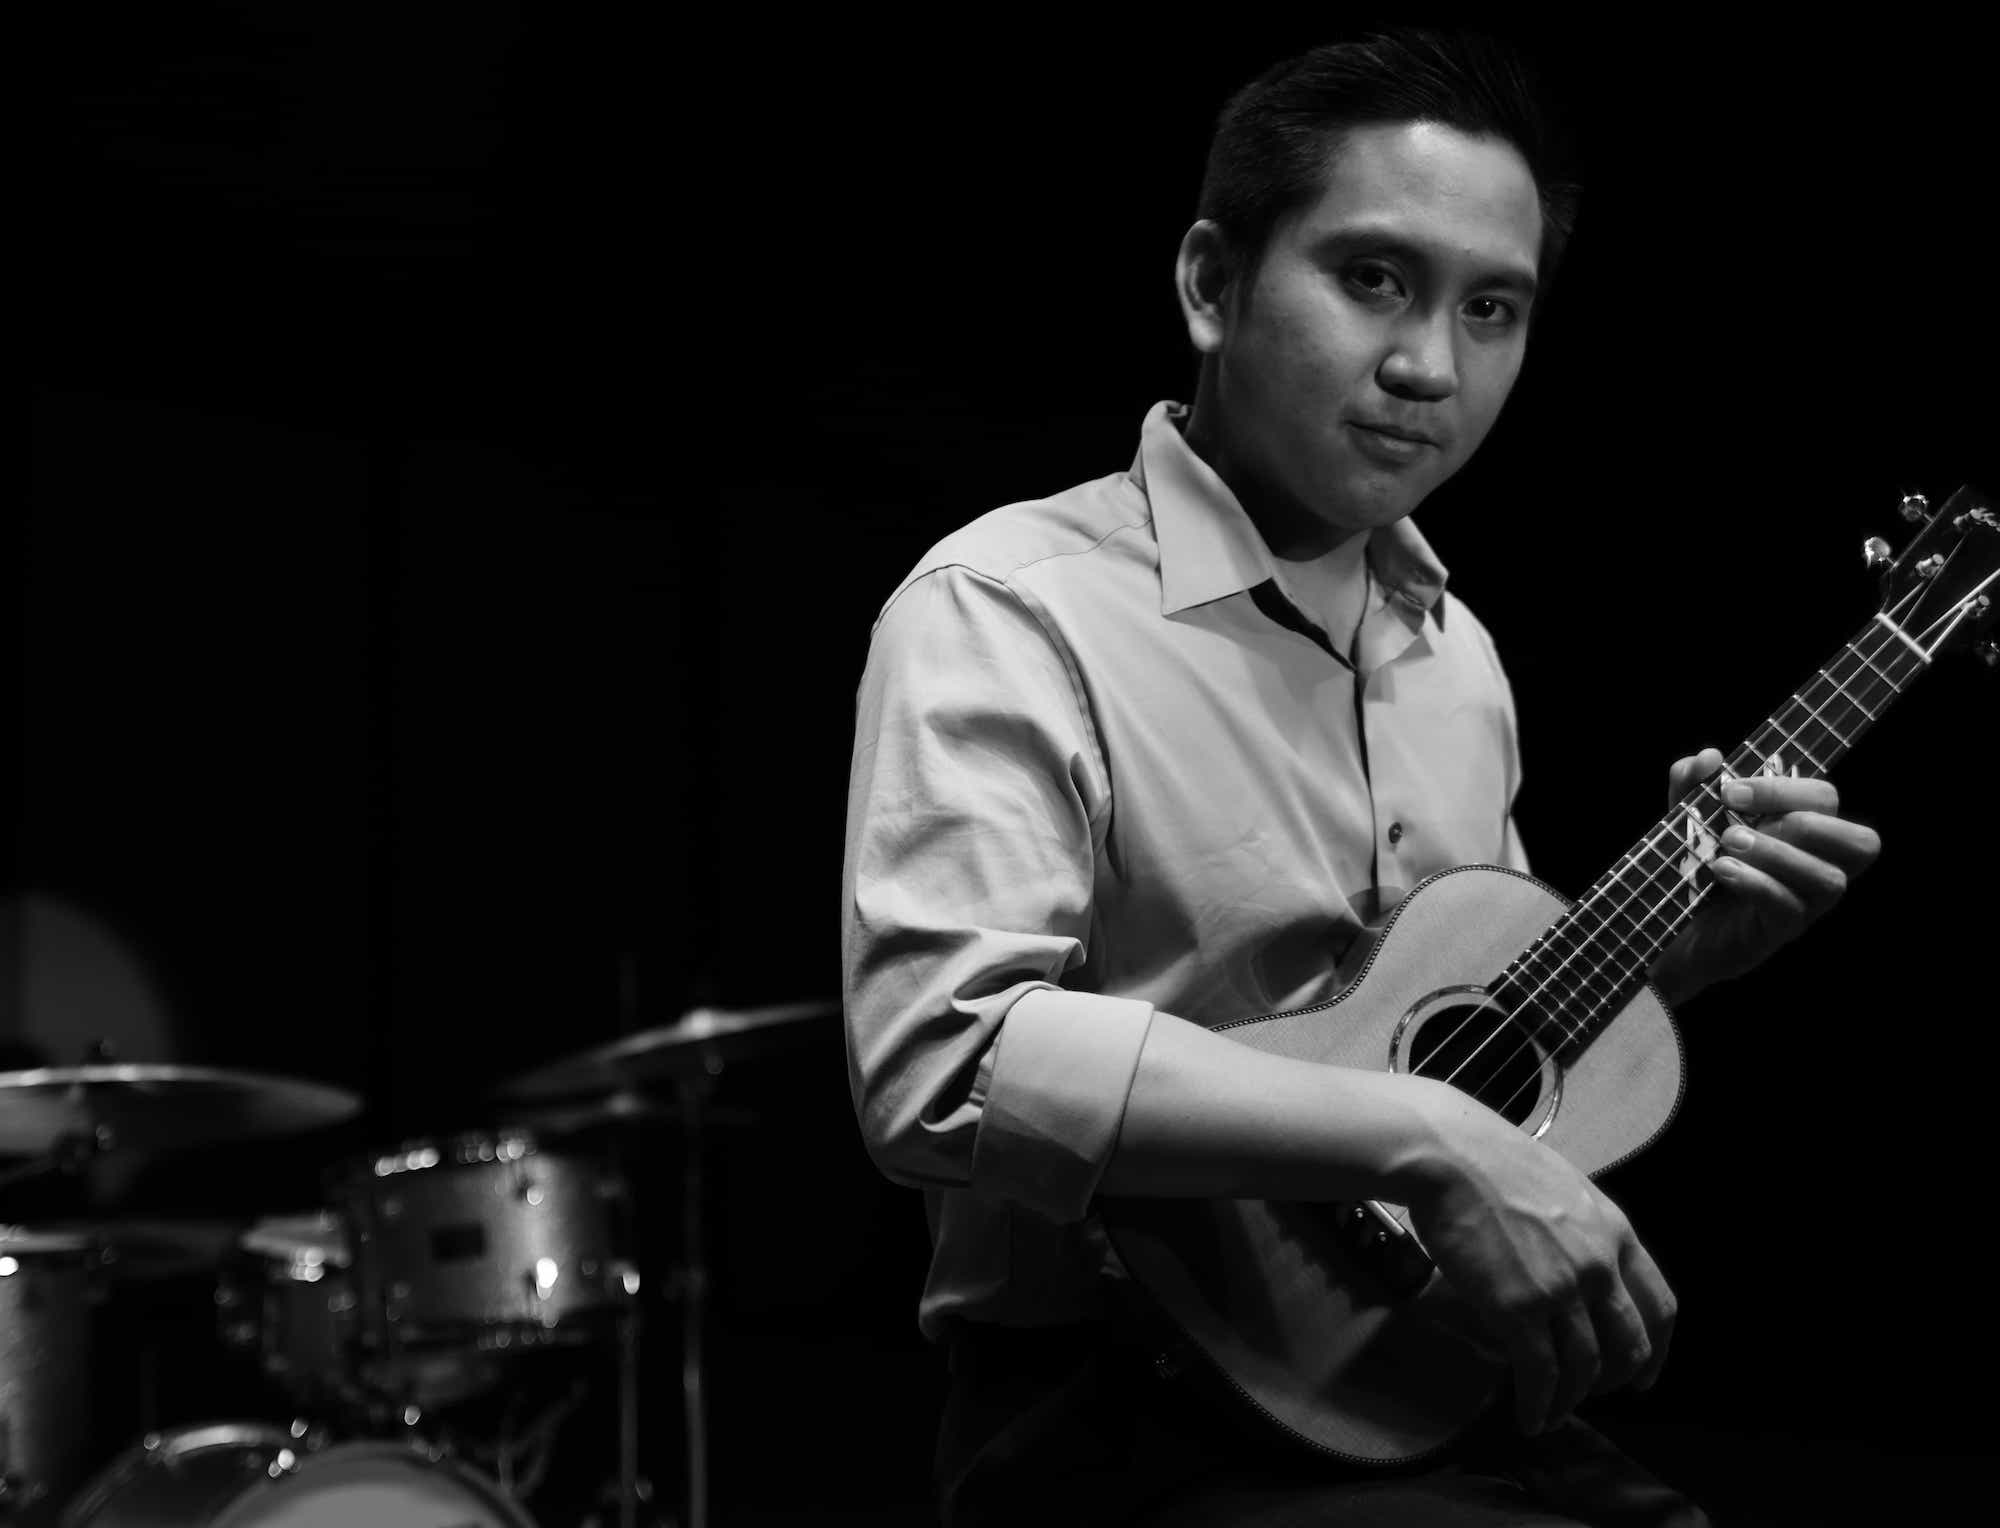
My first time meeting Sumie was also the first time we performed together, when she was a guest artist at On Ensemble's Sounds of LA concert at the Getty Center three years ago. I remember the music coming together quickly with only a few rehearsals thanks to Sumie's thorough preparation in learning the group's material as well as bringing well-written charts of her original pieces. The audience reception was enthusiastic and my favorite part of the collaboration was her clear and distinctive expression on koto, shamisen, and voice. Changing one member in a quartet makes a significant impact, and happily that first concert went very well and was a lot of fun. Since then, Sumie and I have shared the stage numerous times at On Ensemble and Kenny Endo Taiko Ensemble concerts.
In this conversation, Sumie talks about how she started playing koto at age 5 and the contrast between studying Japanese traditional music at Geidai (Tokyo University of the Arts) and majoring in jazz vocals at Berklee College of Music. We also talk about her two albums – J-Trad & More and the newly released Dead of the Night – which I would highly recommend everyone check out at the links below. This kind of uncategorizable music with diverse influences (Japanese classical and folk music, jazz, pop, samba) speaks to me because this perspective is familiar in my own music. Sumie kindly sent me three of her original tracks to incorporate into the interview: Maihana, Kaleidoscope, and Sublimate, Outcome. During our discussion about the touring life, Sumie memorably shares one of her secrets to help stay grounded during the constant changes on the road. She also talks about upcoming projects, and we even touched upon the inclusion of both of our pieces on the soon-to-be-released live album featuring Ho Etsu Taiko and On Ensemble.
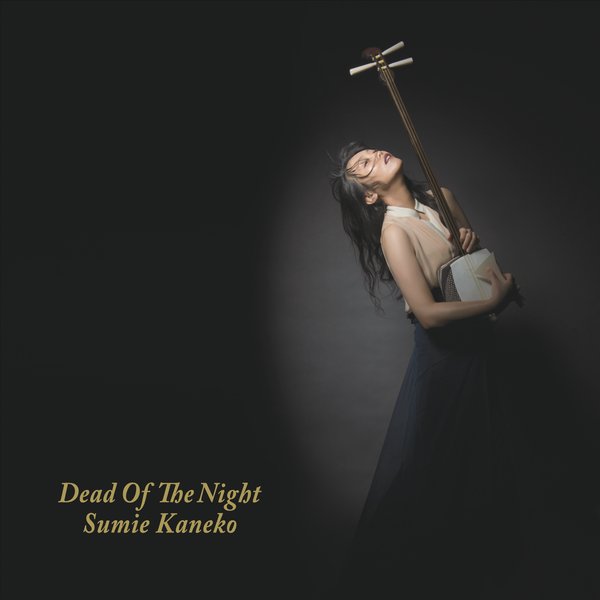
Sumie Kaneko's new album Dead of the Night
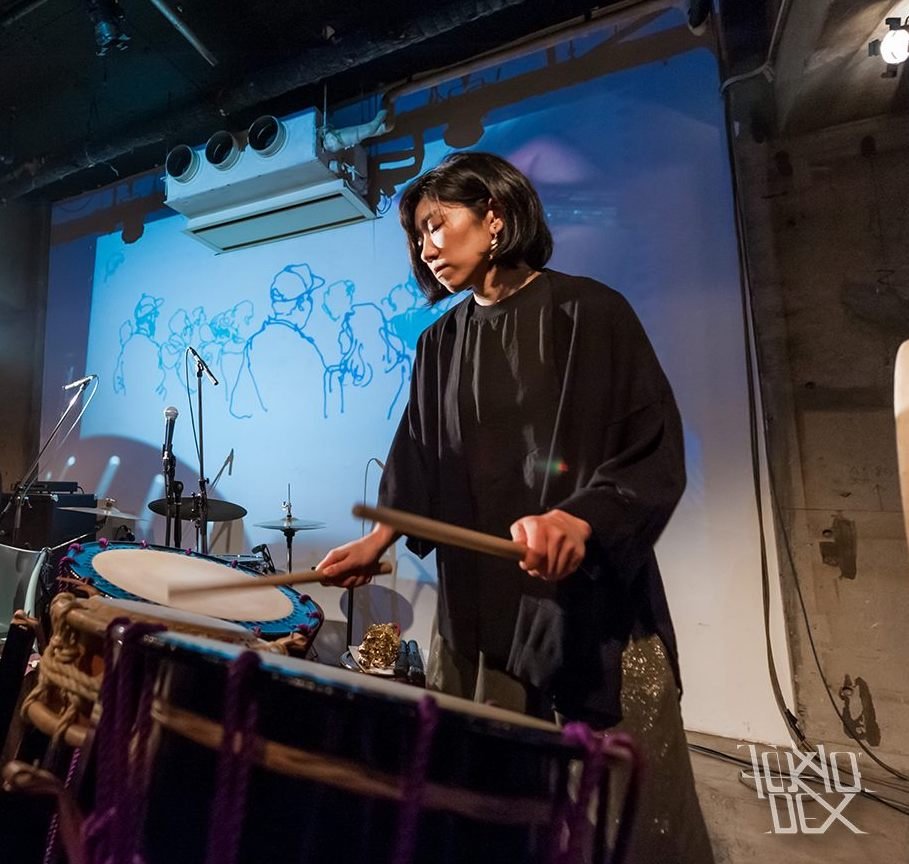
Japanese Koto & Shamisen player and Jazz singer/songwriter Sumie (Sumi-é) Kaneko creates music that spans a millennium. A master in the traditional repertoire of these ancient instruments, she has also pioneered their use in jazz and experimental music, through solo and group performances worldwide.
Sumie began playing Koto at age 5, by the following year she was appearing on Japanese TV program at NHK. In 1995, she won the Takasaki International Competition in Koto performance. She studied Japanese traditional music at Tokyo National University of the Arts, and in 2006, studied Jazz vocal at Berklee College of Music. She has performed at Carnegie Hall, Lincoln Center, Blue Note NY, TED talk, Regattabar, Getty Center, Boston Ballet, Yo-Yo Ma’s Silk Road Project and the Museum of Fine Arts, Boston. She has also given workshops at Harvard University, MIT, Princeton University, Wellesley College and Berklee College of Music, among other institutions. In 2014, her group was invited to the Washington, DC Jazz Festival, which is co-sponsored by the Embassy of Japan.
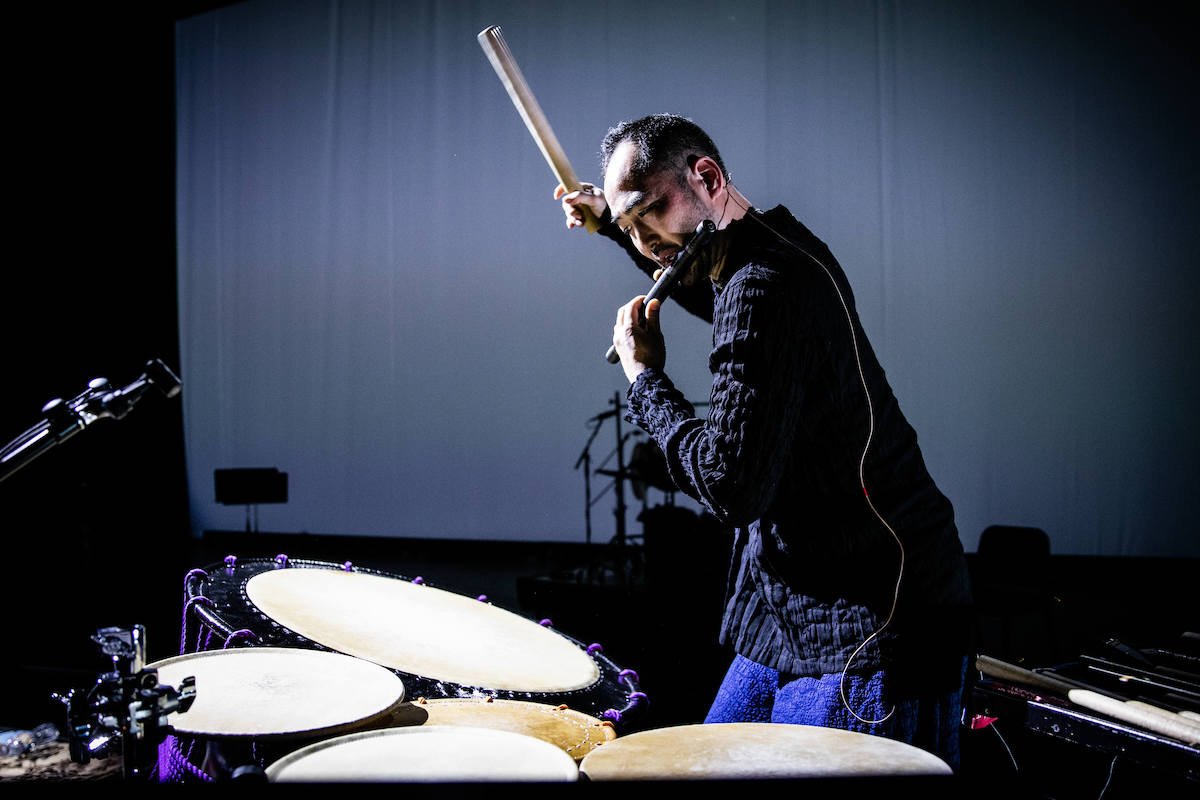
She has collaborated with many world instrumentalists, such as Evan Ziporyn, Kenny Endo, and Kaoru Watanabe, as well as painters, dancers and calligraphers. She has toured internationally in Brazil, Peru, Bolivia, Jamaica with Japan Foundation, and every year since 2013 she is invited to Bangladesh, Pakistan and India from Embassy of Japan. In 2017 February, she returns to Japan Foundation’s JAILA program and on tour in Nicaragua and Guatemala with contemporary taiko group On Ensemble.