Interview: Masayoshi Ishikawa talks Mujo Suite, Fukushima, and blending taiko with jazz

Composer and pianist Masayoshi Ishikawa
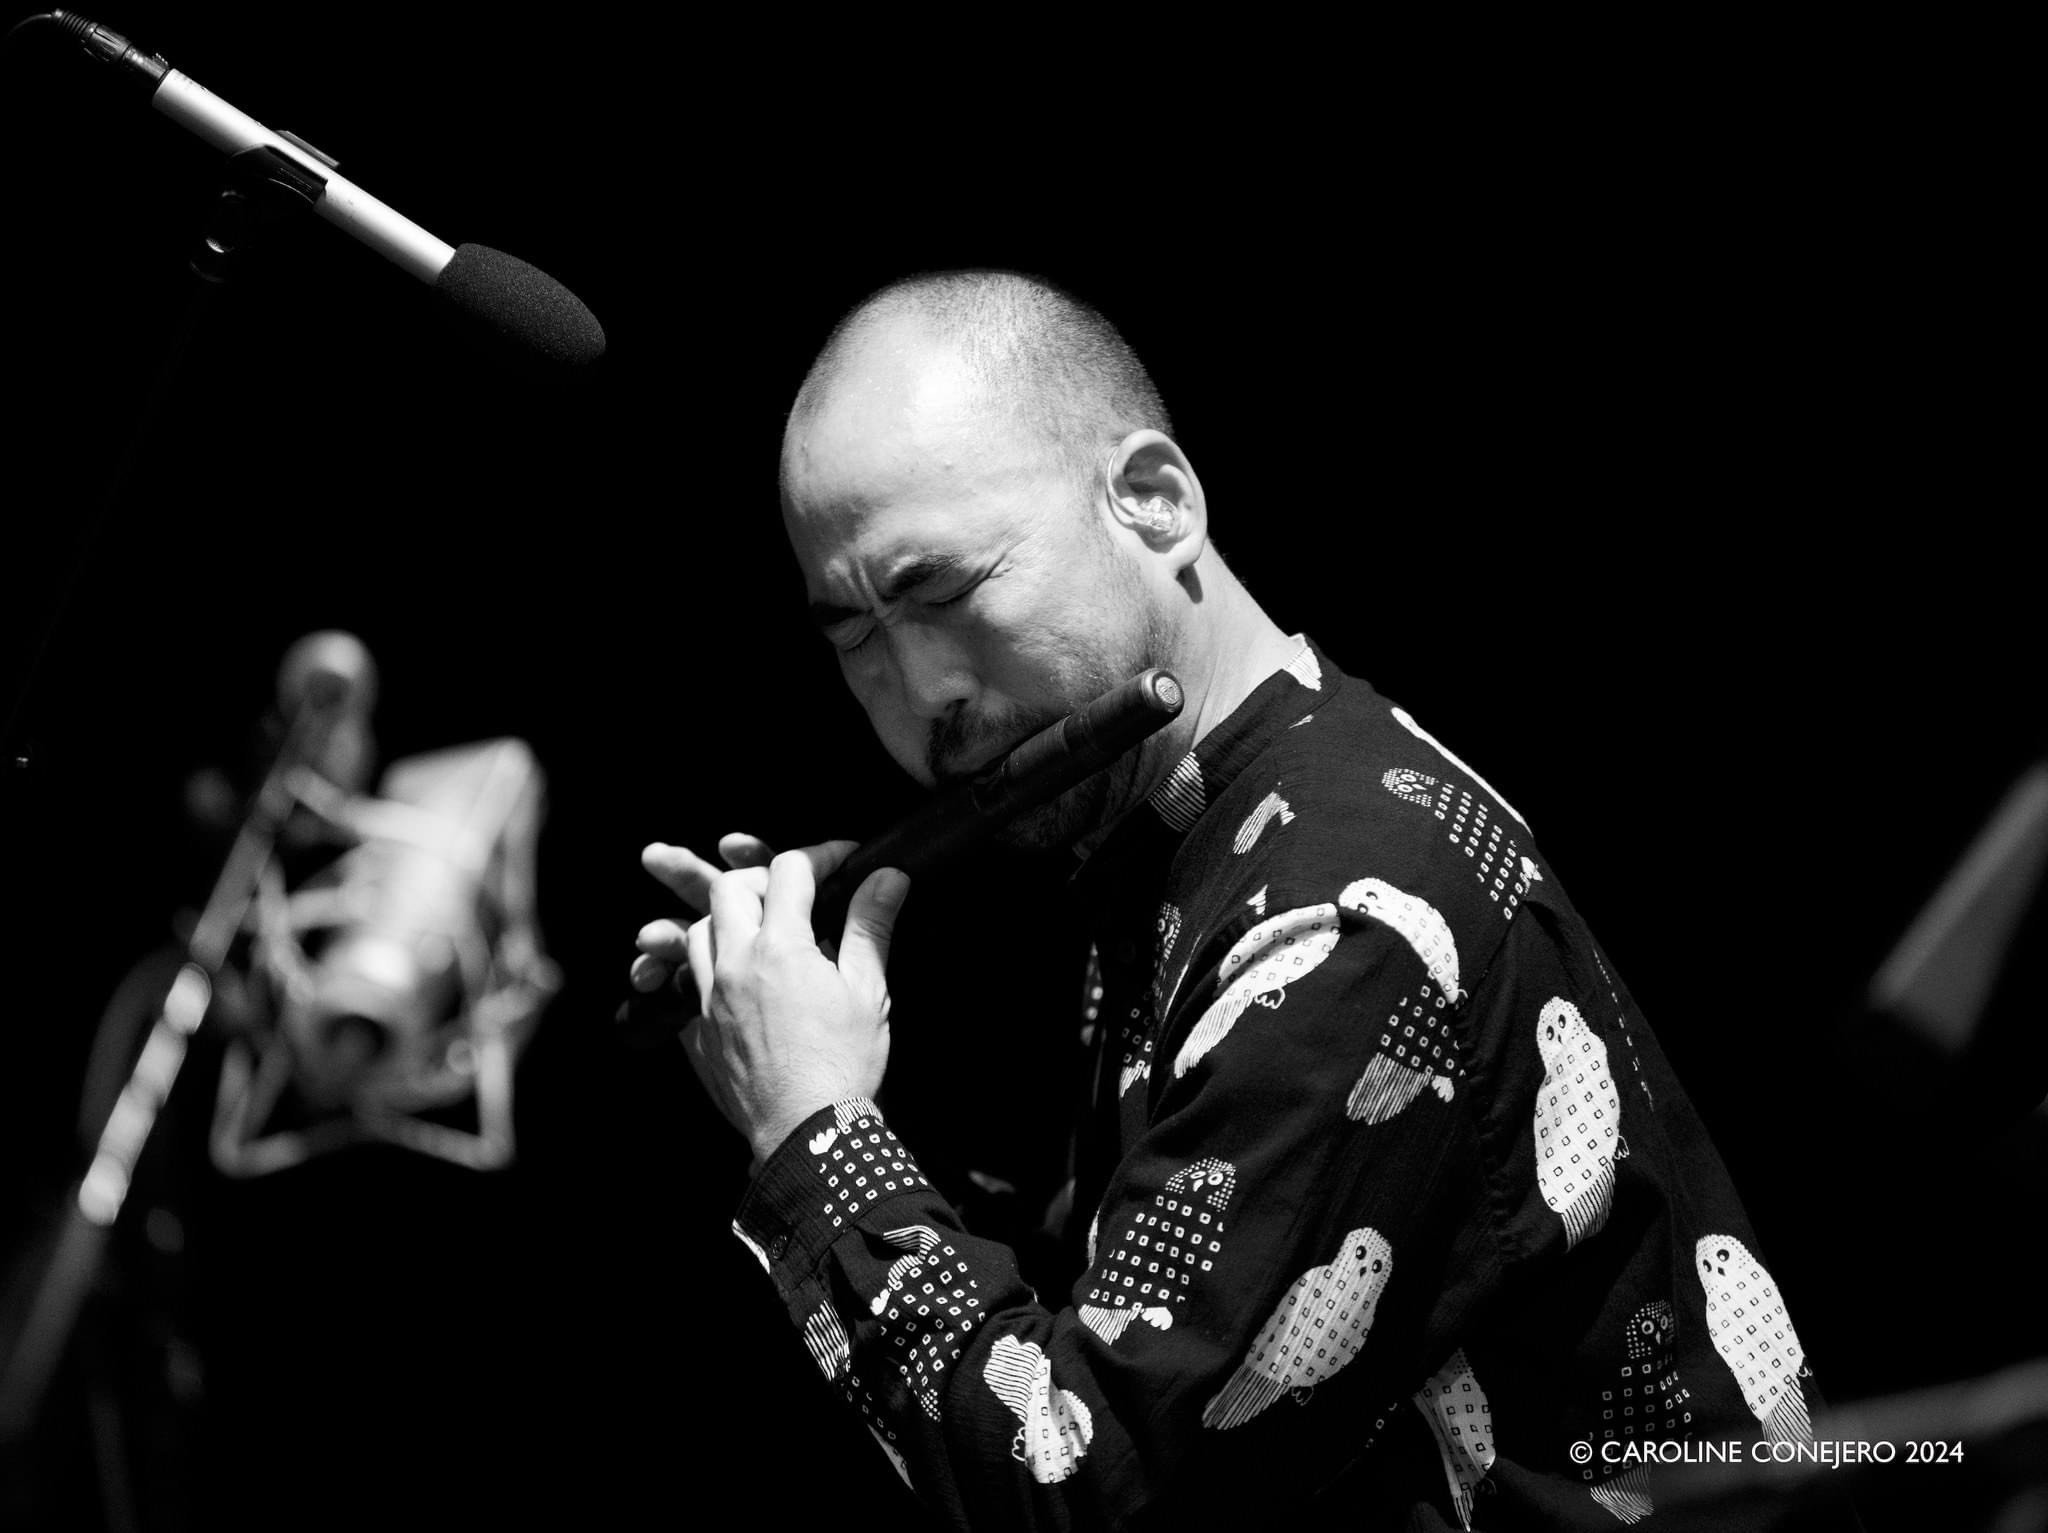
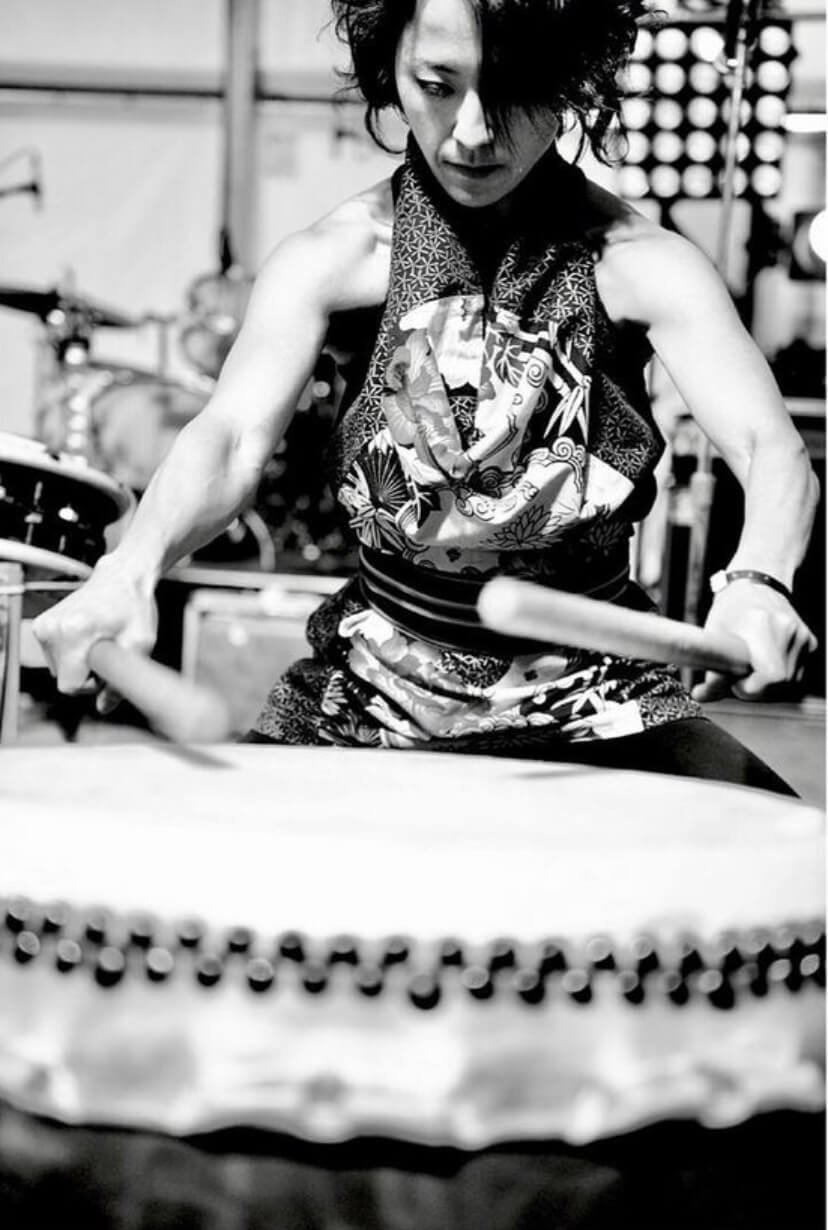
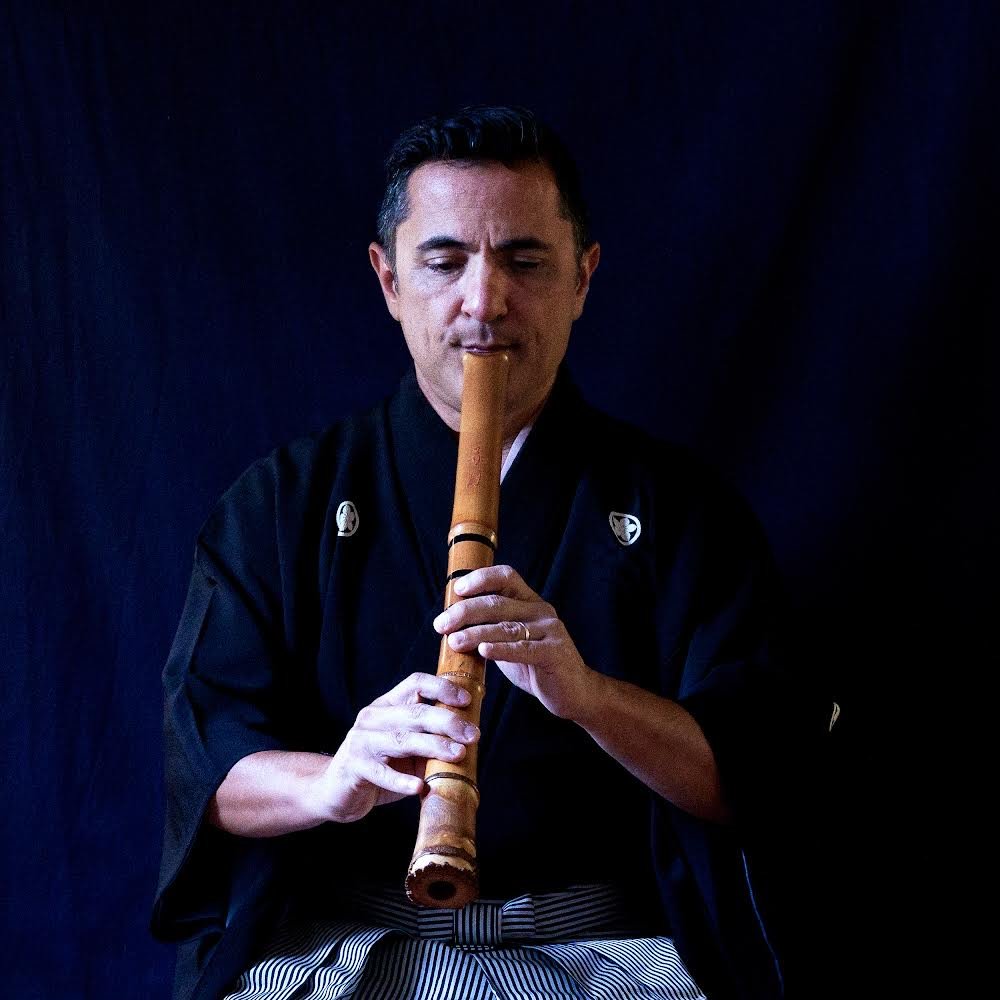
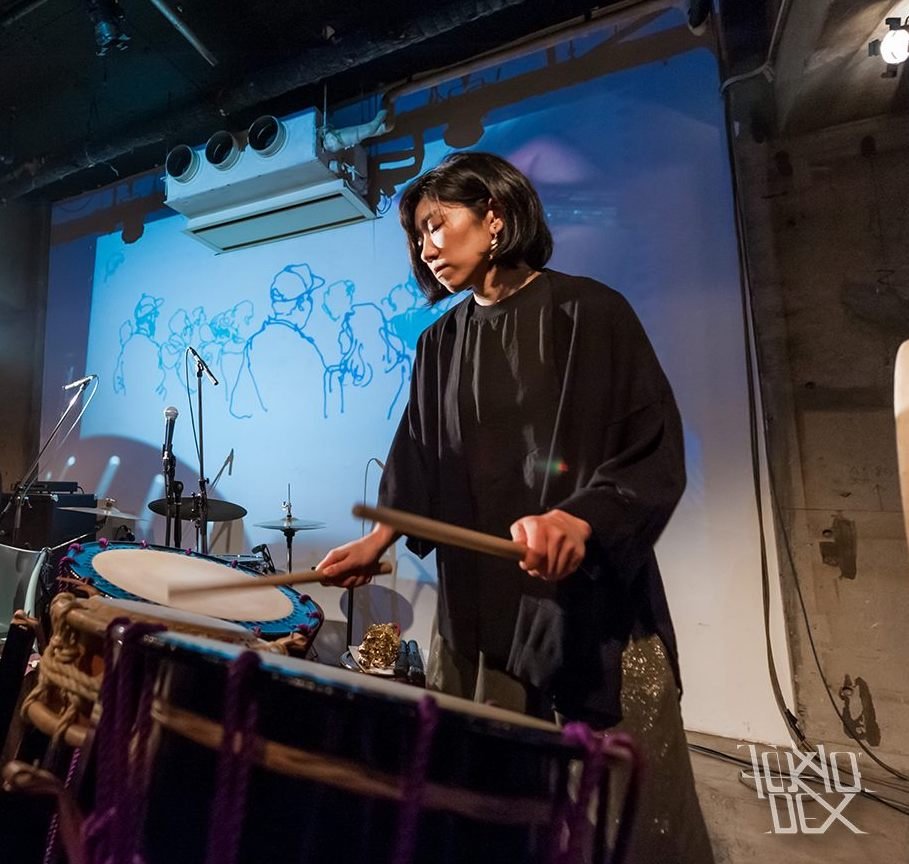
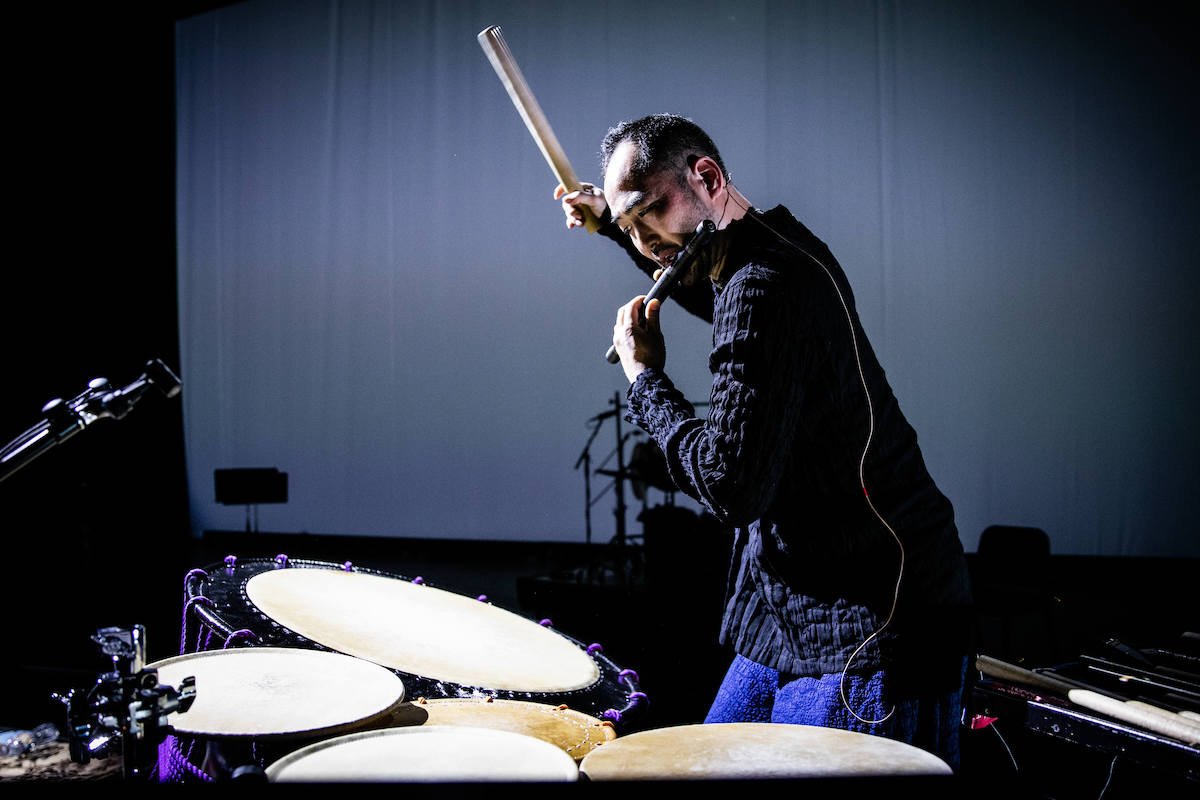
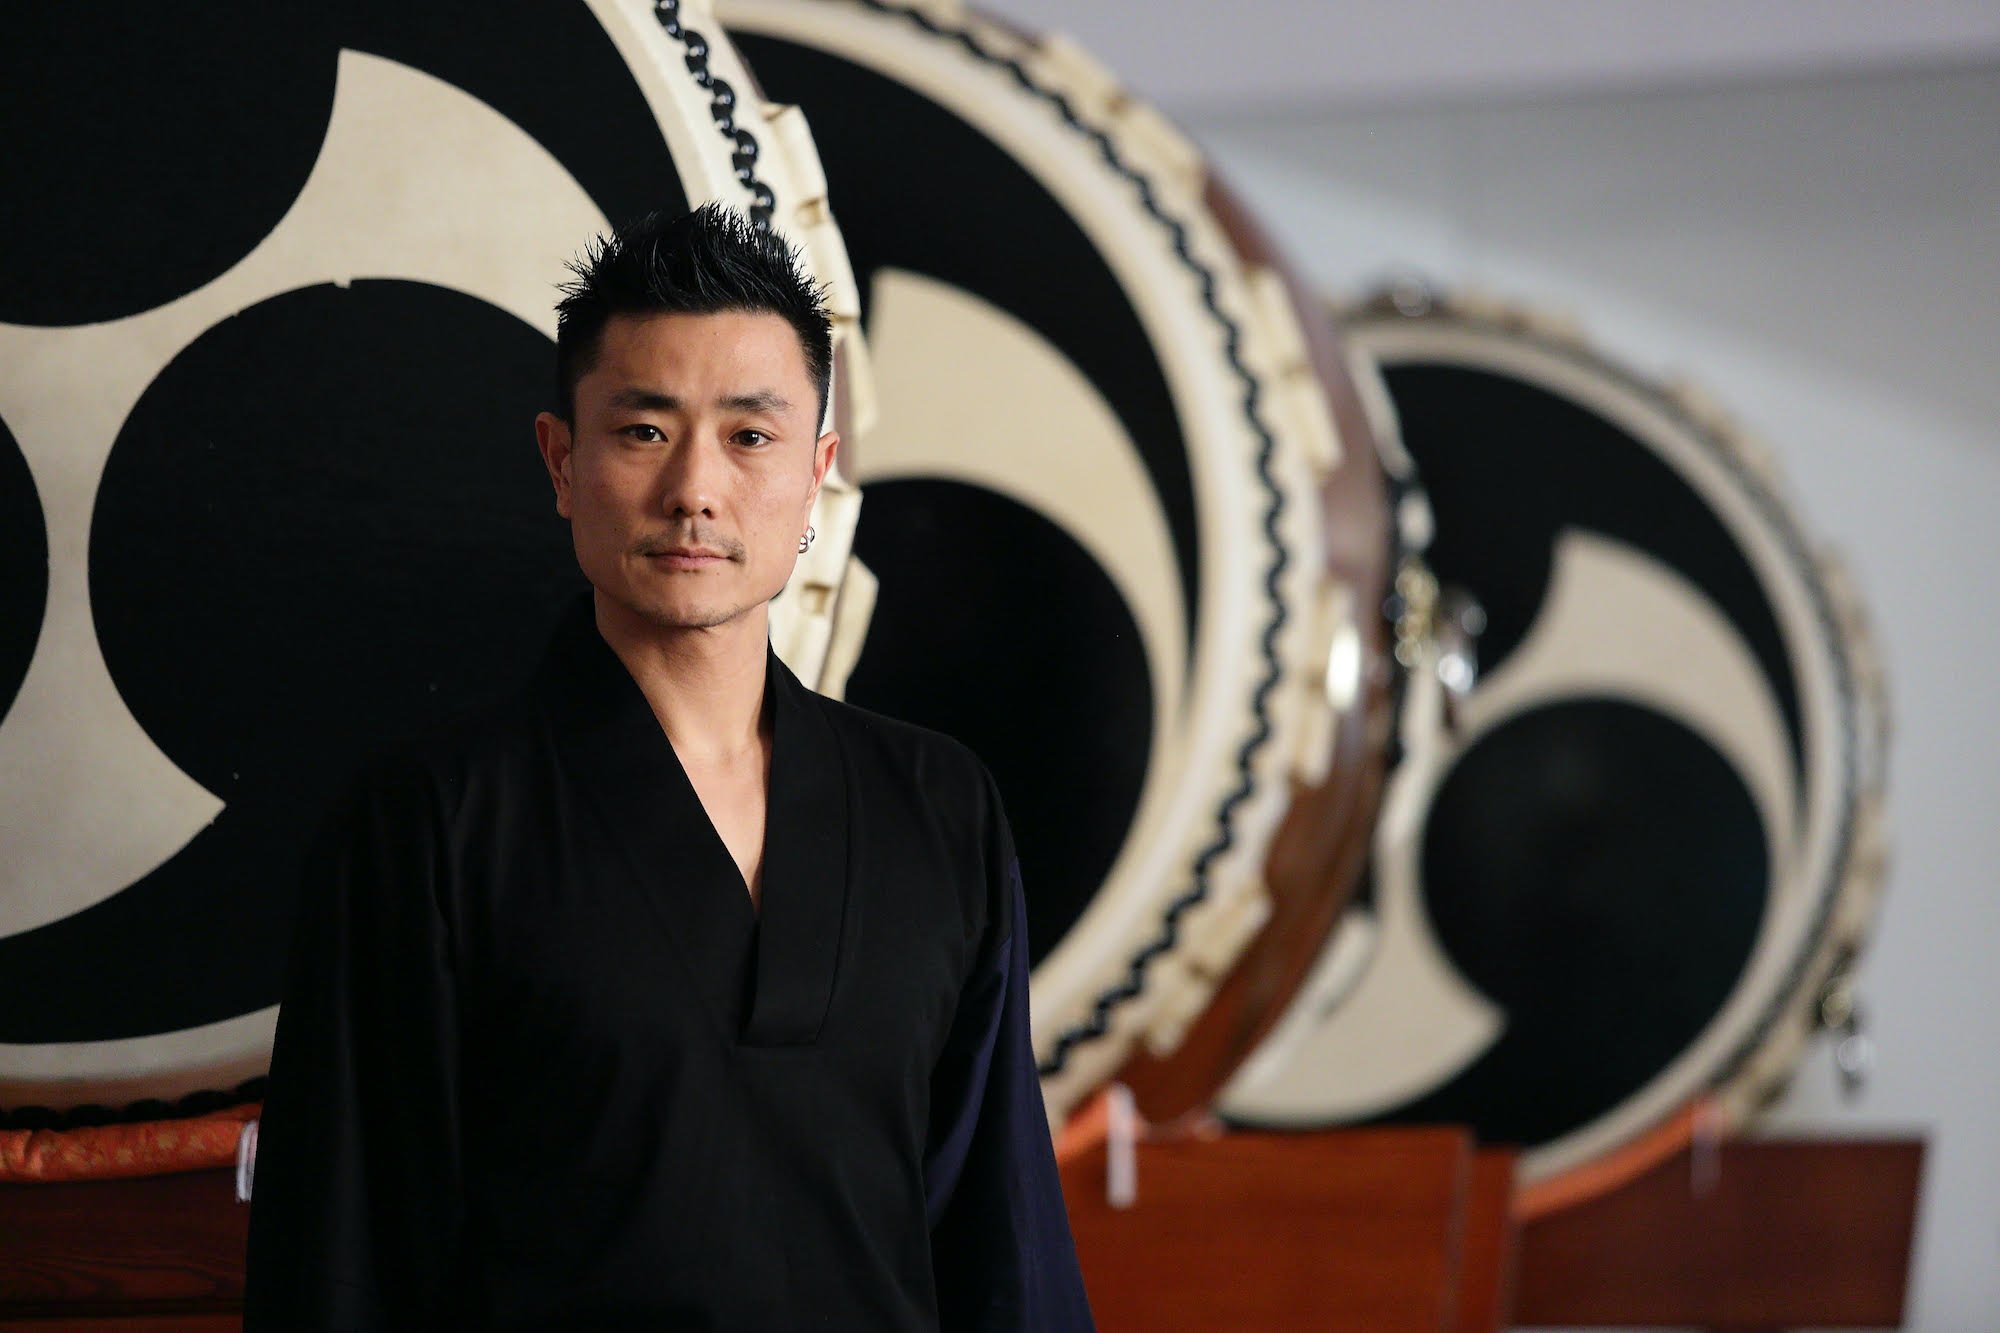
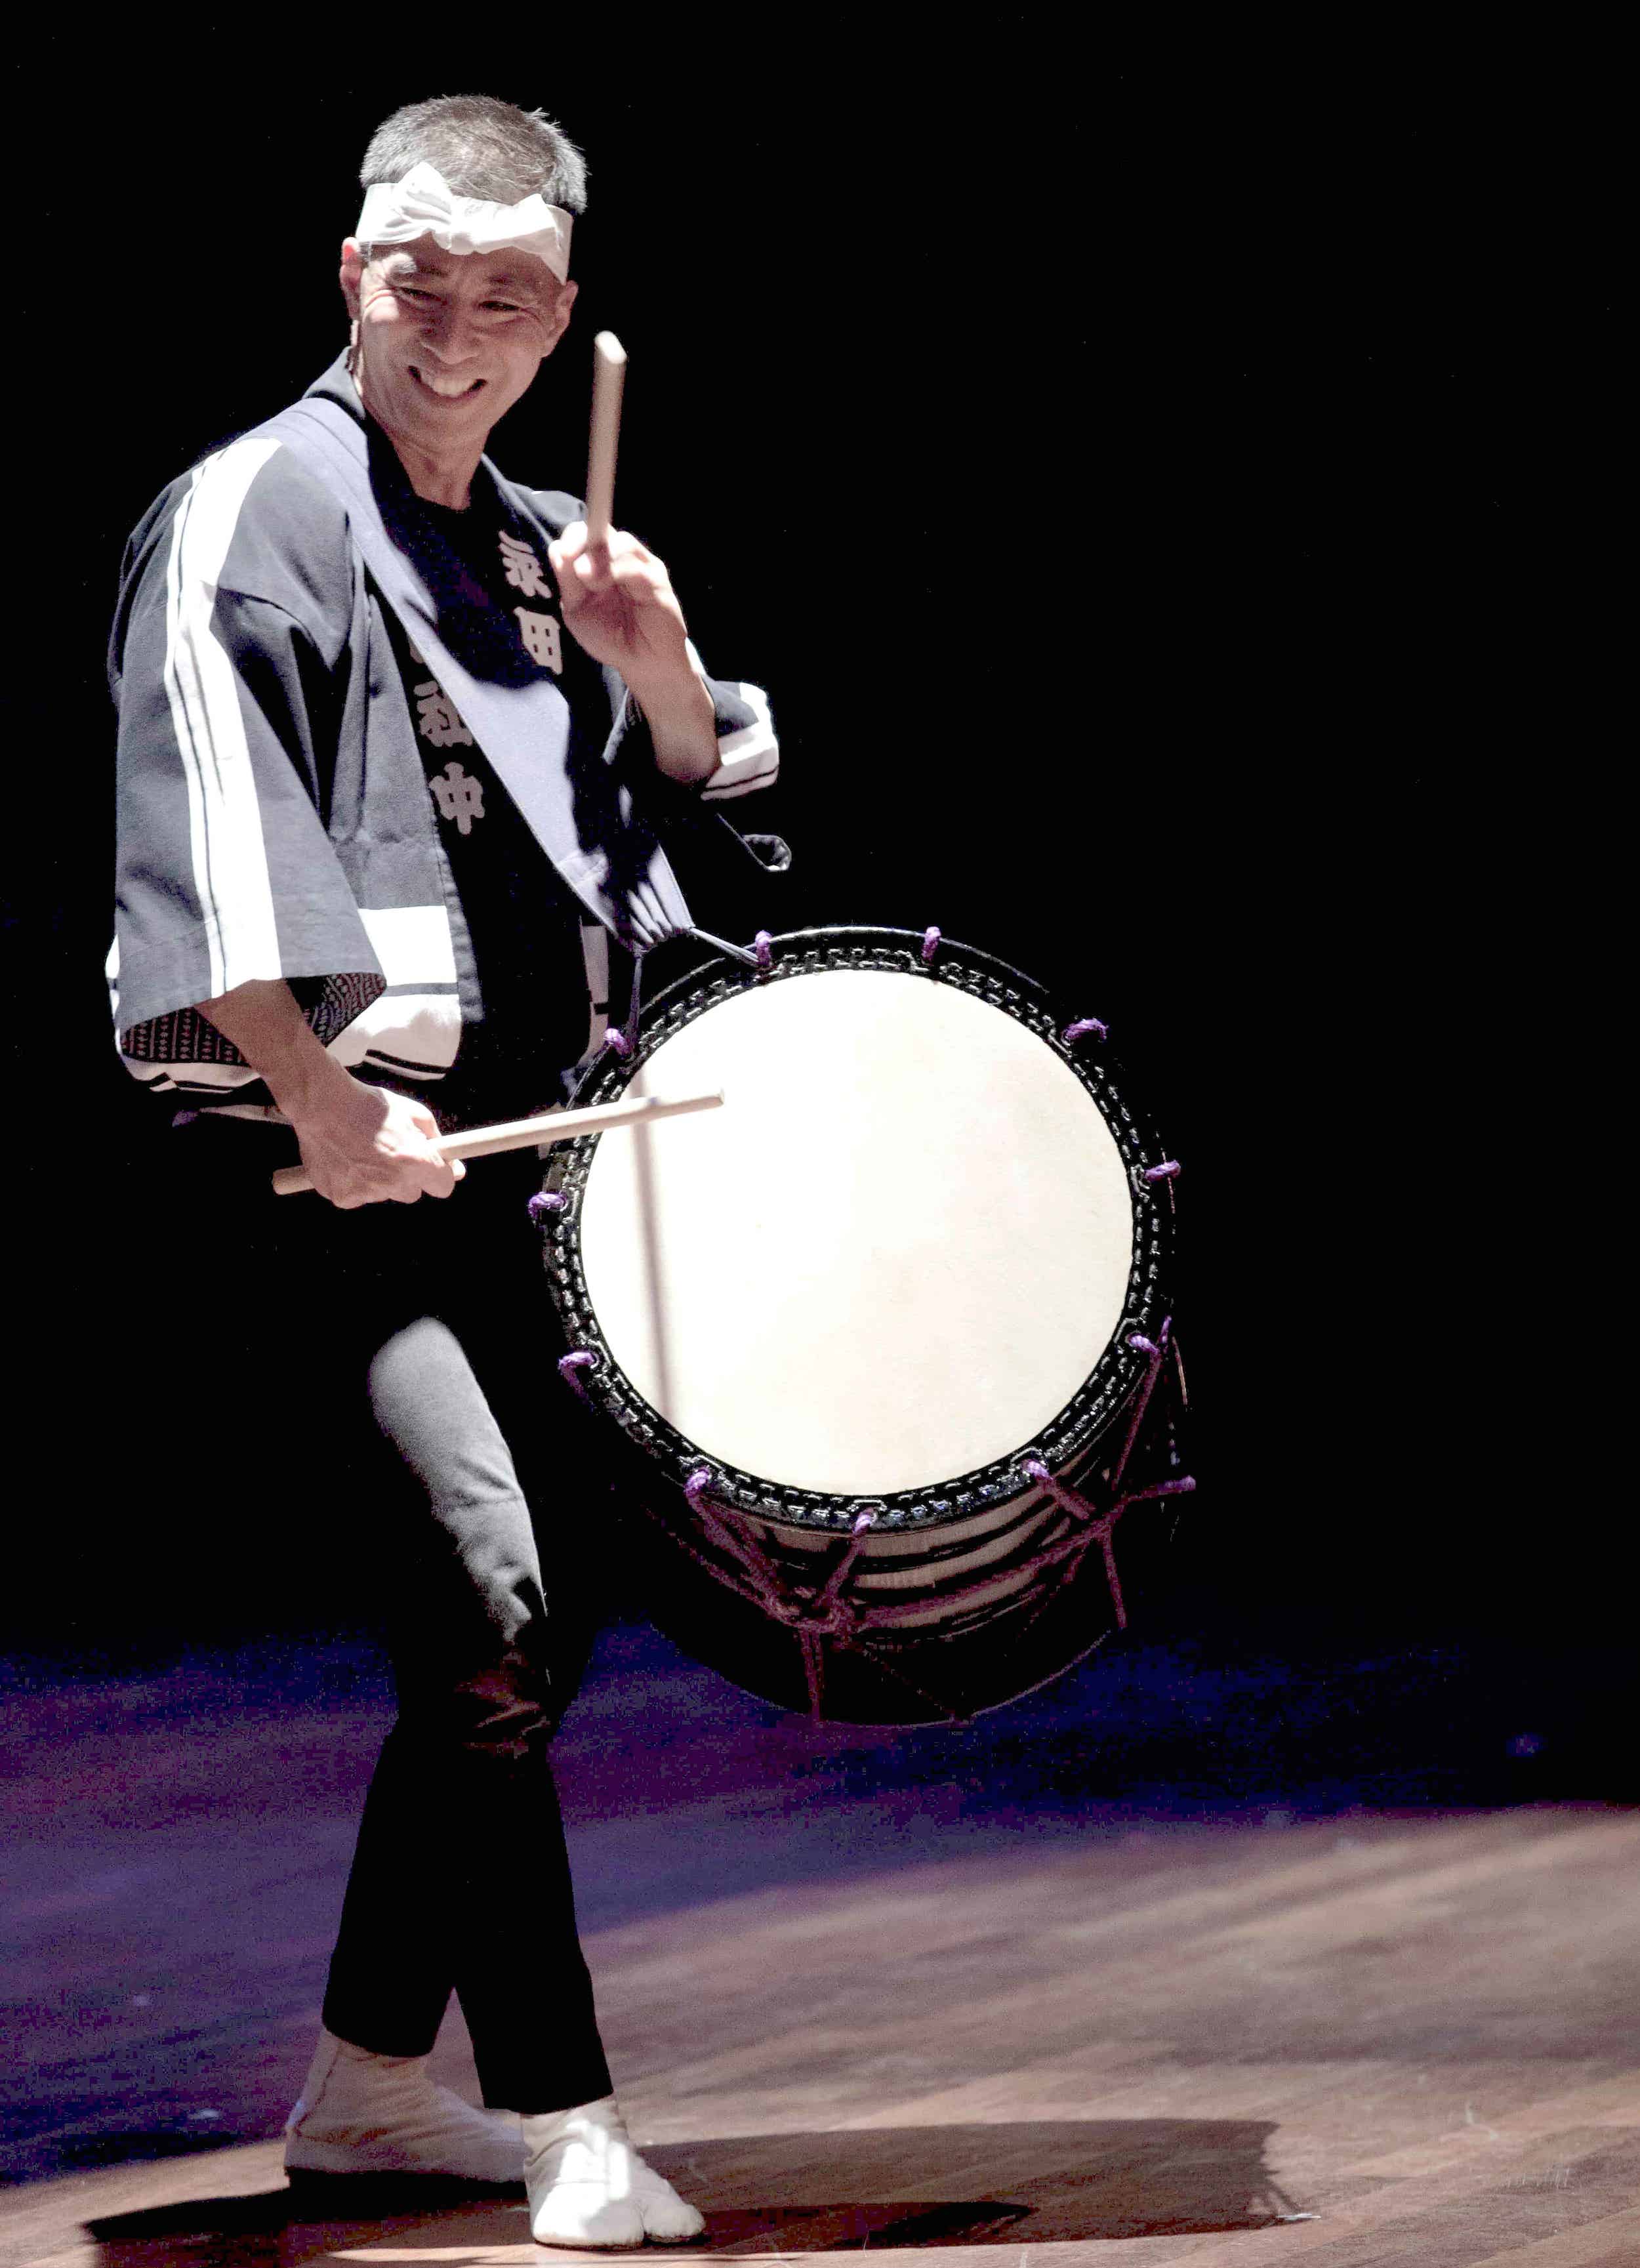
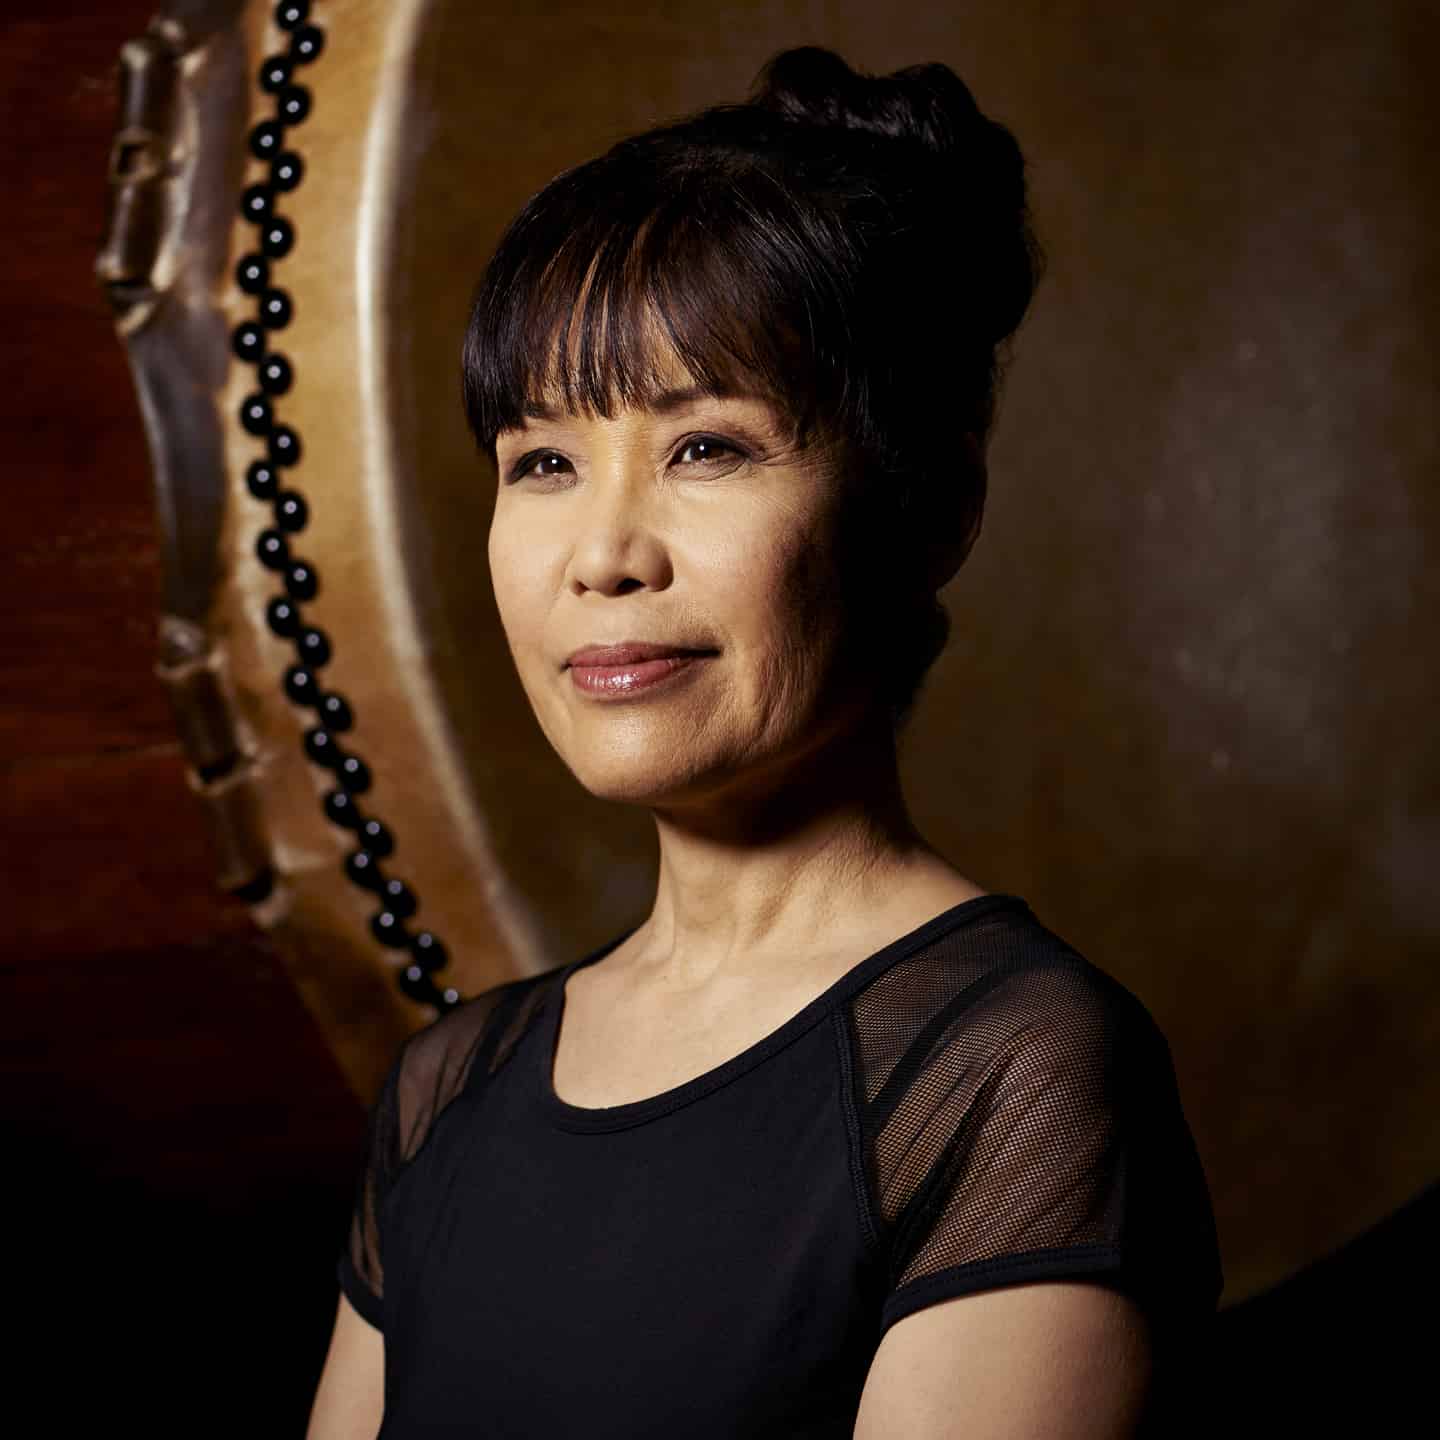
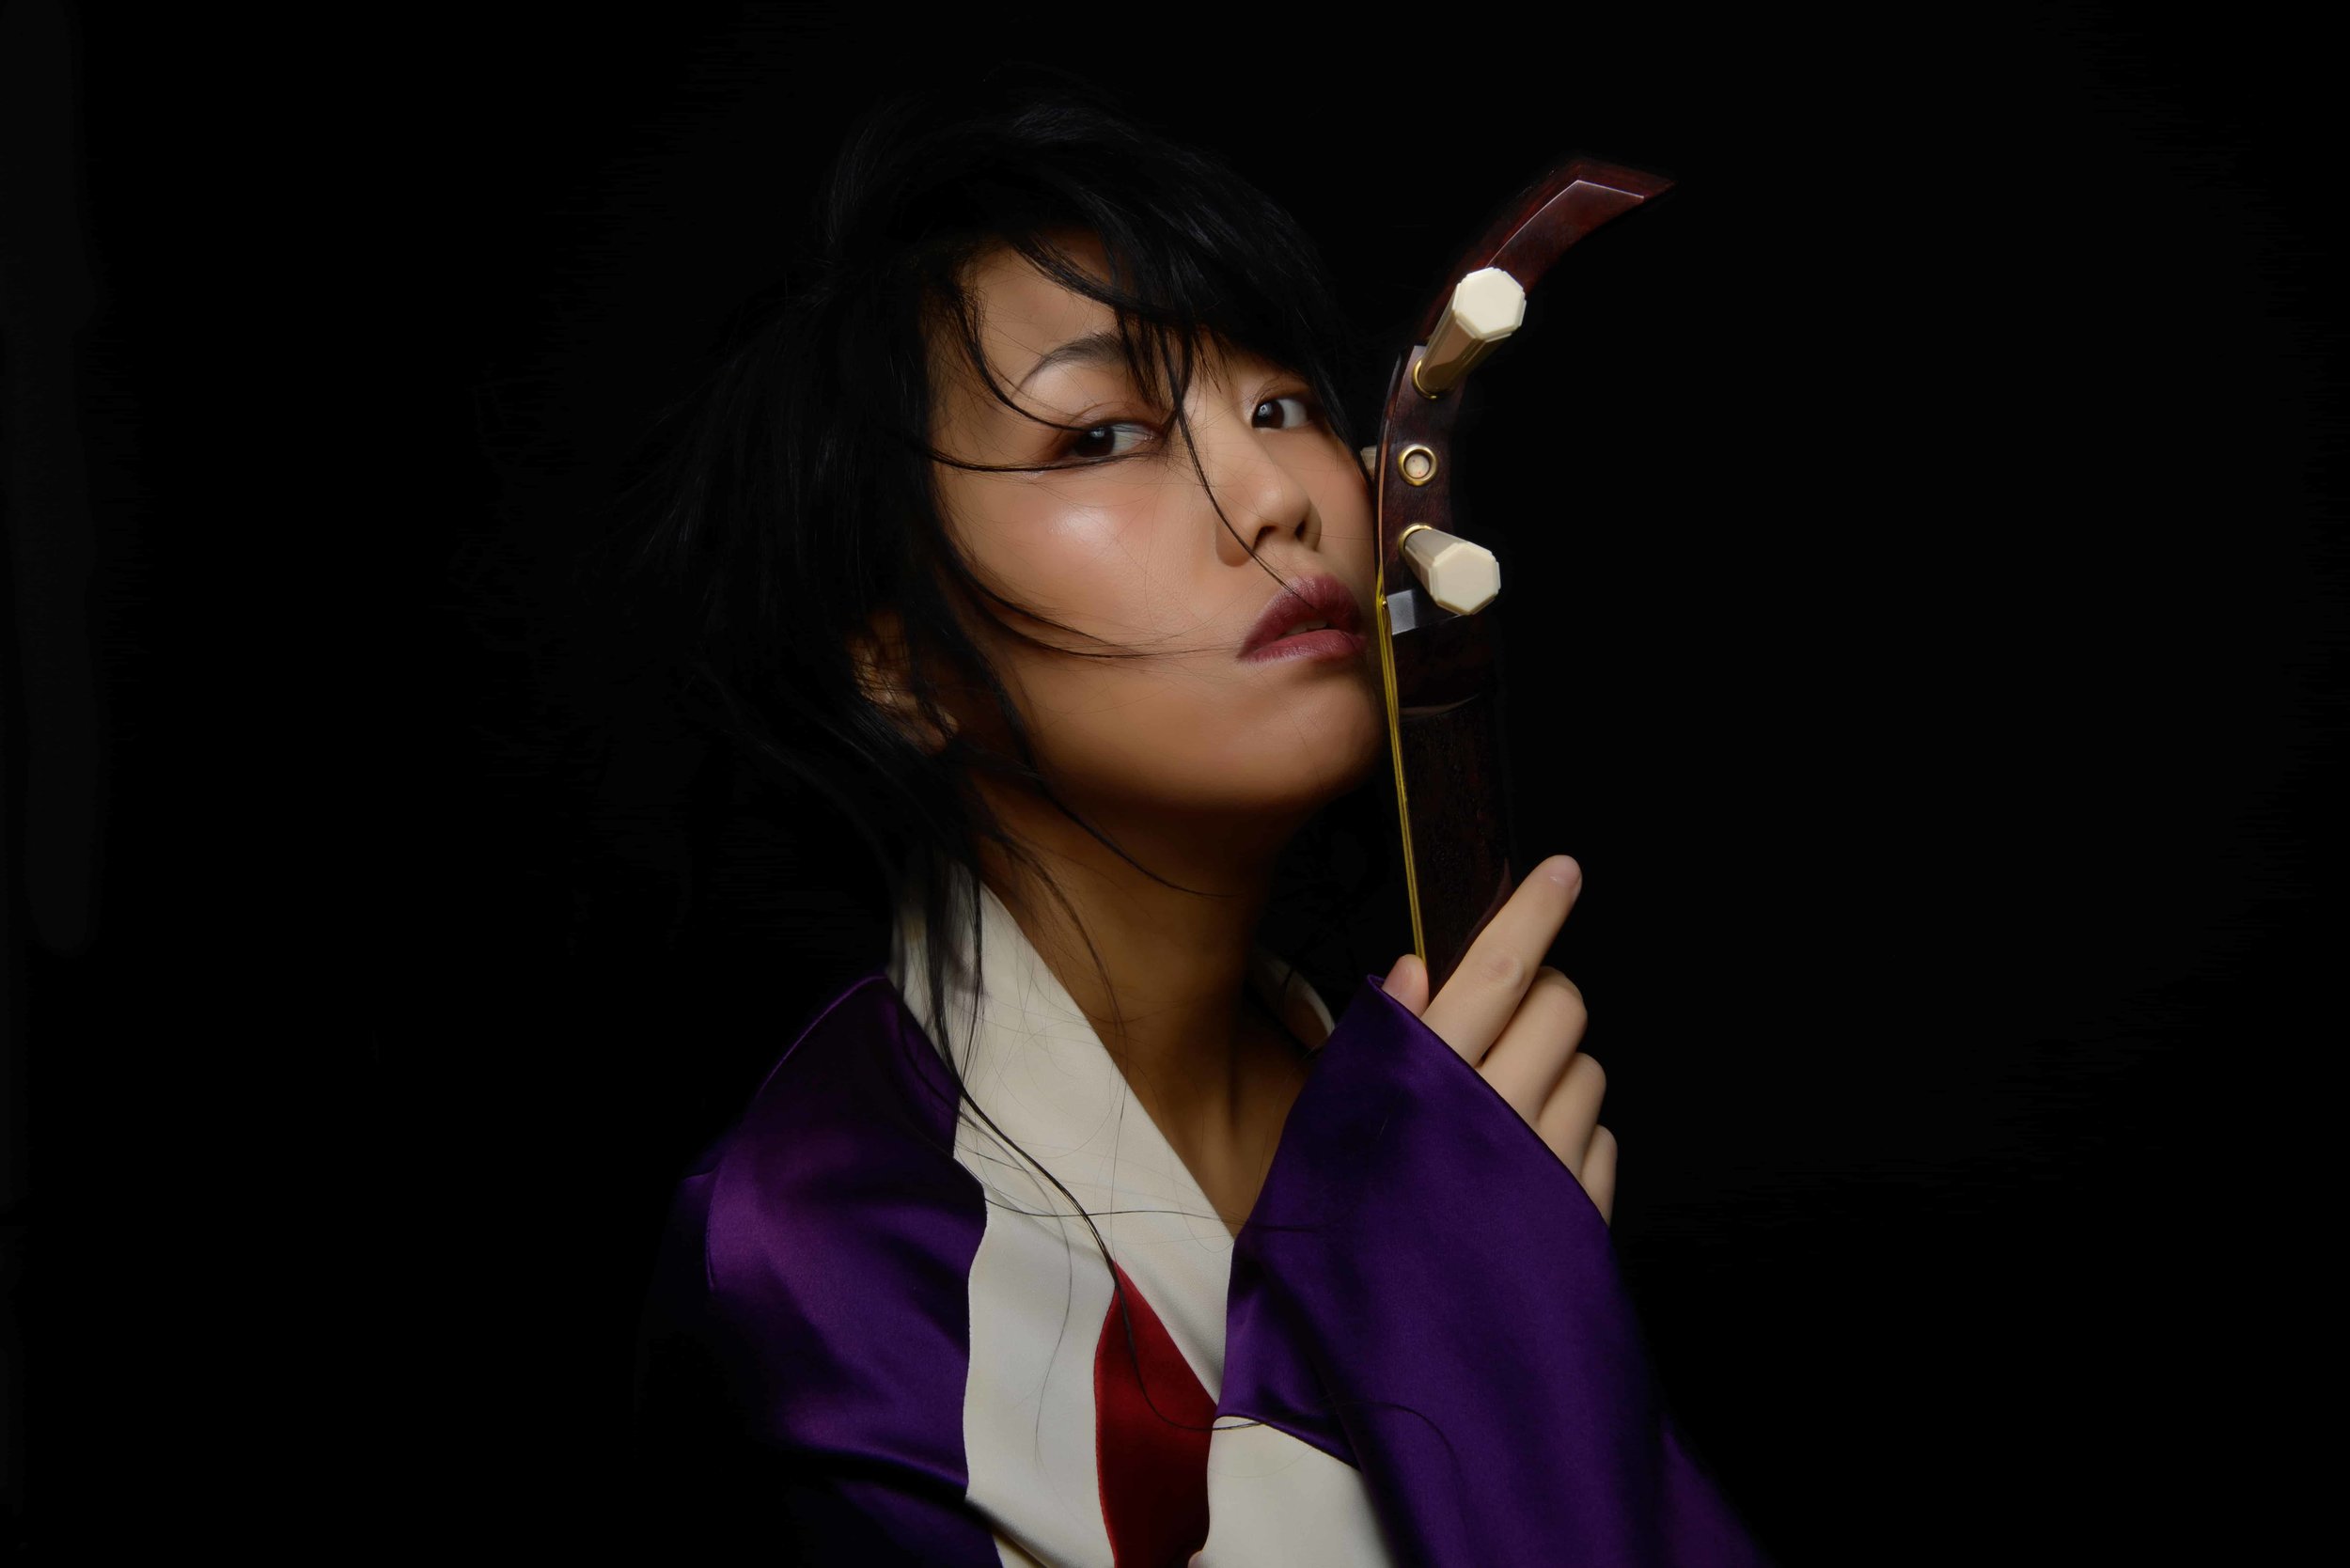
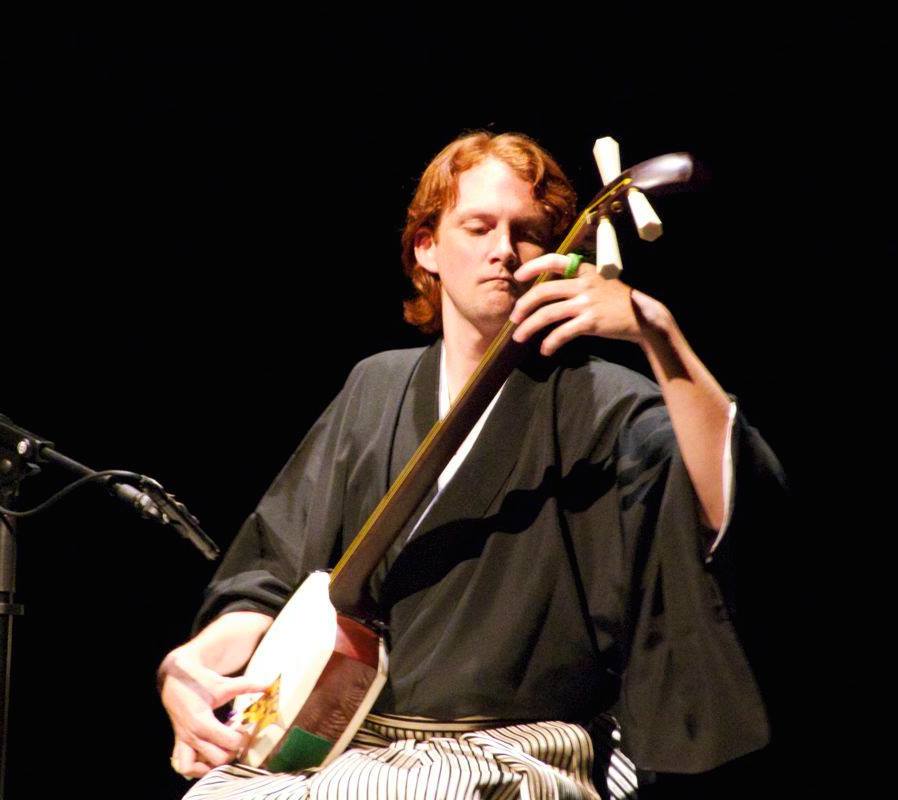
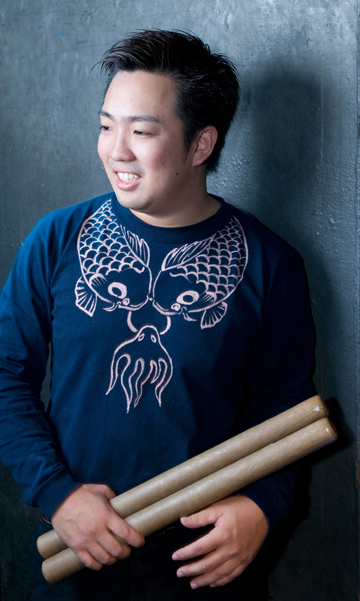
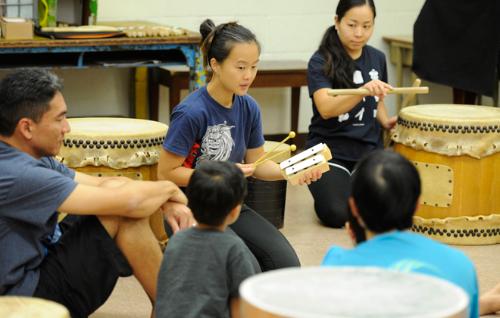
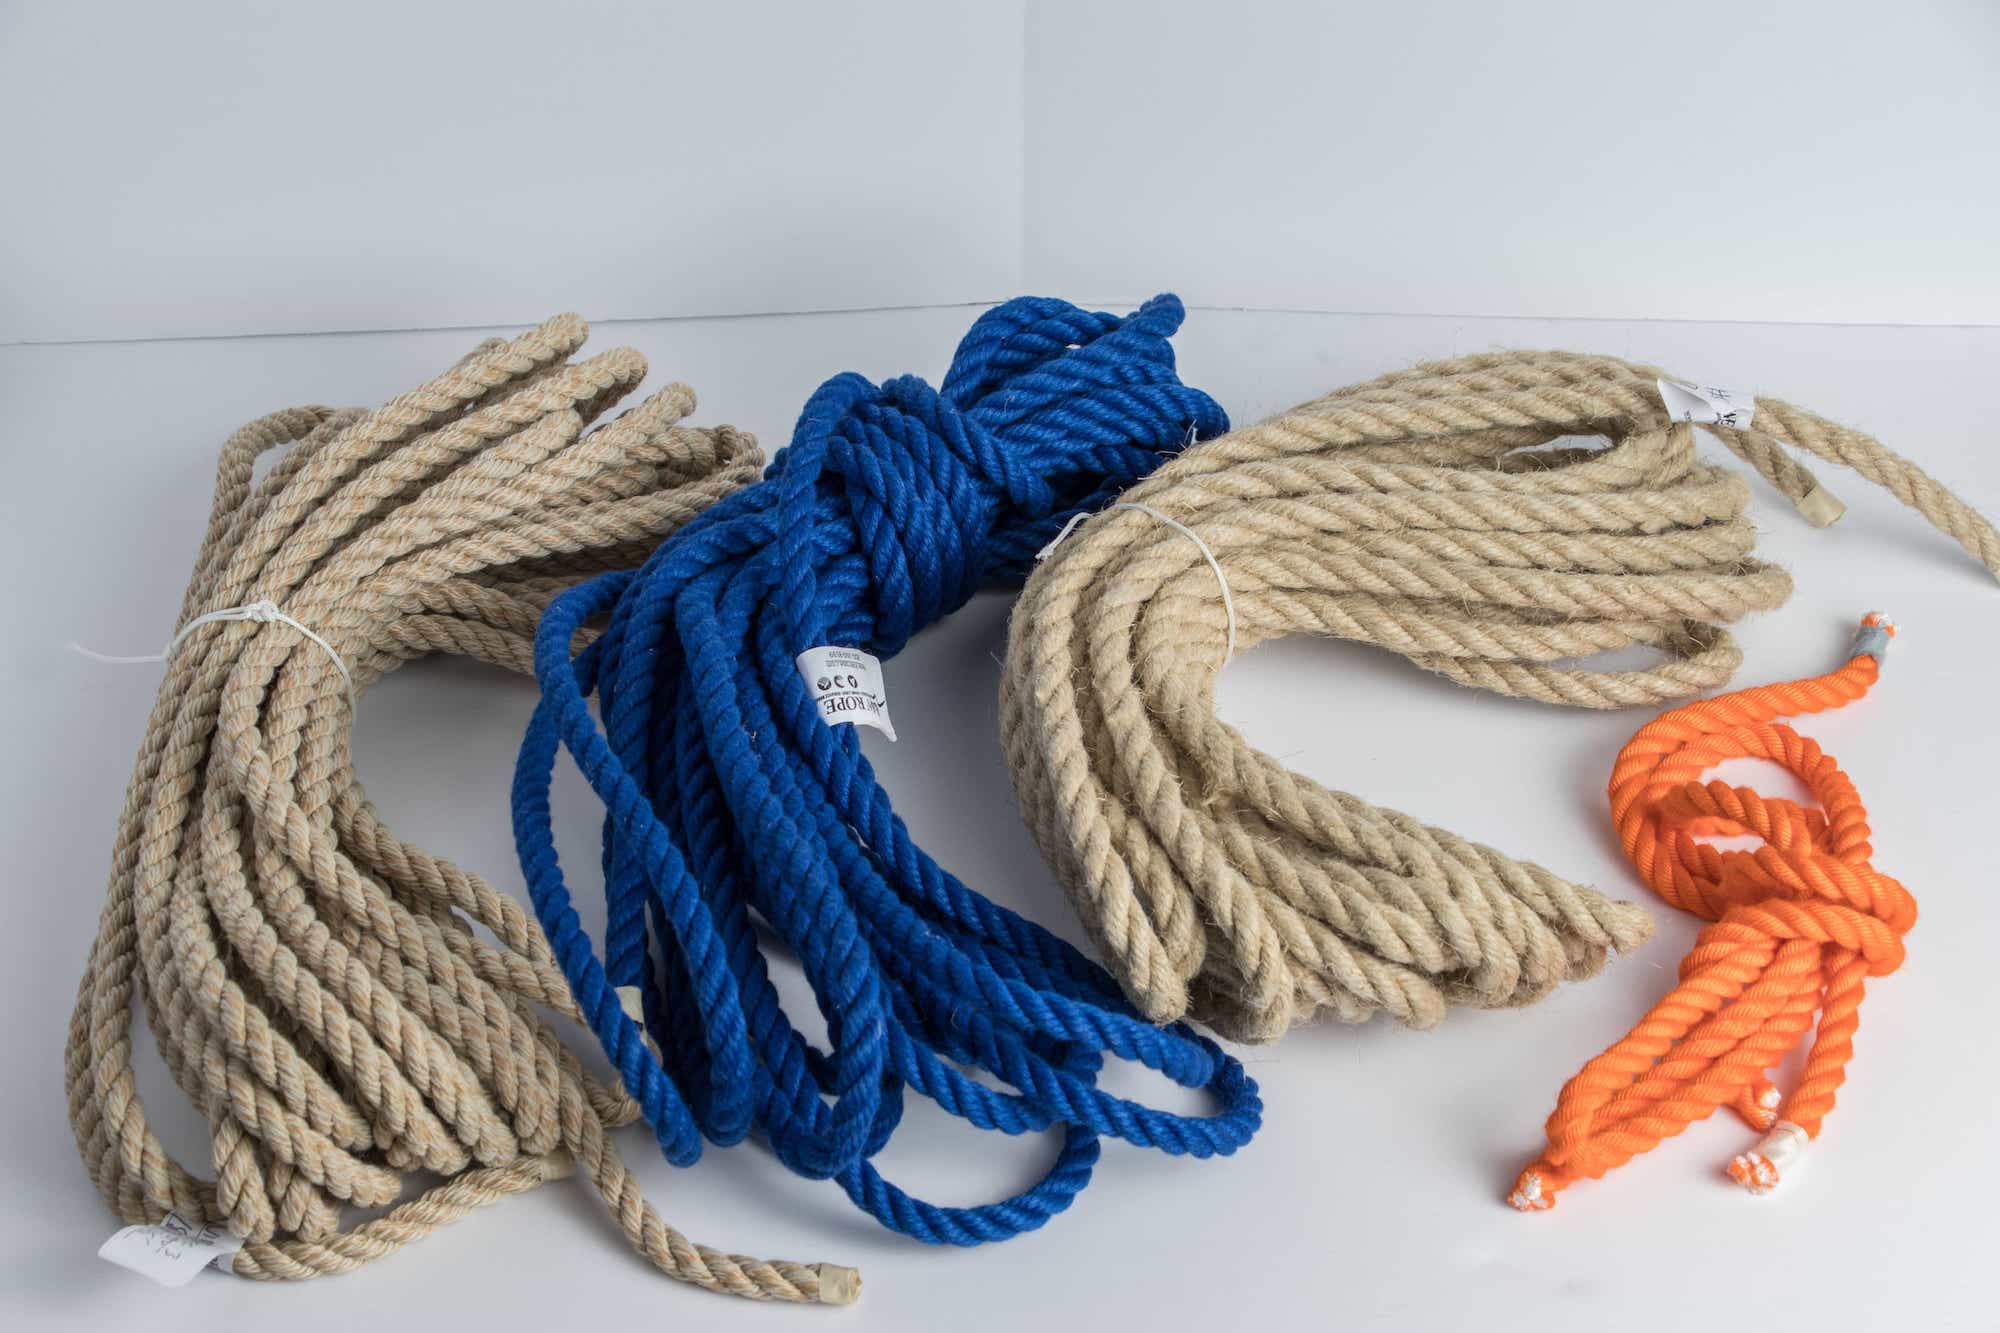
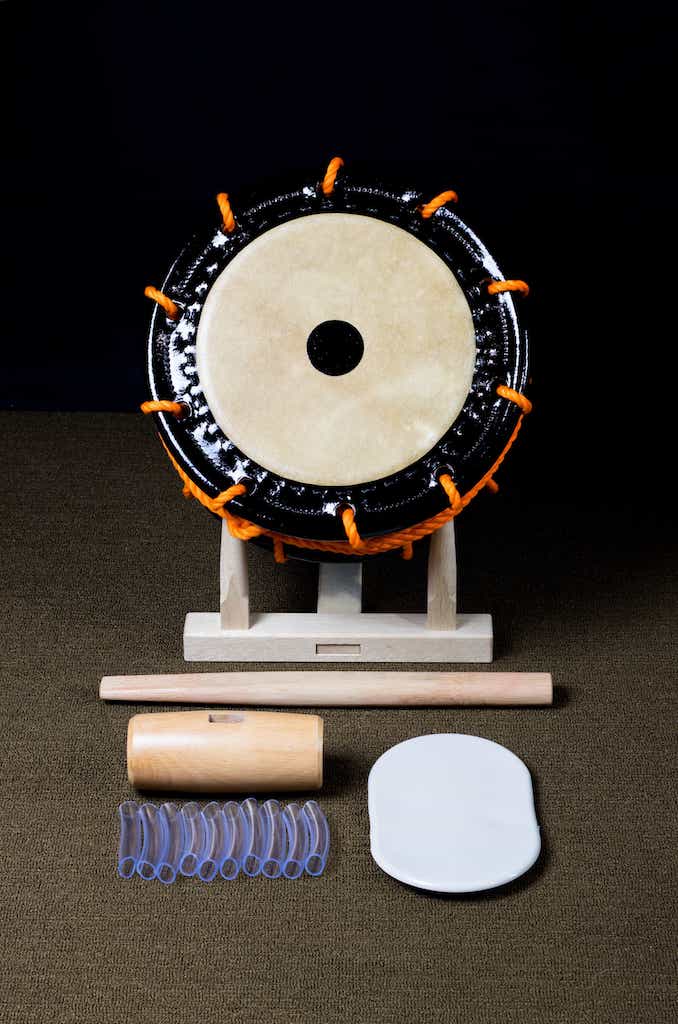
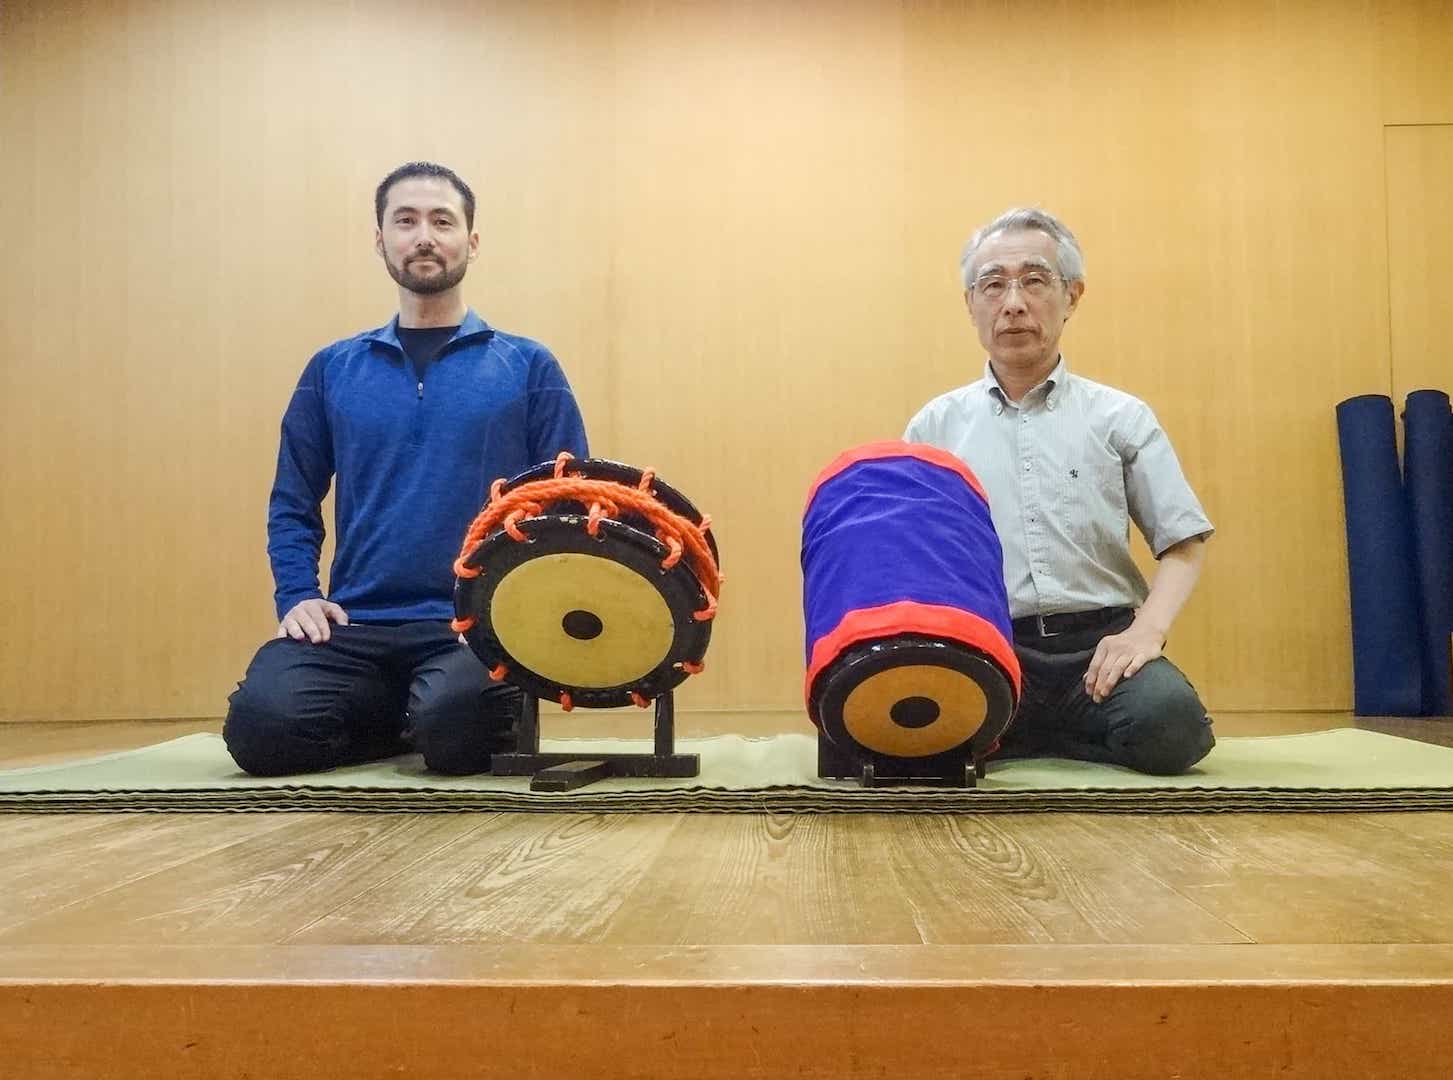
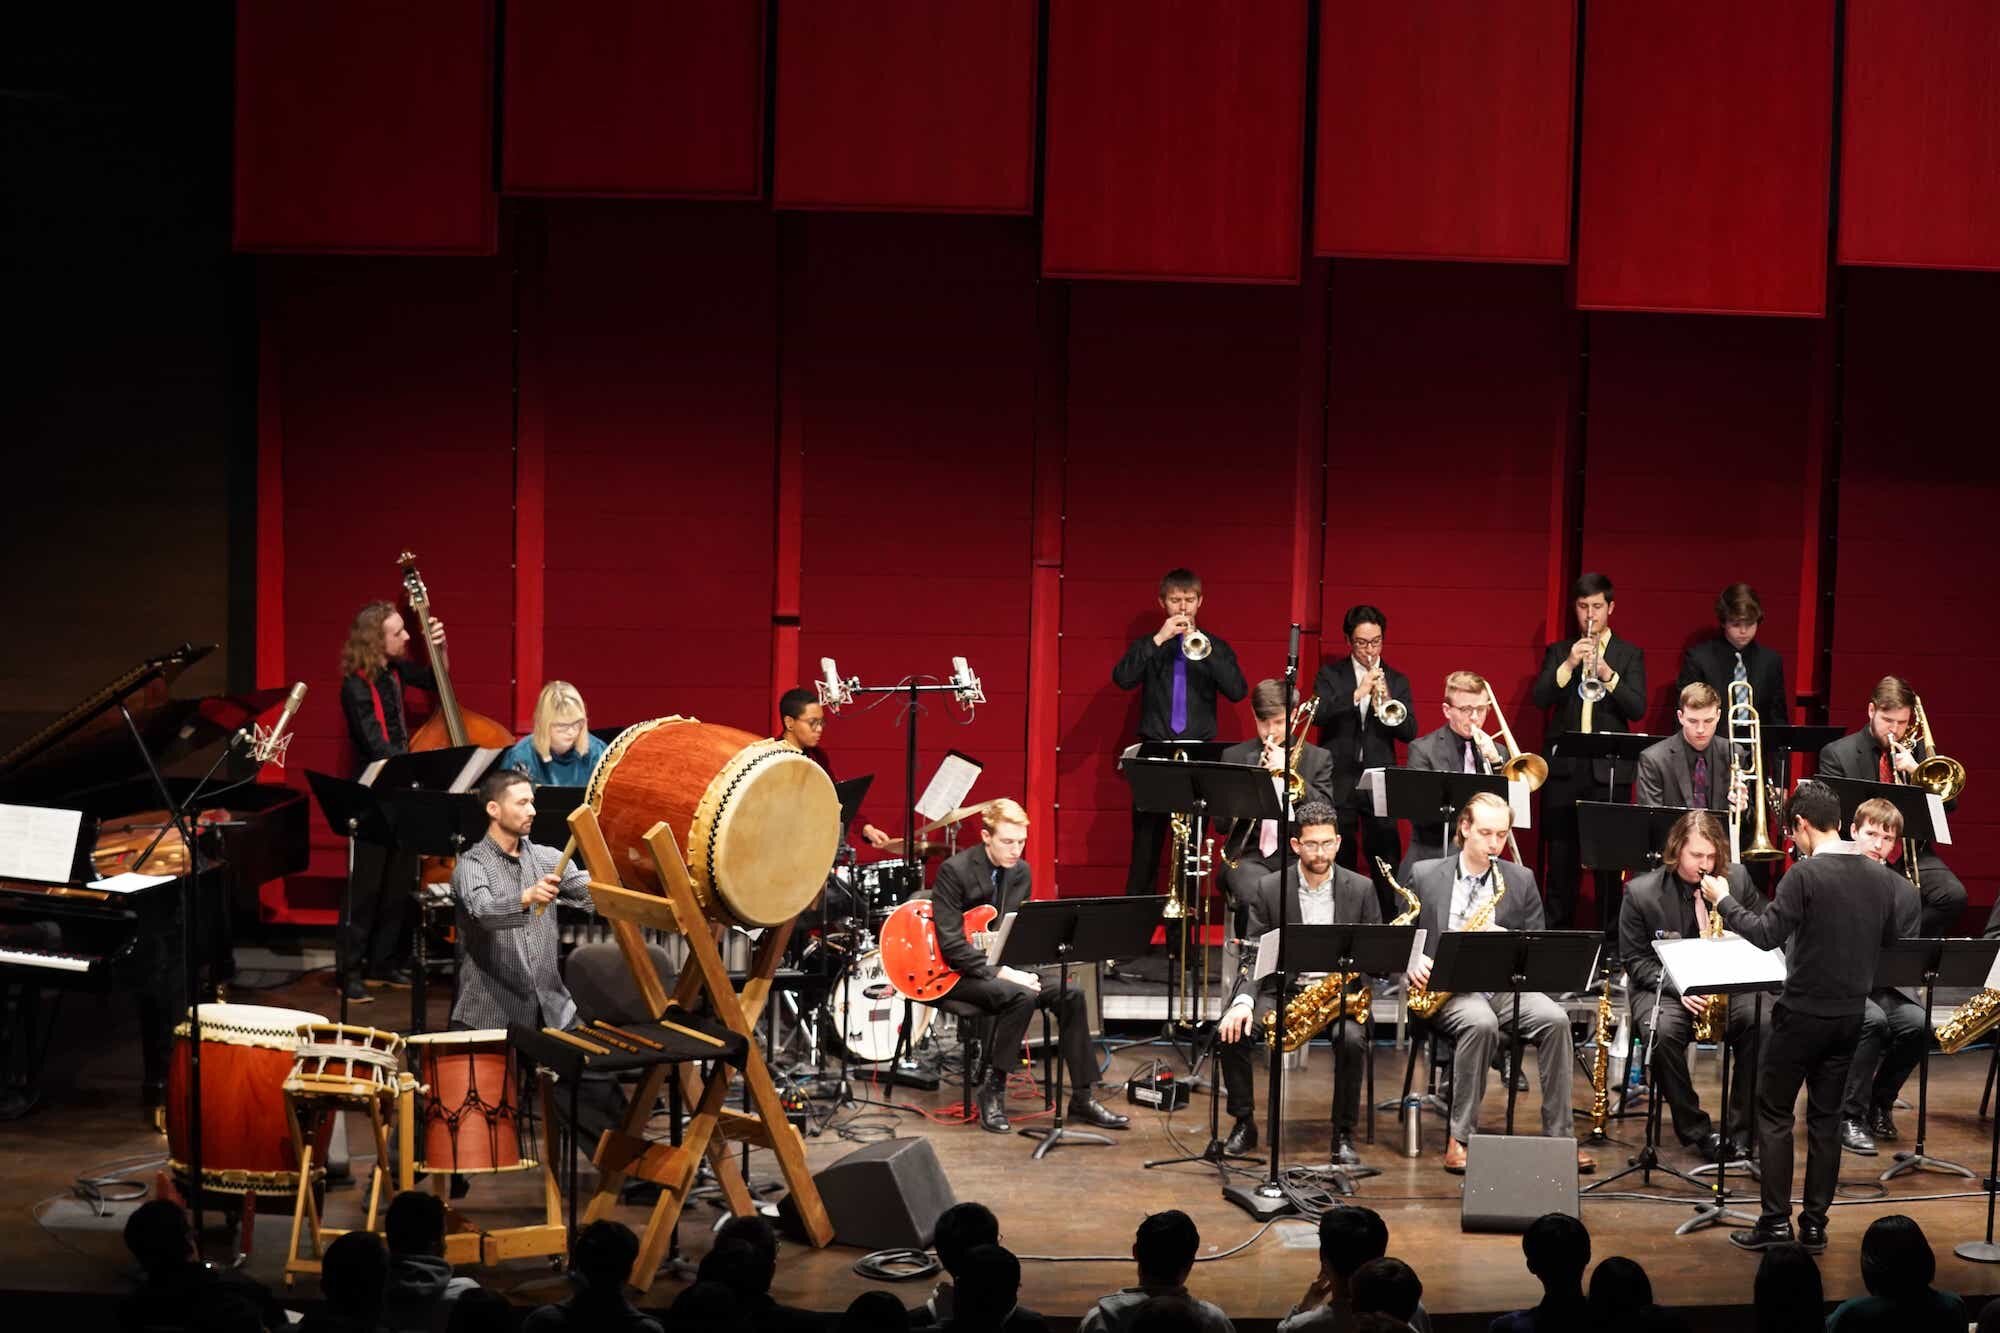
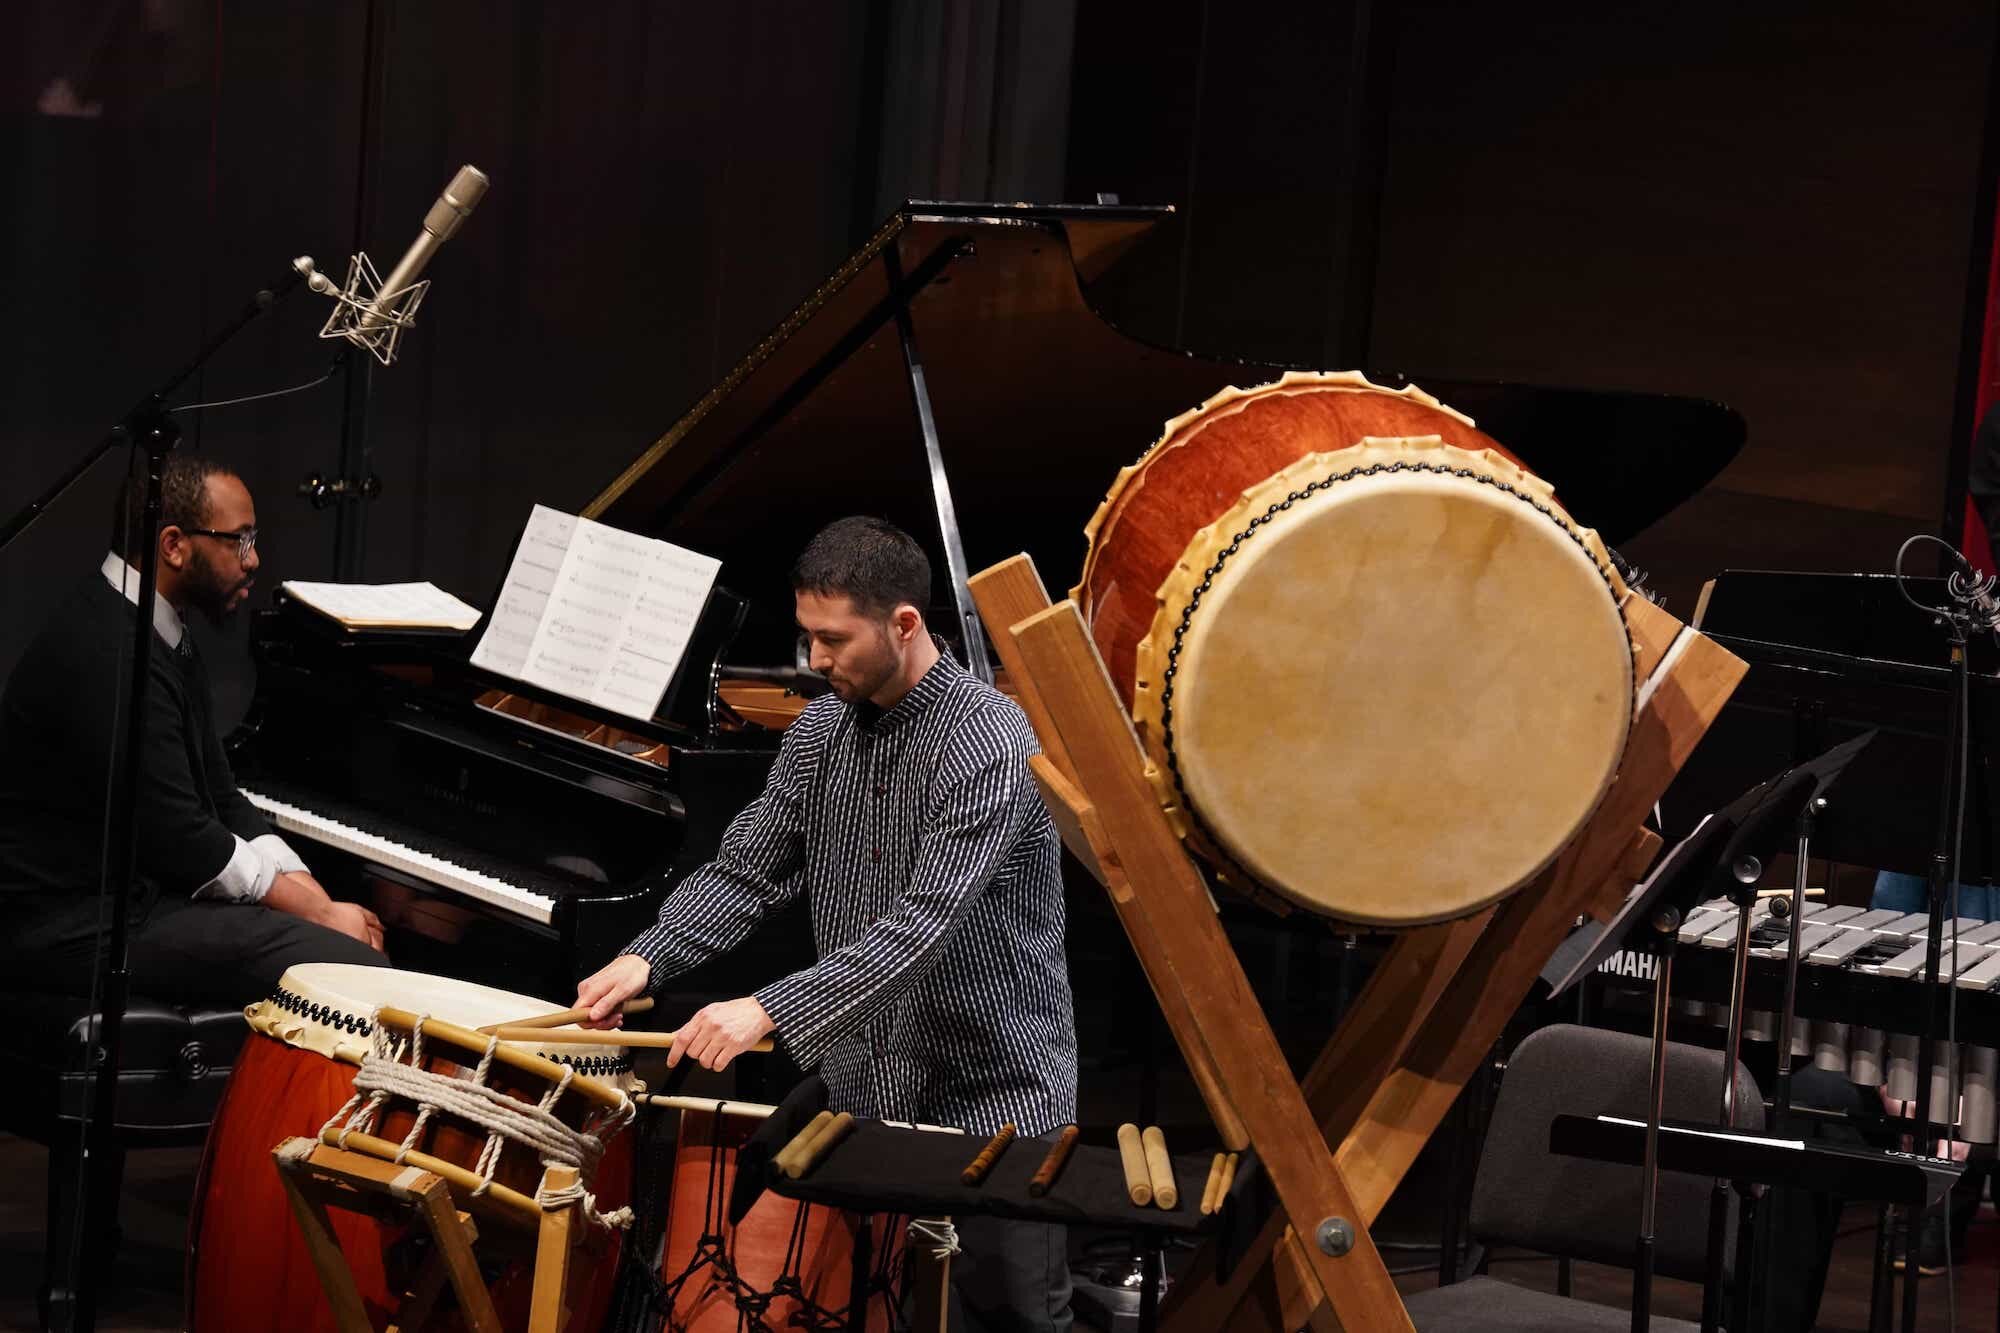
Last summer Masa contacted me about the possibility of collaborating on a performance of his composition for taiko and 18-piece jazz orchestra. I quickly said yes because it sounded like an intriguing and unusual project with an underlining special significance. Originally from Fukushima Prefecture, Masa wrote Mujo Suite to commemorate the victims of the 2011 earthquake and tsunami disaster of northeastern Japan. After a half year of planning, we performed Mujo Suite at the University of Iowa on February 22. I also conducted lectures and workshops for a variety of classes during my residency, and I thoroughly enjoyed my time in Iowa City. I am very grateful to Masa and everyone involved in this project for the warm welcome and wonderful hospitality provided. Thank you also to Soten Taiko for kindly providing the taiko for this residency - it was immensely helpful. The photos and concert video are included at the bottom of this page.
I had a great time talking with Masa for this interview. We covered a lot of topics including the details about Mujo Suite, his background in Japan and the US, composing for Japanese instruments, my University of Iowa residency, his recent visit to Fukushima, Toshiko Akiyoshi and Eitetsu Hayashi, his teaching philosophy, and much more. Masa writes beautiful music and is a fantastic jazz pianist, and he speaks with much thoughtfulness, humility, and gratitude. The interview also features several samples from his album Dialogue which is linked below along with his facebook page.

Originally from Fukushima Japan, Masayoshi Ishikawa grew up in a city called Aizu Wakamatsu. Throughout his primary and secondary school years, Masa actively participated in several choirs. He came to the United States in 2003 to begin his formal musical training in Seattle Washington, where he first found his passion for piano and the art of jazz.
As a pianist, Masa has performed at many jazz festivals and concerts in Italy, China, Japan and the United States. He was chosen to perform as one of the five finalists for 2016 Jacksonville Jazz Piano Competition. Masa enjoys interacting and cultivating meaningful relationships with listeners and other musicians through performing music.
Masa is also passionate about crafting music with various instrumentations. His composition, Hotaru (firefly), was selected as the winner of 2014 Downbeat Student Music Awards in Graduate Original Composition for Small Ensemble. In 2019, Masa released his first jazz studio album titled Dialogue, which consists of ten original compositions written for vibraphone, piano/keyboards, acoustic bass/electric bass and drums. Several of his compositions have been published from UNC Jazz Press.
In addition to his latest project (Mujo Suite) with Eien Hunter-Ishikawa, Masa wrote and premiered another jazz orchestra multi-movement work titled Suite for the Forgotten in 2015. The suite is dedicated to people who are currently living in Fukushima under the uncertain health impact to the radiation exposure from The Fukushima Daiichi nuclear power plants meltdown in 2011. In this composition, Masa employed a string quartet as well as French horn into the traditional jazz big band instrumentation.
As a sincere respect to Stevie Wonder, one of his musical heroes, Masa presented Stevie Wonder Recomposition Project in 2013. In this project, he selected multiple Wonder compositions to recompose for chamber jazz ensembles with various instrumentations.
He holds two Master of Music Degrees-one in jazz composition from the University of South Florida and one in jazz piano performance from the University of Northern Colorado. He received Doctor of Musical Arts Degree in Composition from the University of Nebraska-Lincoln in 2015. In 2016-19, Masa served as a Visiting part-time Assistant Professor of Music at Gustavus Adolphus College in Minnesota. Currently he serves as a Visiting Assistant Professor of Jazz Studies at the University of Iowa.
Masa’s Facebook
https://www.facebook.com/MasaIshikawaMusic/
Dialogue
https://music.apple.com/us/album/dialogue/1467830569
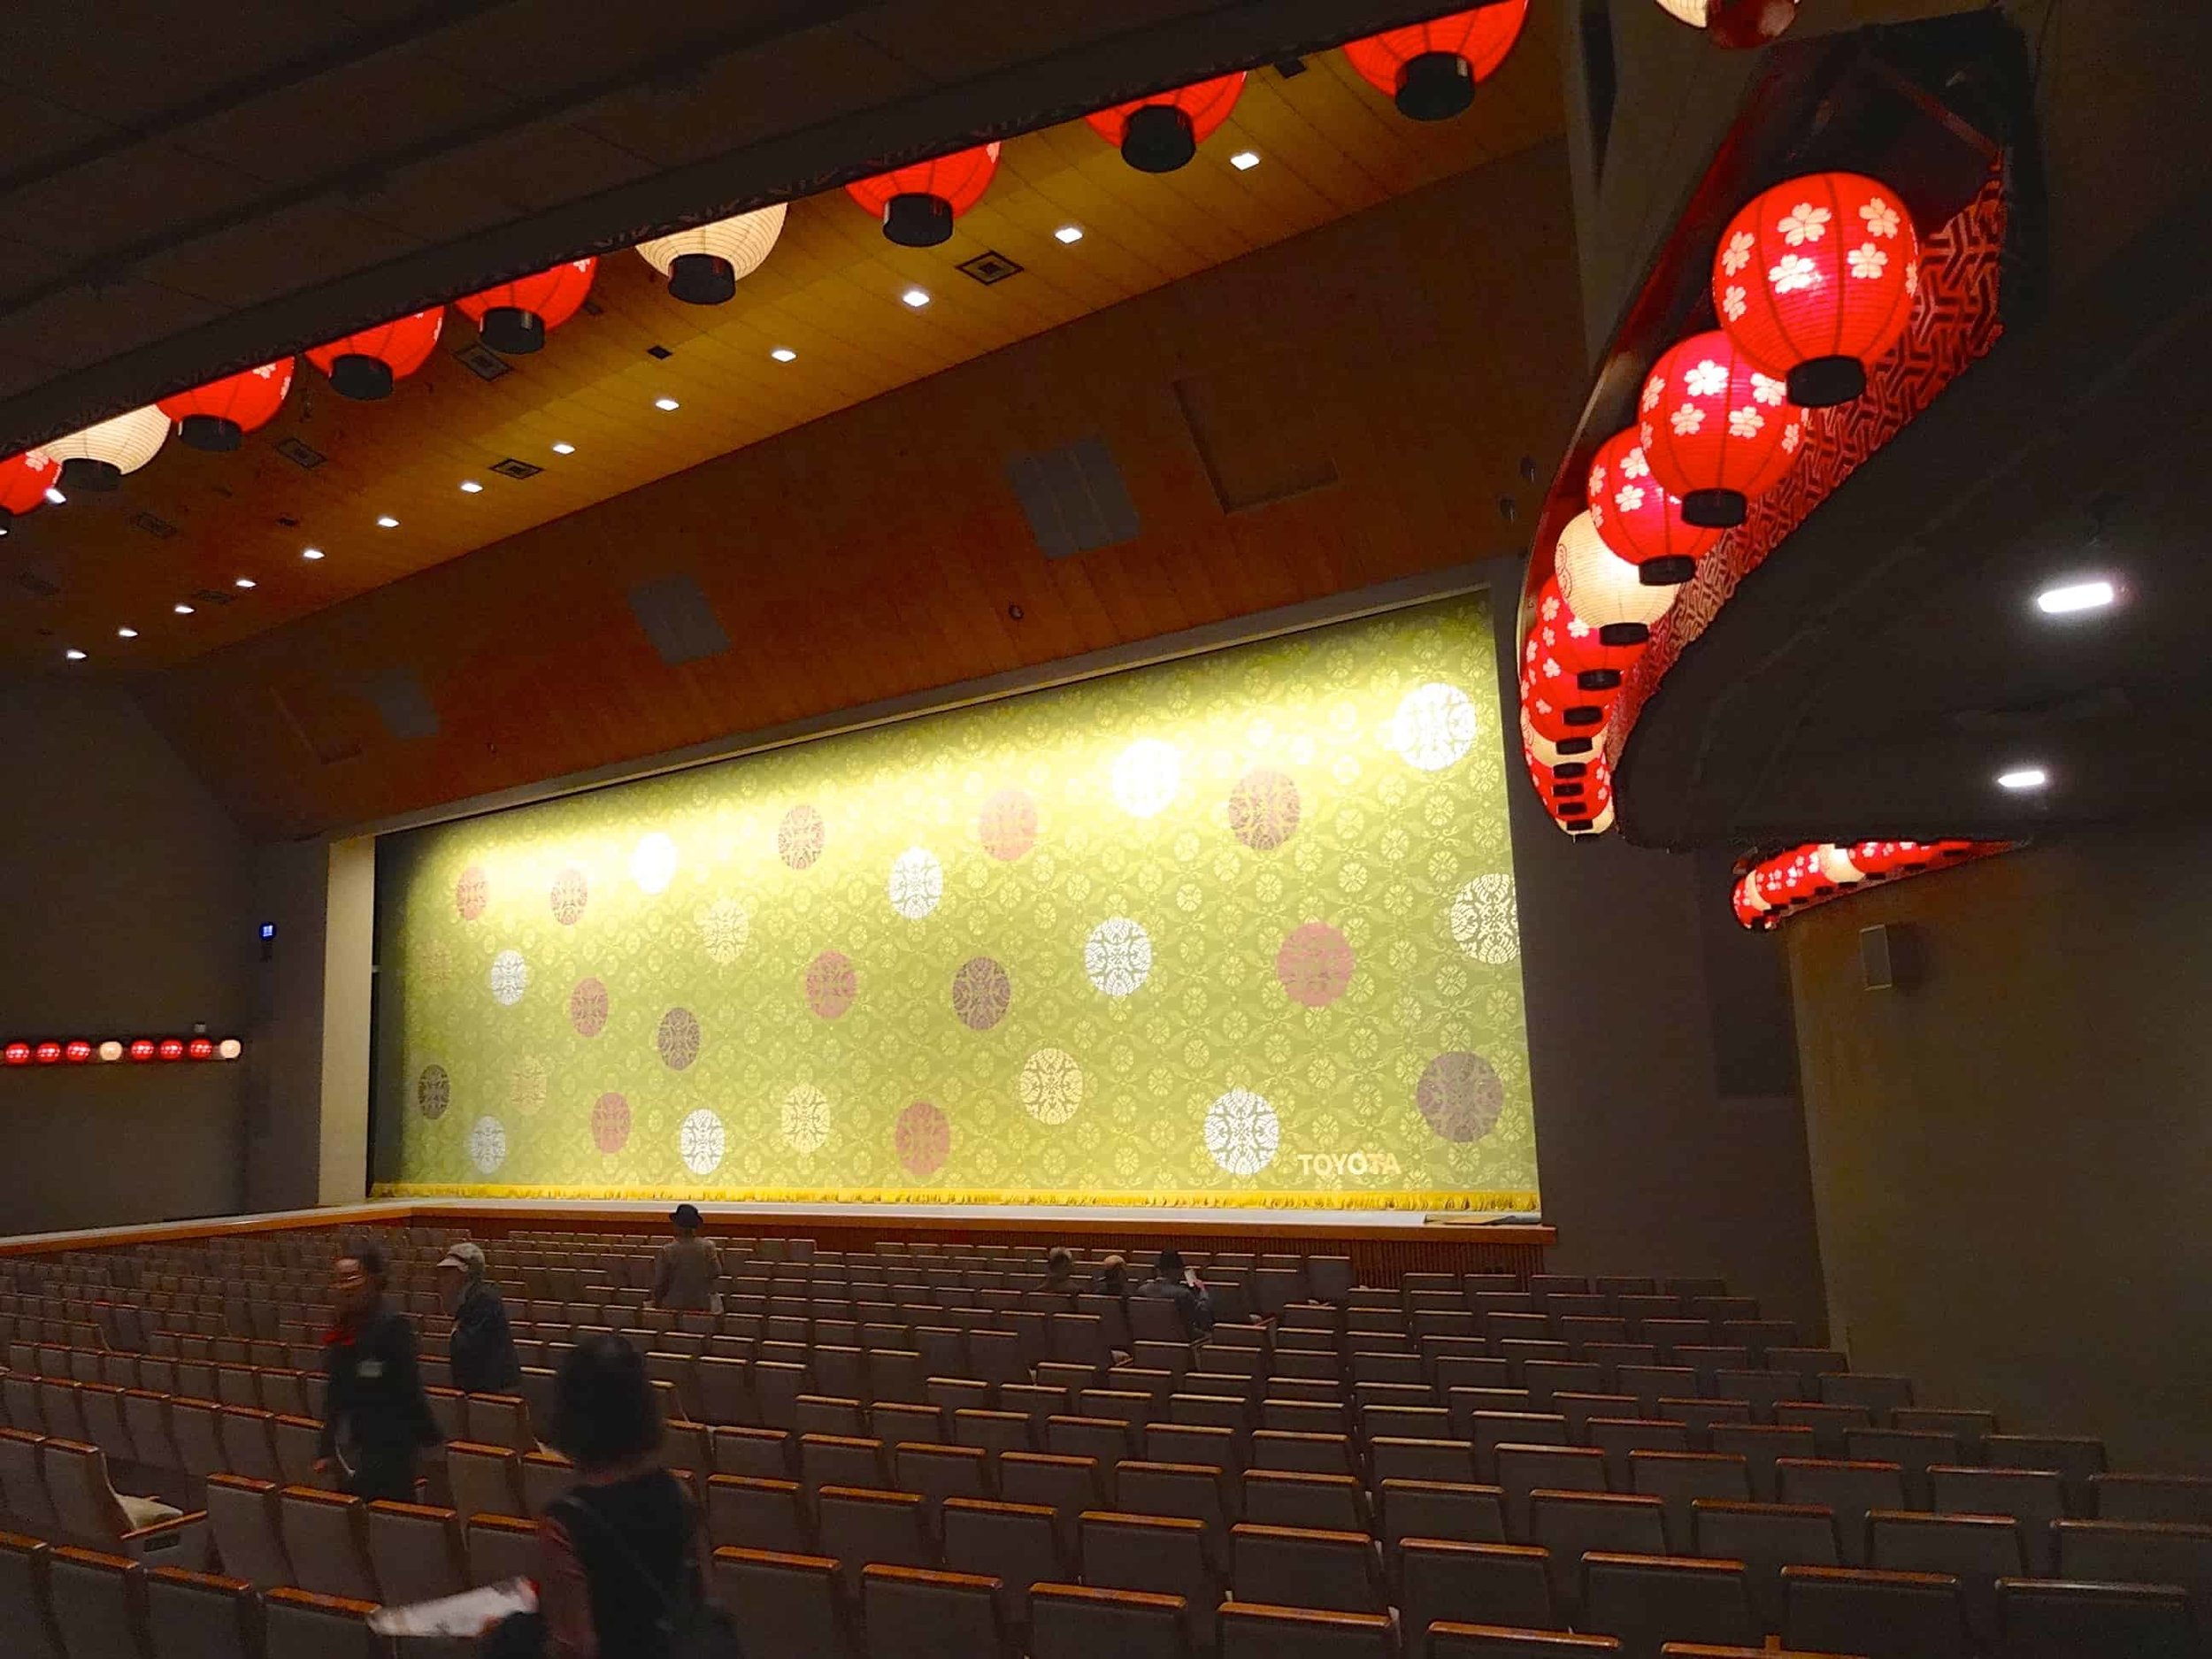
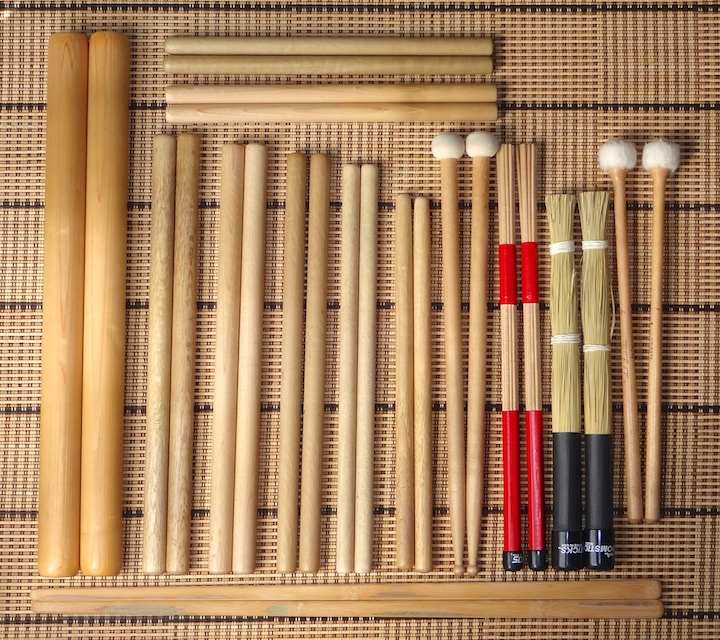
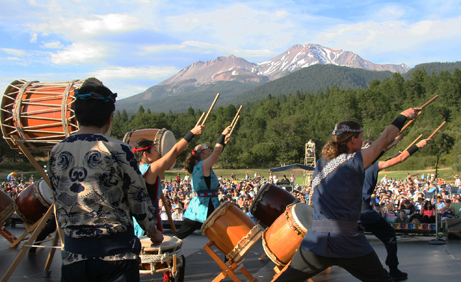
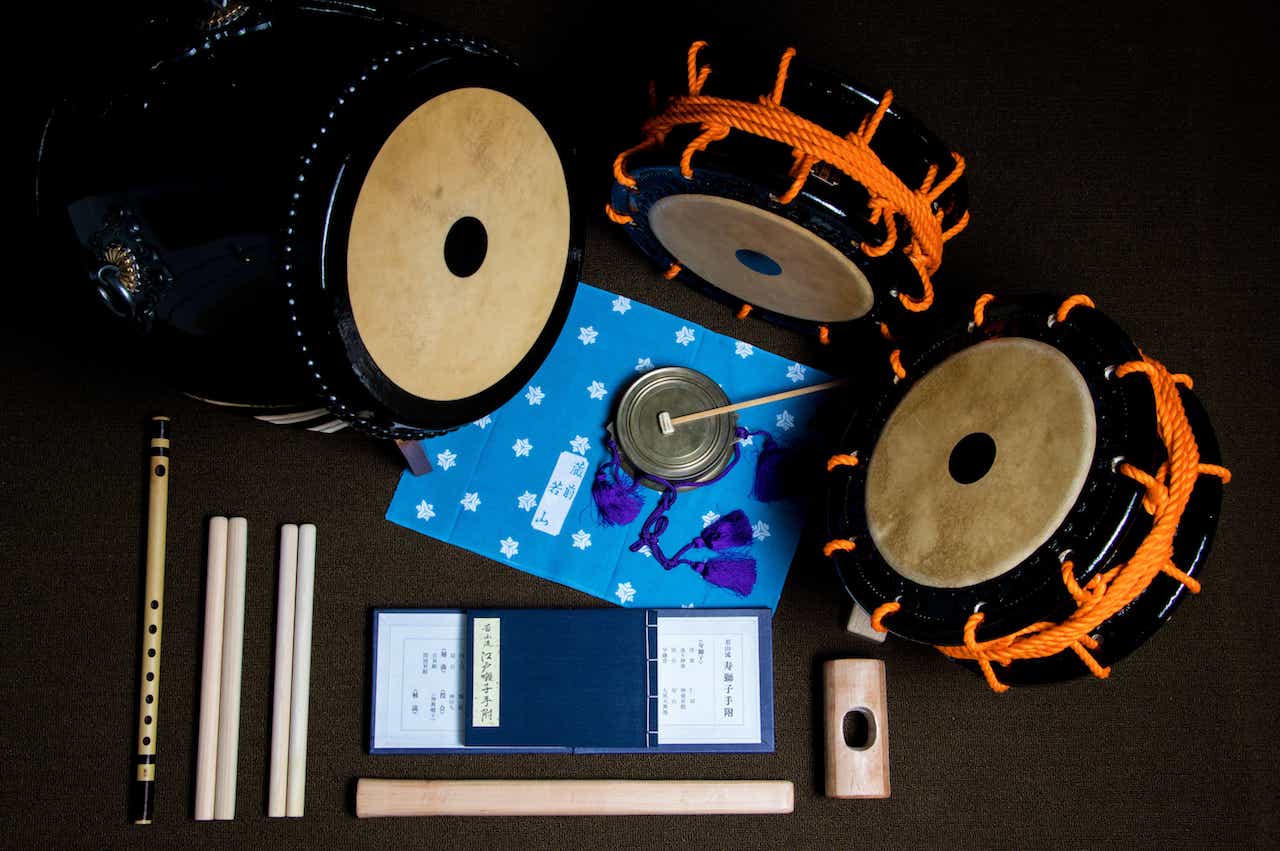
University of Iowa Residency Photos and Mujo Suite Video
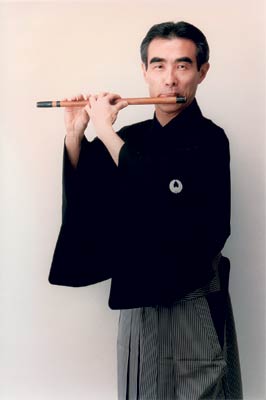
Mujo Suite - Three Movements for Jazz Orchestra, Taiko Drums and Shinobue I. Foreword/Finale (0:00 - 16:26) II. Prayer (16:26 - 25:47) III. Prologue (25:47 -...
Mujo Suite I. Finale
Mujo Suite III. Prologue
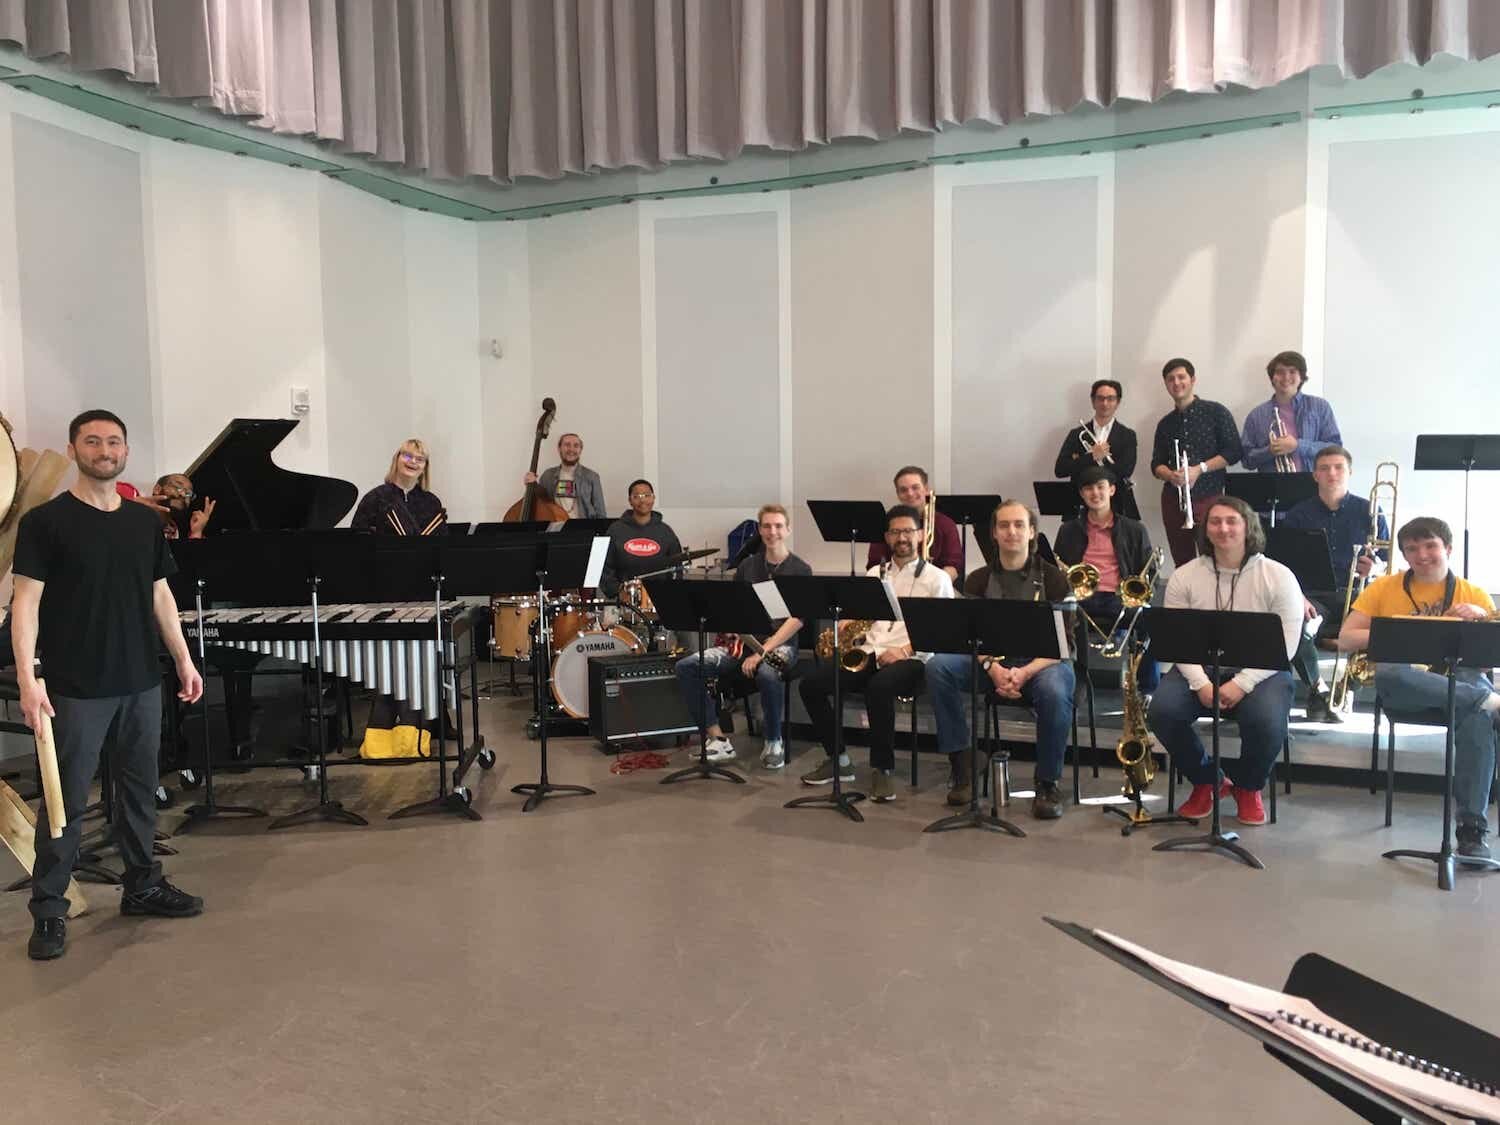
Rehearsal with the Mujo Suite band

Jamming with Giauna during the jazz seminar class
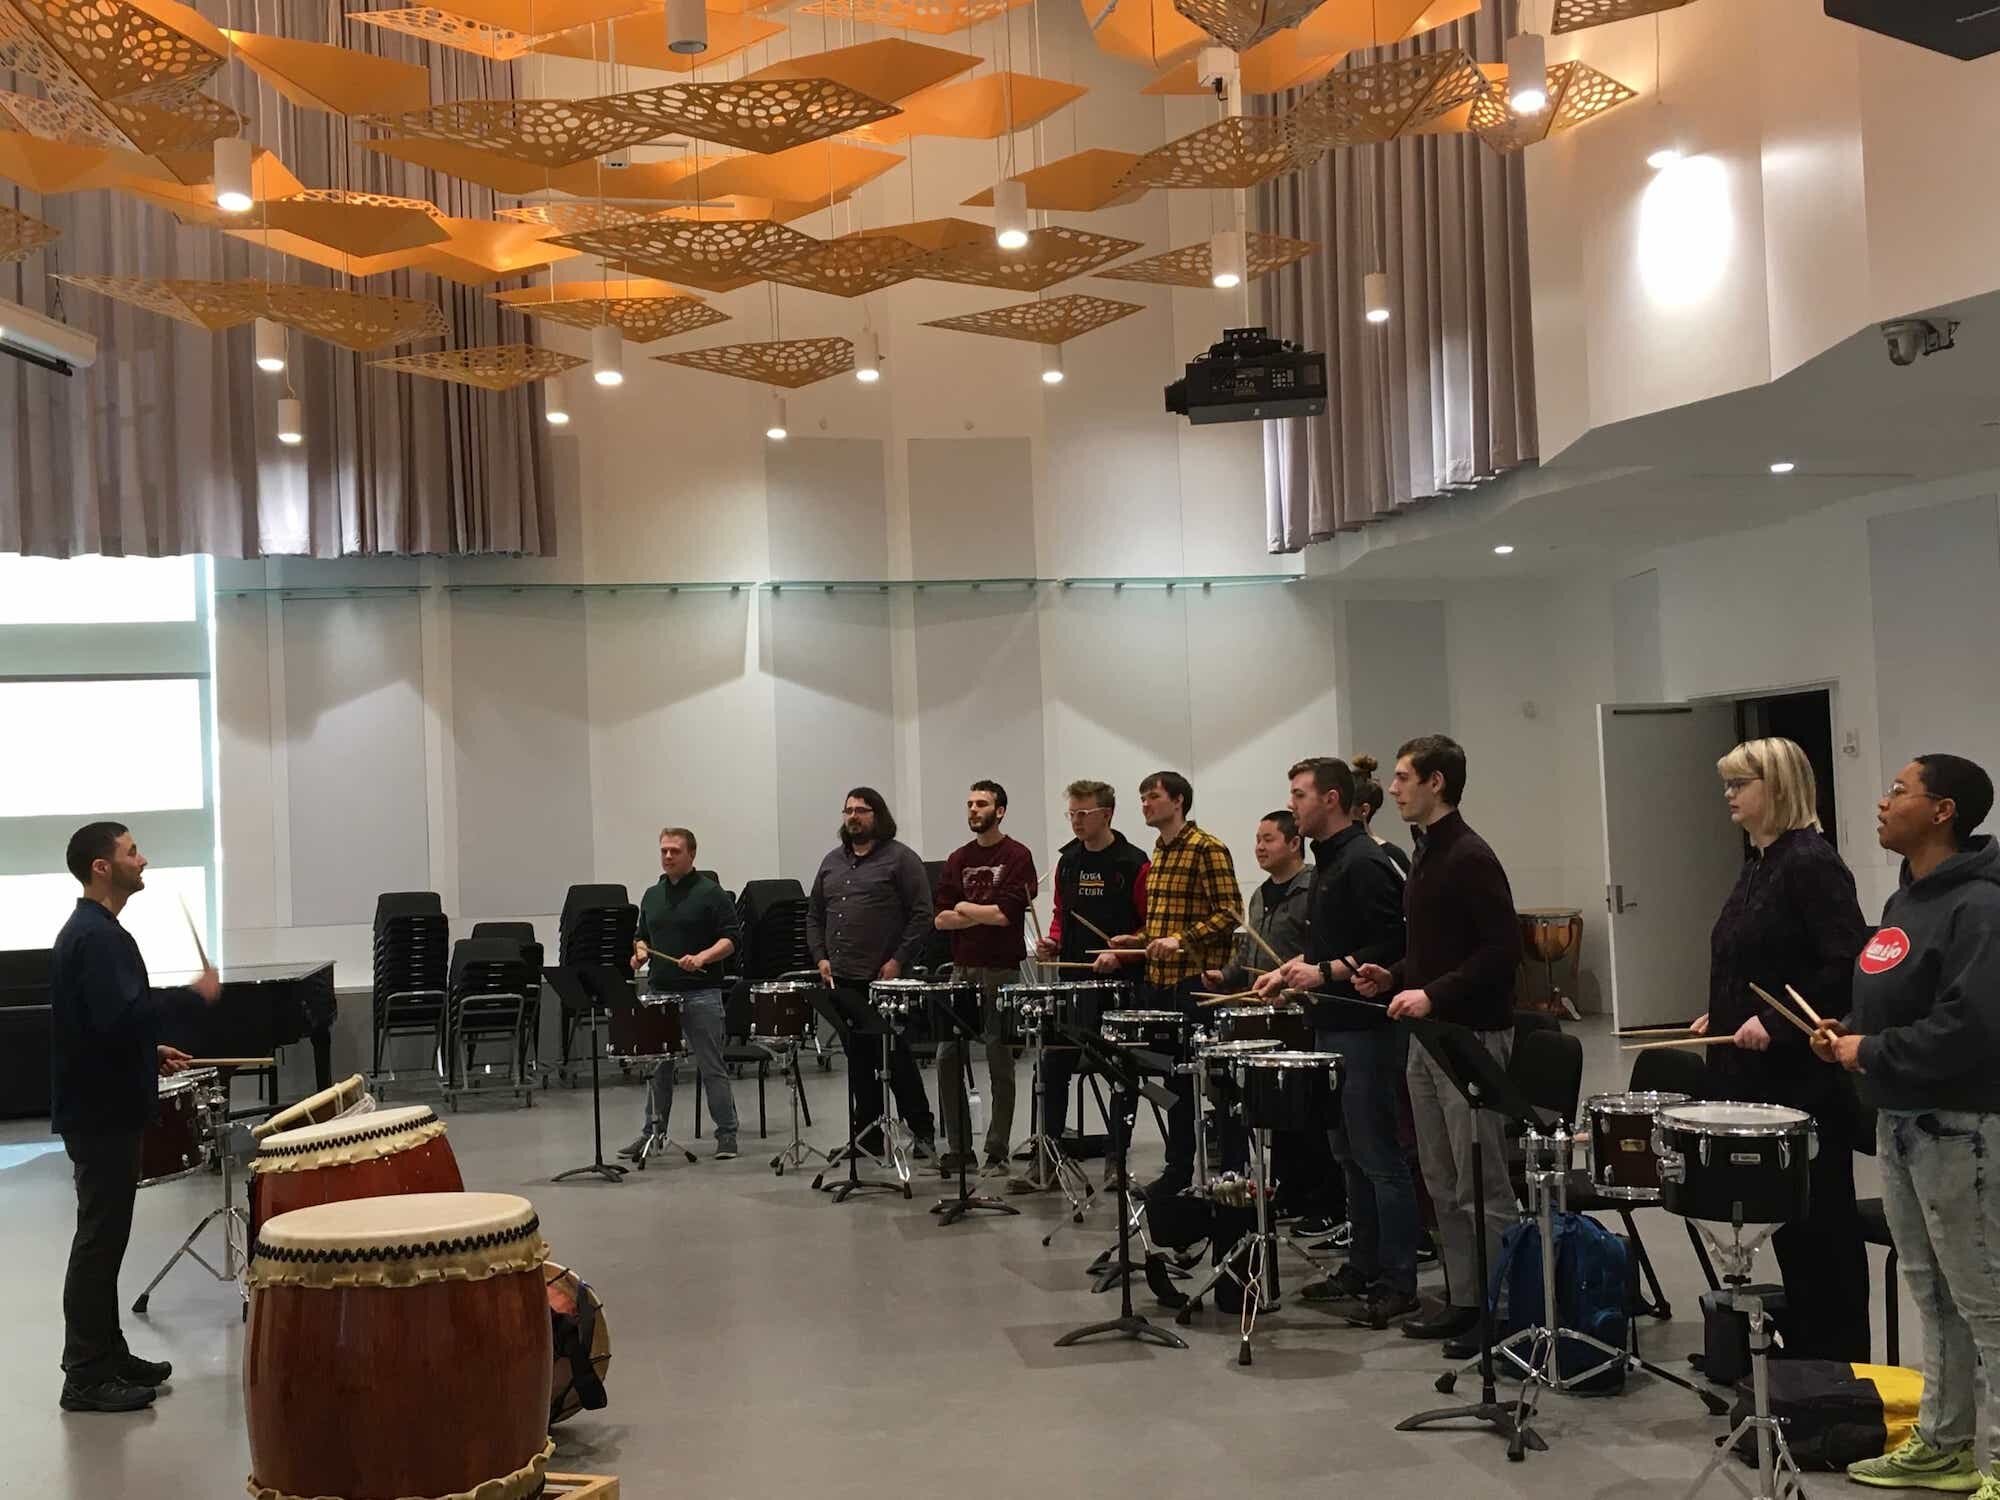
Teaching Edo Bayashi rhythms to the percussion seminar class

Practicing taiko patterns in the music therapy class
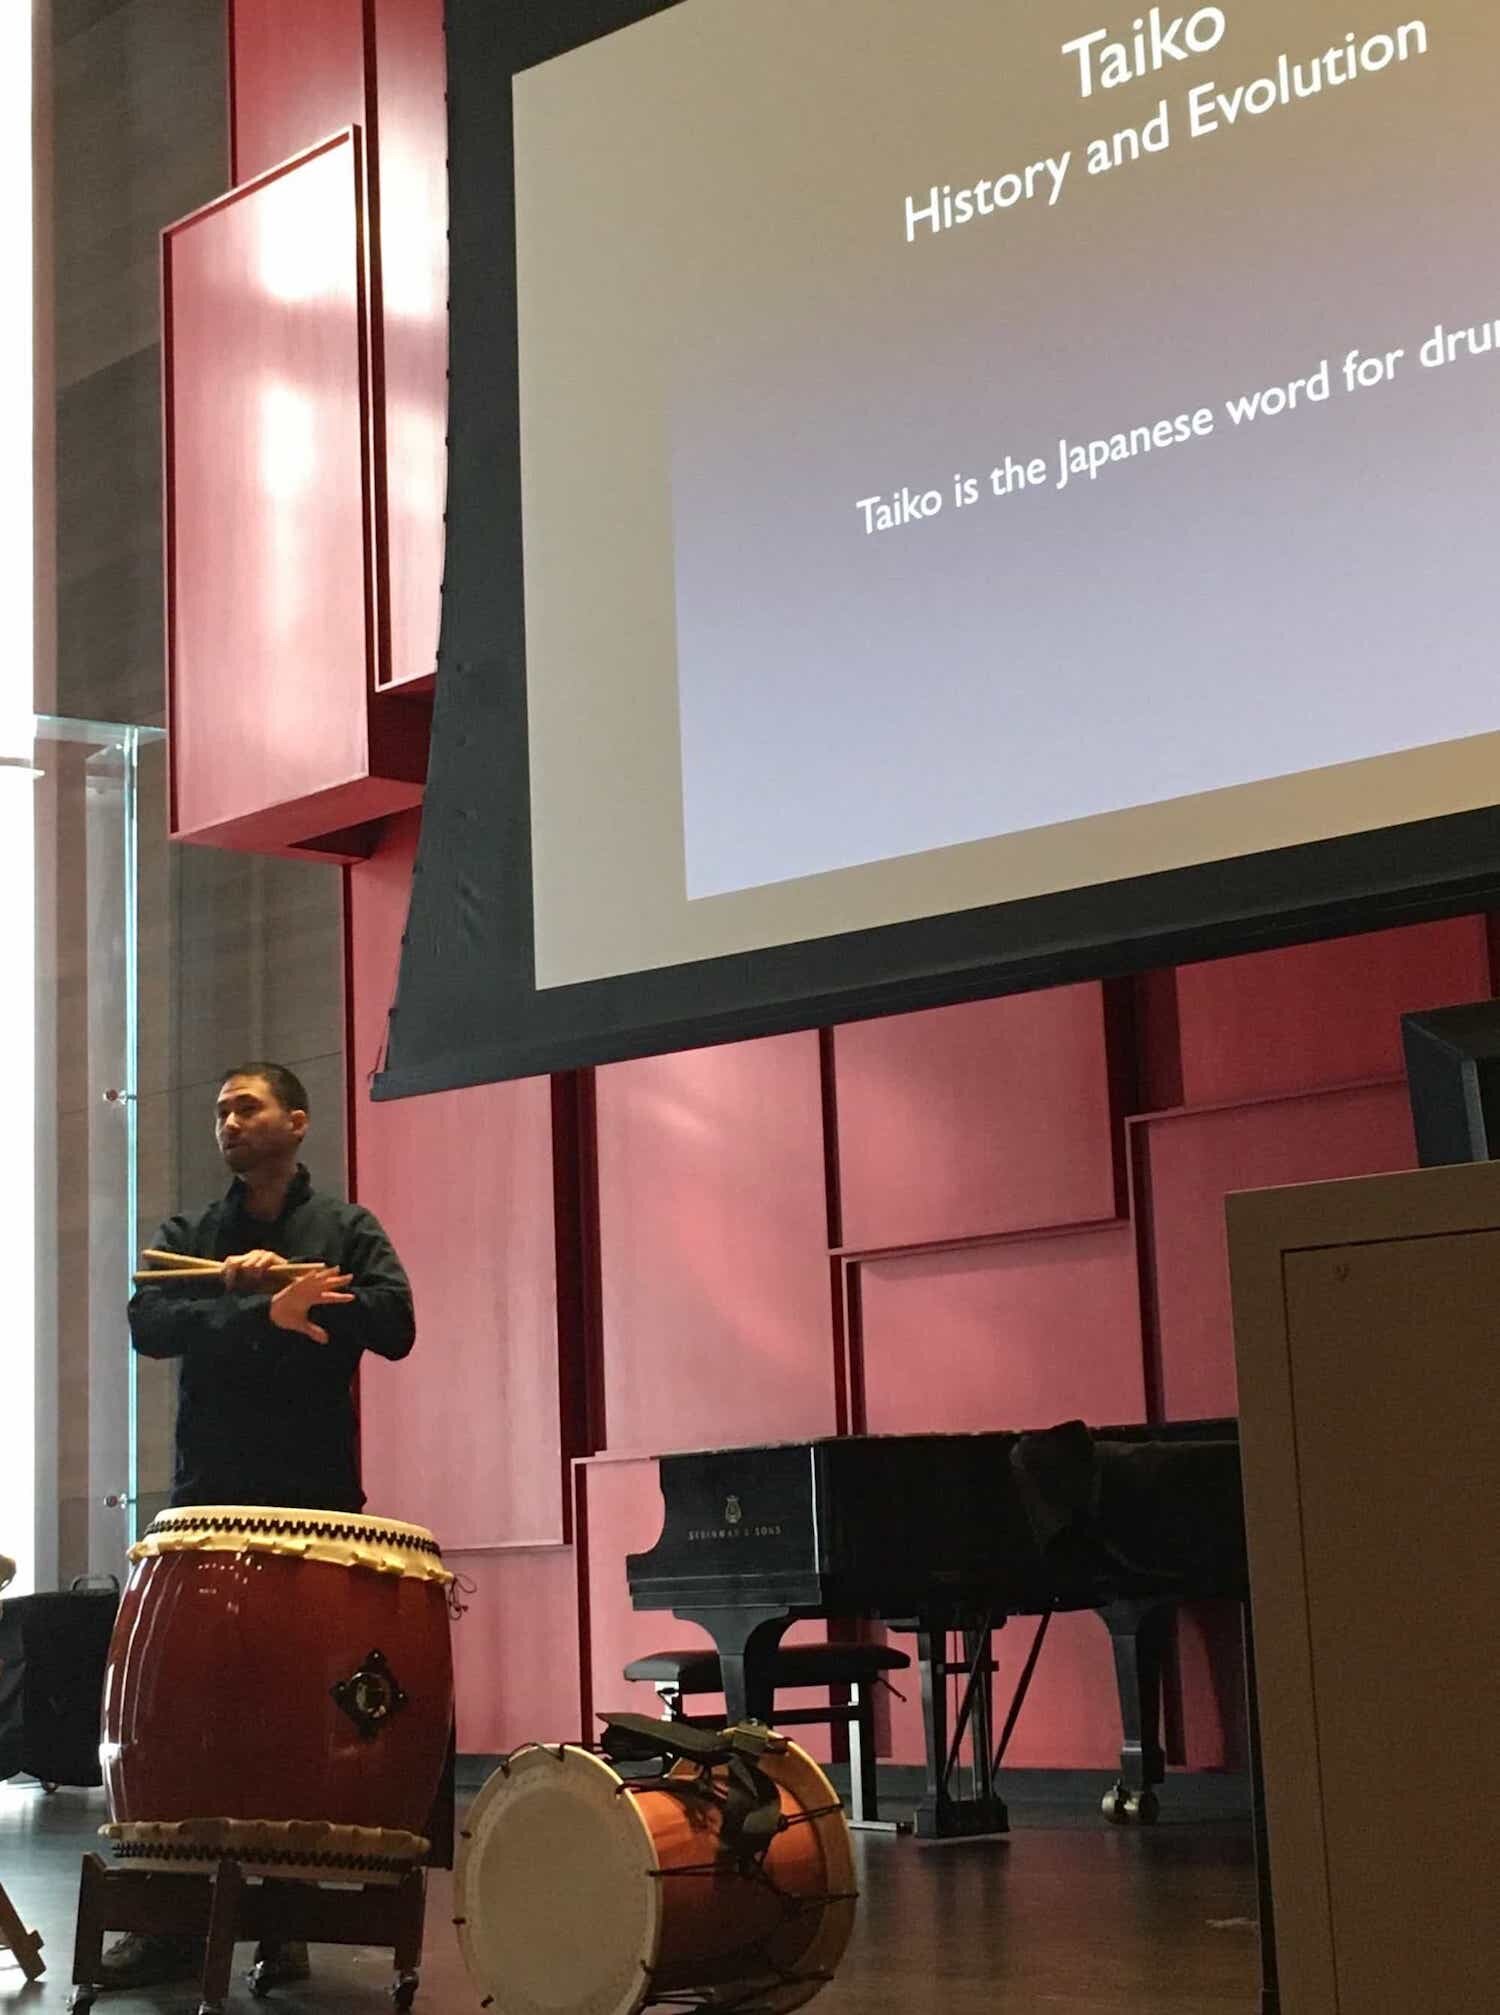
Lecture on the history and evolution of taiko for the world music class
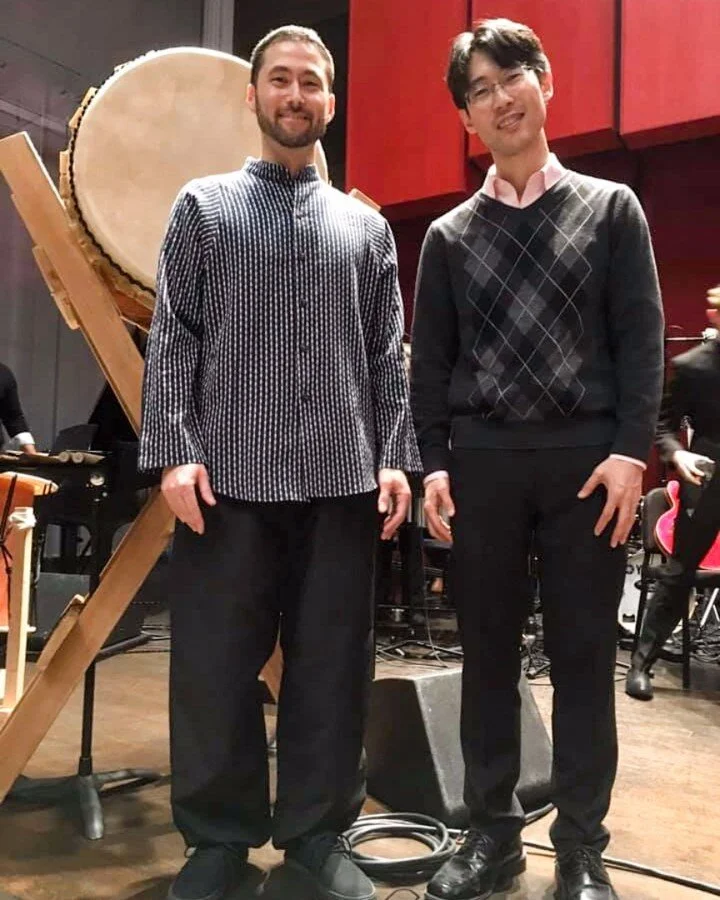
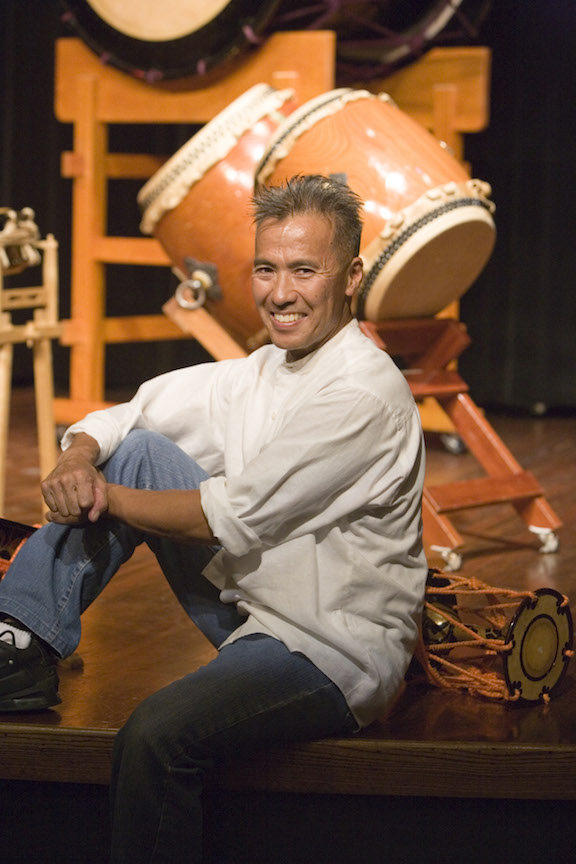
Photo with Masa after the concert
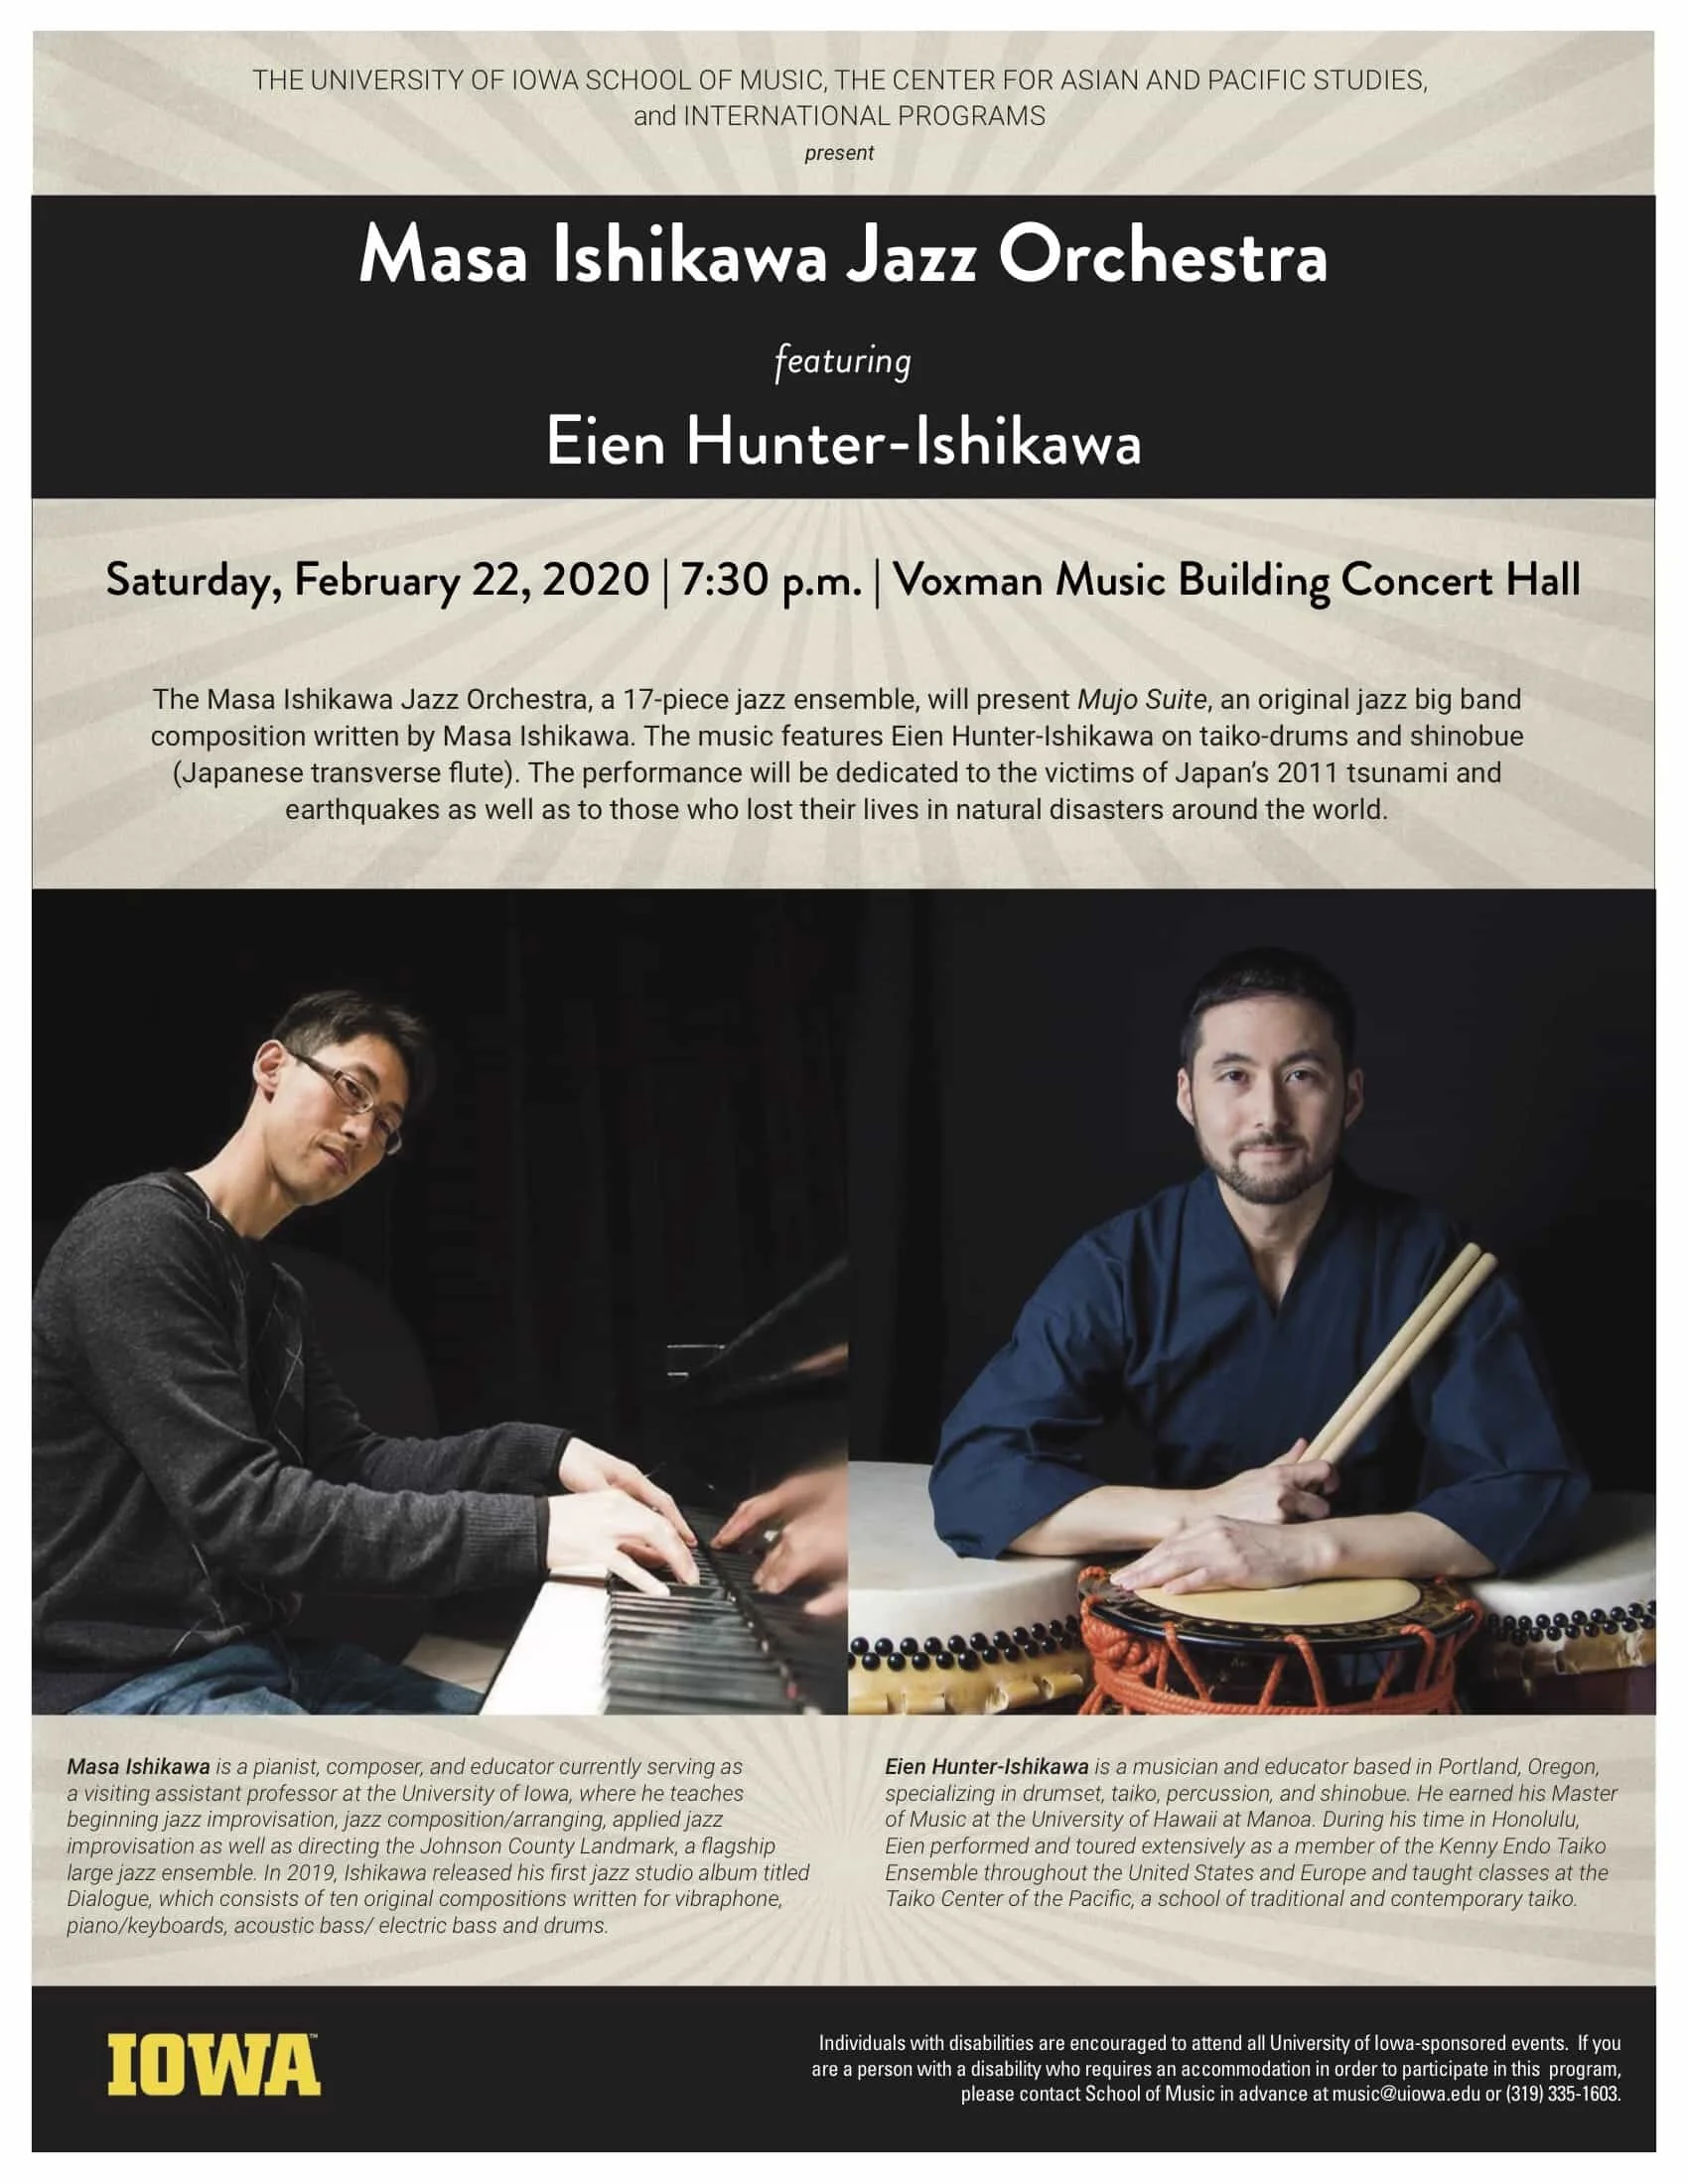
Poster for the Mujo Suite performance