Decorative Knots for Atarigane and Shumoku
I recently started a serious study of knots and quickly found out how bottomless this world of knot-tying really is. During my Tokyo Edo Bayashi intensive (read about it here) last June, Suzuki sensei showed me his method of tightening shimedaiko including all of the knots. But for the atarigane and shumoku, sensei simply showed me his instruments and advised me to look up some decorative knots and experiment after I got home. While this was a fun activity, I realized the challenges of not only learning how to tie them, but to find the correct knots in the first place. The internet usually makes information searches fast and easy but my of lack prior knowledge made it frustrating to comb through hundreds of tutorial photos, videos, and useless web links. For knots, it turns out that you need to know the exact name of the knot before any good search results will show up. This was even more difficult when I was trying to find the English name of Japanese knots, or trying to reverse engineer knots from photos. Fortunately there are a lot of great tutorials online when you start with the correct knot names, and I list all of the ones I use here.
My research is knot done yet, but these labeled photos will provide a good starting point for anyone looking to add some color and style to their atarigane and shumoku. I don’t believe that there is a single correct way to approach this, and I would encourage everyone to experiment with different combinations of these and other knots. Much like the study of the Edo Bayashi music, there is no end once you start going deeper and deeper down this path. It would be fun to see everyone’s versions so please send me a photo if you try this yourself.
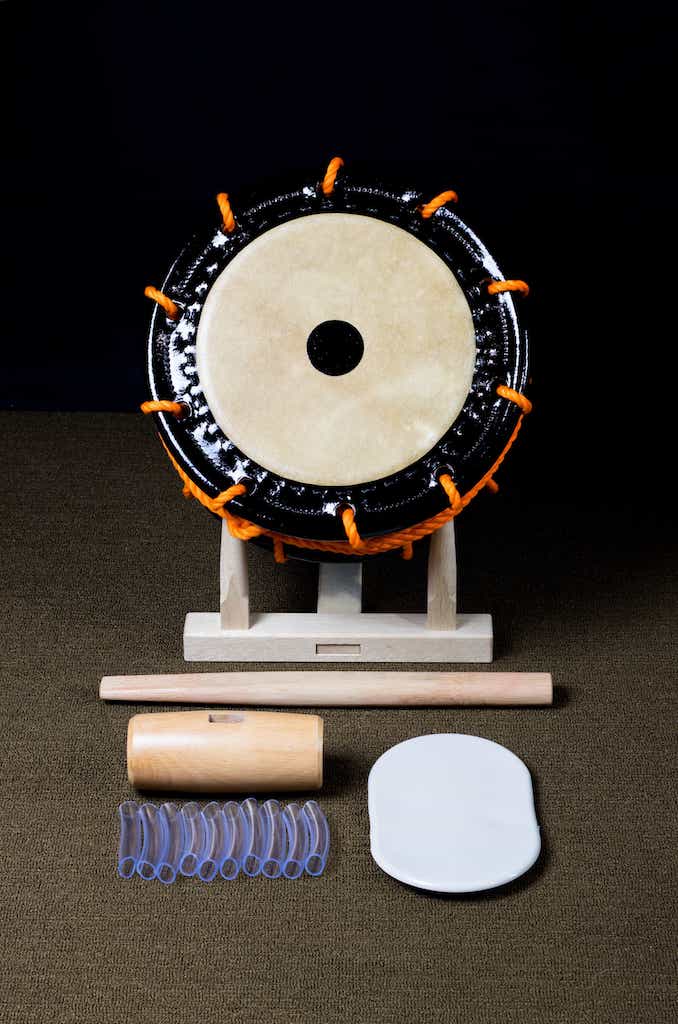
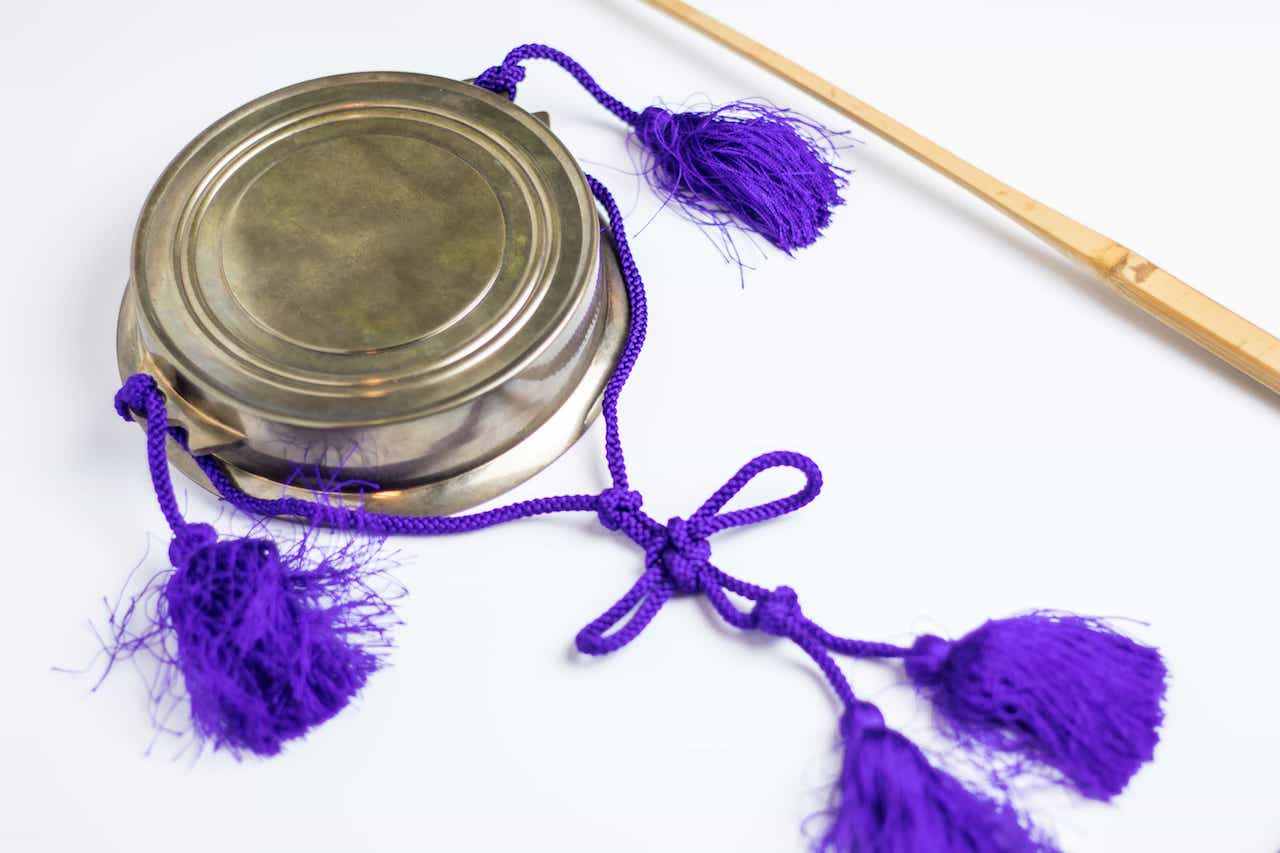
The left-side photo below shows a 5.5 Betsubiki atarigane with some decorative string I repurposed from a pair of chappa. The shumoku (Marukuma Edo Bayashi) string was originally on one of my other kane, and at 93cm it’s probably too long. I might go with something like 60 - 70cm for the shumoku string (length before tying). The common colors I see are purple, red, orange, and white, but it might be interesting to try other colors or combinations. The right-side photo (orange string) shows my experimentation with locking loop knots so that the string length is easily adjusted for different playing styles. Of the two, I prefer the adjustable grip hitch for its ability to hold more firmly. I added a variation so that the end of the string points down rather than out to the side. This photo also shows the proper orientation of the kane where the string holes are toward the bottom.
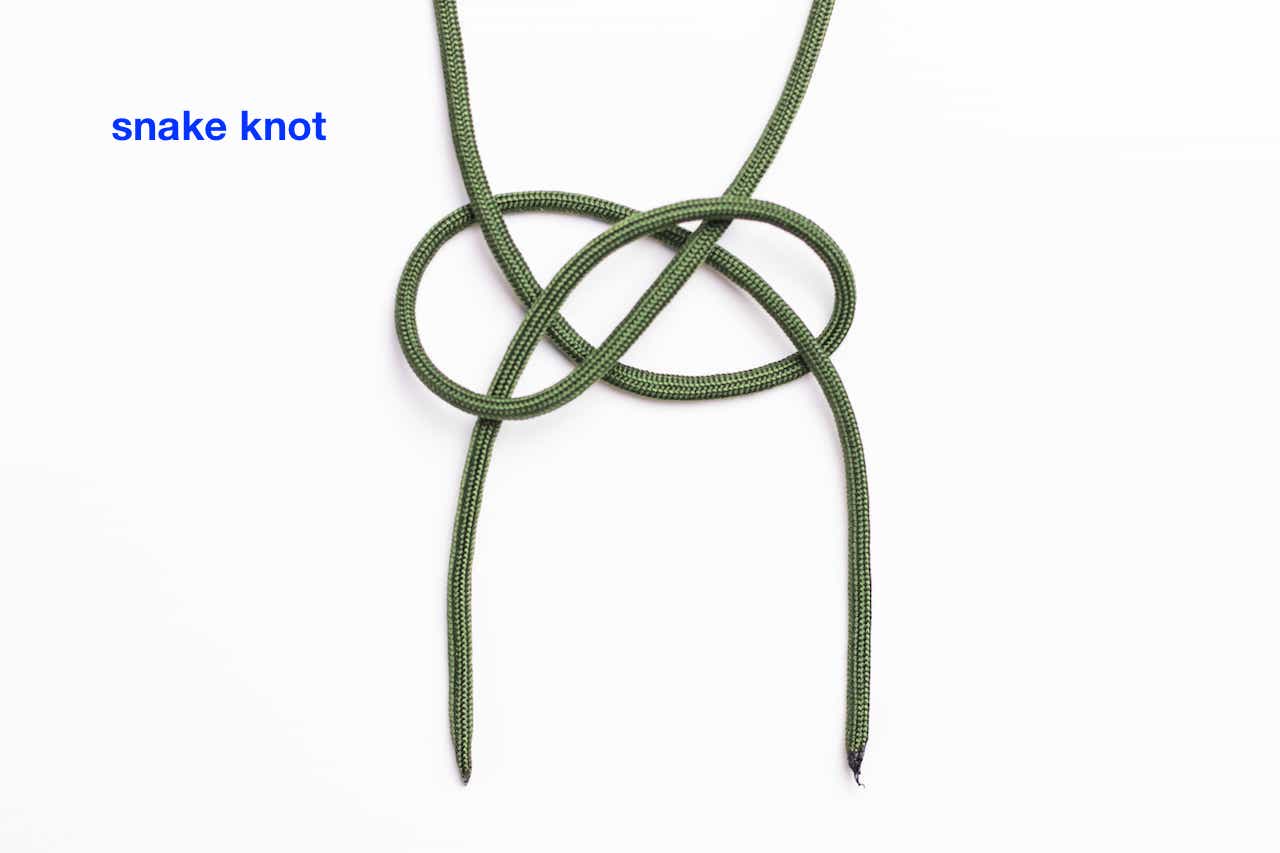
There are some bonus photos at the end showing two knots: the cowboy bowline and the snake knot. I used an old piece of string from my vibraphone to practice these knots before trying it on the real material. I would highly recommend doing this to get more familiar with the many different techniques. The cowboy bowline is typically used as the starting knot for shimedaiko and is called moyai musubi もやい結び in Japanese. Although I considered similarly breaking down all of the knots I list here, I decided knot to because doing your own research is invaluable, and I wanted to keep the length of this blog entry reasonable. Feel free to send me any follow-up questions. Good luck and happy tying!


Poacher’s knot
Adjustable grip hitch
(variation of passing the string through the last loop down)
Snake knot
Tsuyu musubi つゆ結び
Shamrock knot (sailor’s cross)
Agemaki musubi あげまき結び
Japanese square knot
Kanou musubi かのう結び
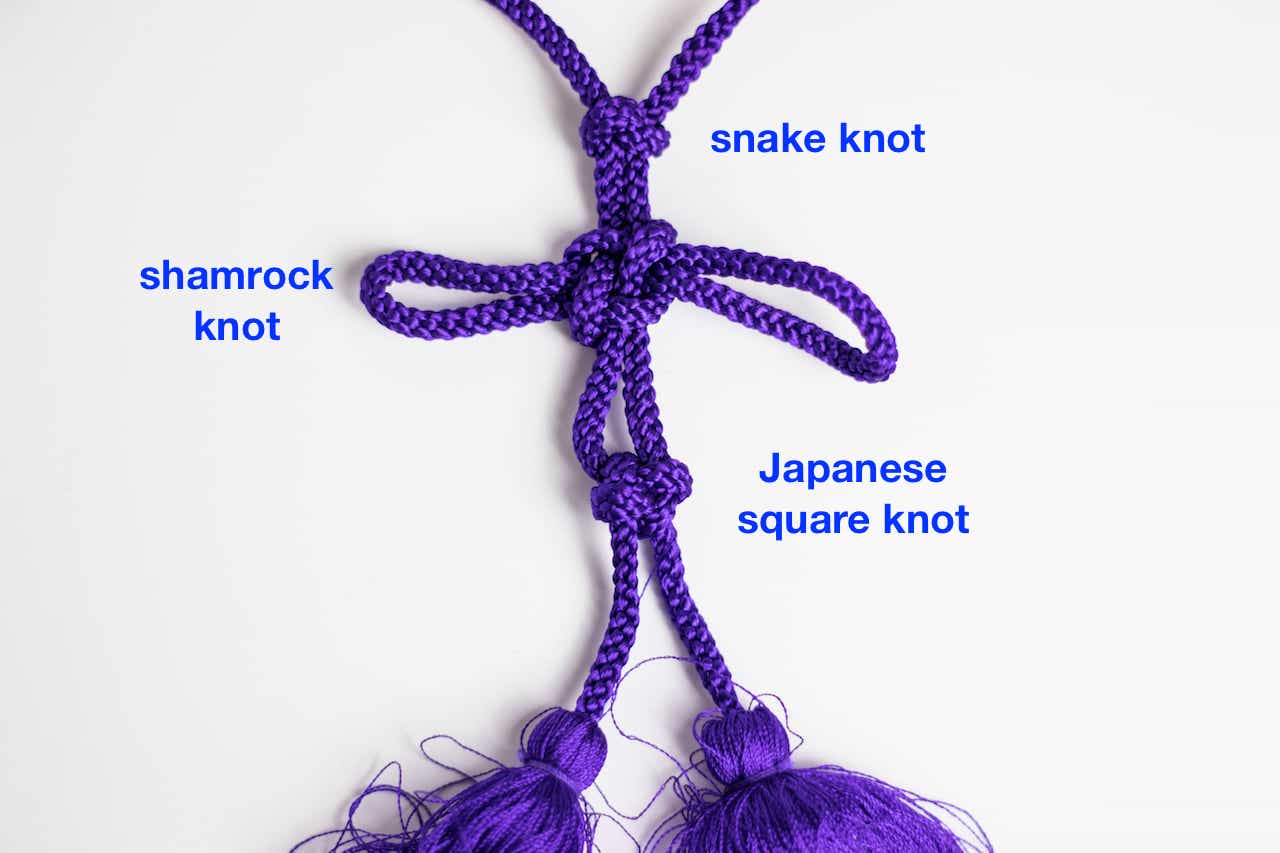

Snake knot
Japanese square knot
Triangle lanyard knot
Double connection knot
Overhand knot


Snake Knot

Cowboy Bowline Knot


